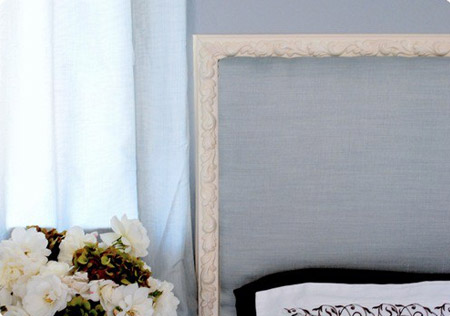
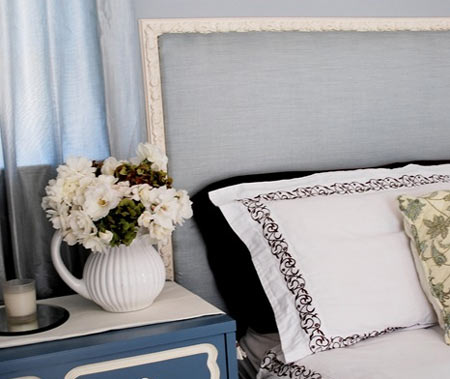
Framed Headboard
This is the story of my guest bedroom headboard. A few months ago, I had an idea to convert some leftover cabinet doors into a headboard by covering them in fabric and mounting them on the wall. It was a good idea, but the final result did not meet with my satisfaction.
So I came back for Round Two. This time, I did it right. With some plywood, foam and batting I created a new and improved fabric covered headboard for my guests. And this time, I trimmed in with some decorative moulding.
centsationalgirl.com
YOU WILL NEED:
18mm plywood cut to size of headboard
Fabric of choice
30mm thick foam to fit
Batting to cover
Decorative moulding of choice
Hangers to mount on wall
Rust-Oleum Painters Touch for decorative moulding
Bosch Tacker or staple gun
Cordless screwdriver
Spirit level
Hammer
Wood nails and panel pins
Mitre box and saw
HERE'S HOW:
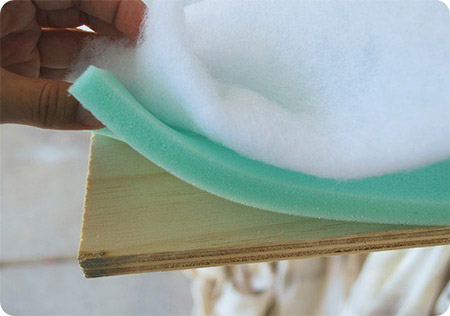
1. Layer the foam and batting on top of the plywood and secure in place with a few staples on the very edge.
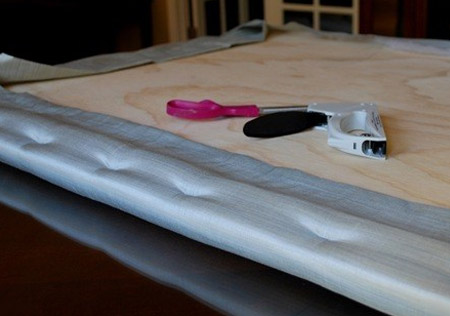
2. Turn the headboard over and make sure your fabric is aligned correctly. If so, then start at the corners, making a neat tuck and fastening with staples. Start at one side and pull the fabric over, tuck under and staple every 5cm. Go to the opposite side and pull the fabric taut before stapling as before. Continue in this way for the other two sides.
GOOD TO KNOW
If you want to add tufted or upholstery buttons to your headboard, then measure and drill holes in the back of your headboard with a 4mm drill bit, push the buttons from the front of the fabric, through the drilled holes and fasten at the back of the headboard.
3. Paint your trim to your colour of choice. I chose none other than Rust-Oleum spray paint in Heirloom White.
GOOD TO KNOW
For a more glamorous finish you could use Rust-Oleum Metallic spray in gold, silver, burnished copper, aged bronze. Be sure to spray in a well ventilated area. You shouldn't need to apply more than one coat.
4. Secure your hangers to the back of the headboard with screws. Hang headboard on wall, checking that it is level. For wall mounting use the appropriate fischer wall plugs and screws.
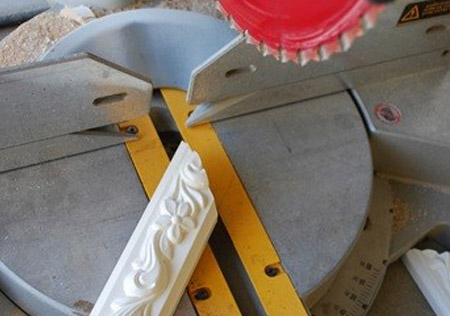
5. Measure and cut your previously painted trim with a mitre box or compound miter saw.
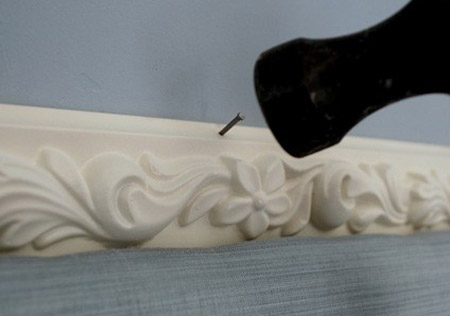
6. Secure to the edge of the headboard with panel pins and a hammer. Make sure you lightly tap them in so they are flush to the trim. If you hammer too hard you will damage the moulding.
7. Use wood filler on the corners to fill in any gaps and on your nail holes. Paint over the nails to hide them. In my case, I sprayed some of my spray paint into a plastic cup, and used an artist’s brush to paint over the nails.