DIY easy home office or child's desk
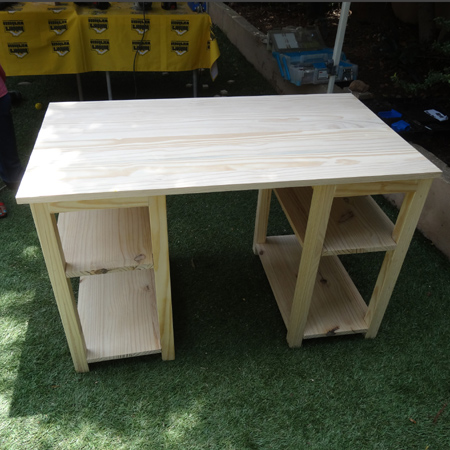
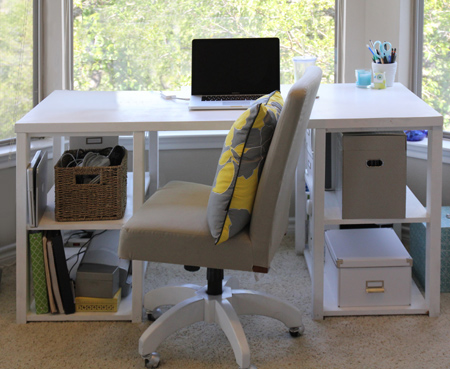
I saw this desk on pinterest and immediately thought it would be a great project for a DIY Divas workshop. The Divas completed the desk today and I though it might be nice to share the project with you. Make this desk for a home office or for a child's bedroom.
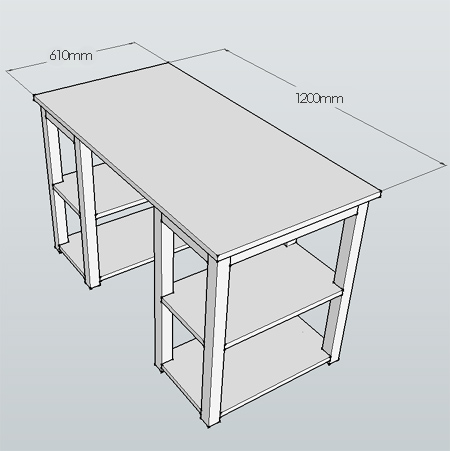
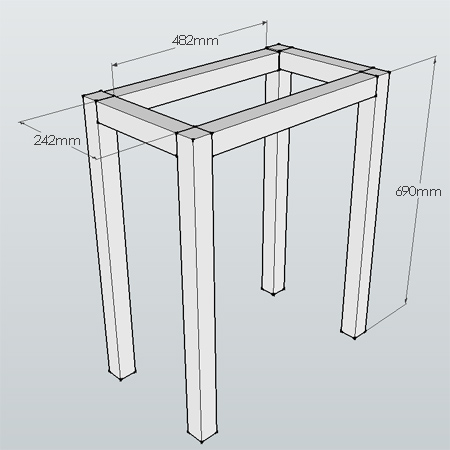
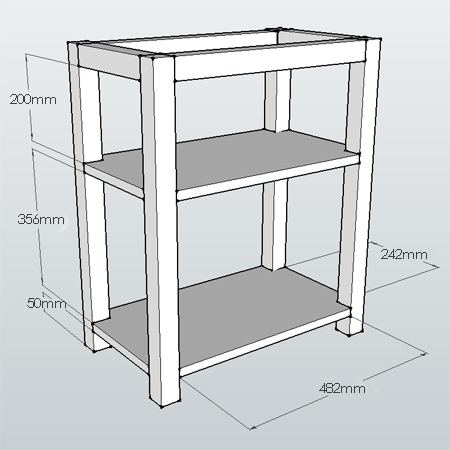
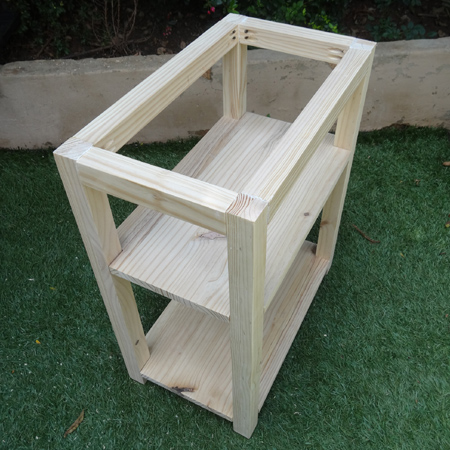
The desk is built in 3 sections, which makes it easy to move around if you need to. Alternative, pop on some castors and make a mobile desk. Made from laminated pine shelving and PAR pine, you will find everything you need for this project at your local Builders Warehouse.
YOU WILL NEED:
TOOLS:
Drill/Driver + assorted bits
Pockethole jig
Jigsaw + clean-cut blades
Orbital sander + 120-, 240-grit sanding pads
Tape measure and pencil
HERE'S HOW:
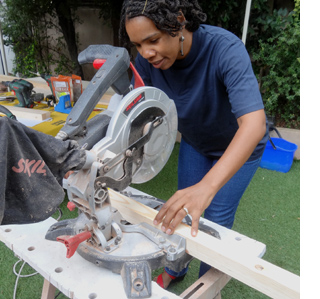
1. We cut all our 44 x 44mm pine to length, but you can have everything cut to size at your local Builders Warehouse. Take your cutting order in on a Thursday morning and wait to collect, or come back later to collect. Having everything cut to size cuts down on project time.
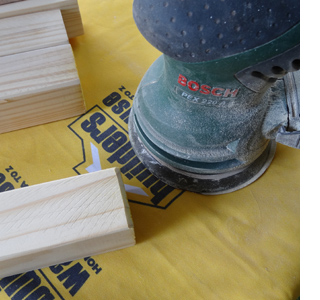
2. After cutting all the PAR pine to length, chamfer the bottom edge of all the legs with an orbital sander and 120-grit sanding pads. This gives a nice, neat professional finish to the base of the legs. Sand all the cut sections with 240-grit sandpaper for a smooth finish.
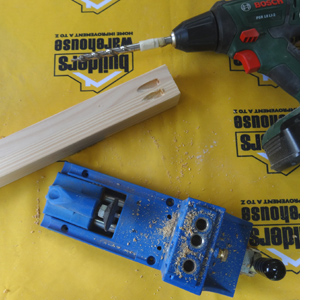
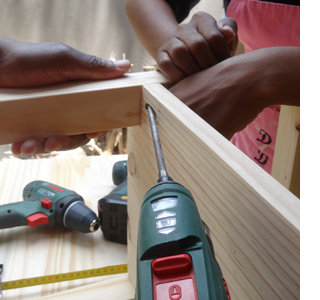
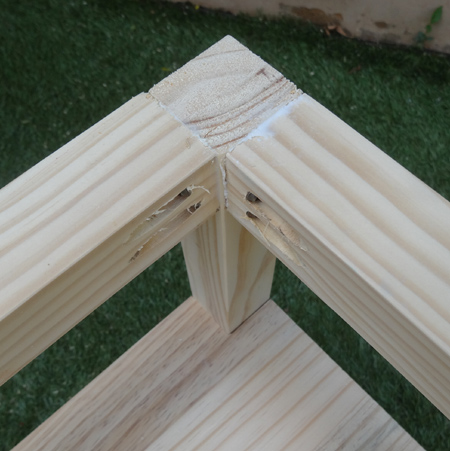
3. Use a pockethole jig to drill two mounting holes on the side, front and back sections of the frame. If you don't have a pockethole jig you can substitute with dowels.
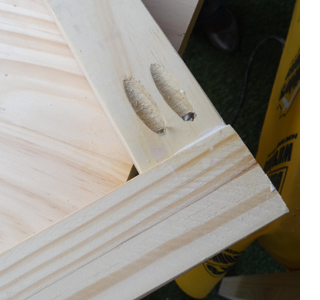
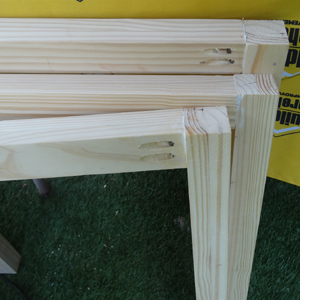
4. Using 4 x 45mm smooth-shank screws, attach the side, front and back frames to the top of the legs. Also use No More Nails adhesive for an extra strong bond.
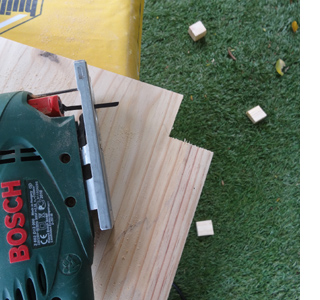
5. Use a jigsaw to cut out a 44 x 44mm section at the corner of each of the shelves. This will allow for a snug fit between the legs and keep the shelf units aligned from top to bottom. Sand all the shelves before fitting.
6. For mounting the shelves, measure up from the bottom of each leg at 50mm and 435mm and mark. Use this as a guide for mounting the shelves. Each cut out has a pockethole on the inside - to mount on the inside of each leg, so that this is not visible from the front.

7. Sand the top and then make a mark on the underside of the top for a 20mm overlap on the front and sides. Use knock-down rigid plastic brackets to secure the top to the shelf sections. Mount these in the centre section between the two shelf units.