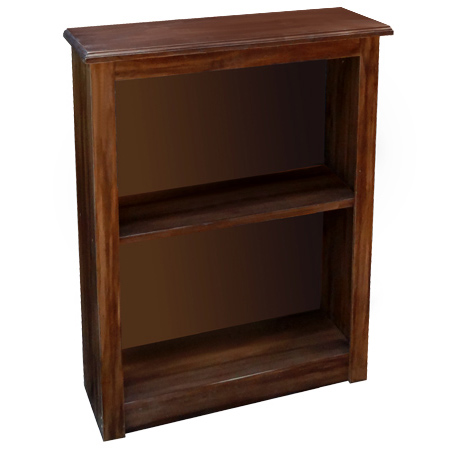
Make a basic pine bookcase
Today one of our DIY Divas, Praveshree, tackled the Basic Bookcase Workshop. Although simple in design, you can easily modify the sizes to create a higher or wider bookcase and follow the step-by-step instructions for assembly and finishing your bookcase.
YOU WILL NEED:
1 of 220 x 620mm laminated pine - top
2 of 200 x 780mm laminated pine - sides
3 of 200 x 500mm laminated pine - top, base, shelf
1 of 50 x 500mm lamianted pine - front panel
2 of 10 x 44 x 780mm - frame sides
1 of 10 x 44 x 500mm - frame top
1 of 570 x 730mm masonite - backing
20 of 3.5 x 30mm wood screws
Medium panel pins
2 corner brackets
No More Nails adhesive
Woodoc gel stain - antique oak
Woodoc antique wax
TOOLS:
Drill/Driver and assorted bits
Countersink bit
Orbital sander and 240-grit sanding pads
Clean cloths or rags
Tape measure and pencil
Hammer
Have all your timber and board cut to size at Builders Warehouse.
HERE'S HOW:
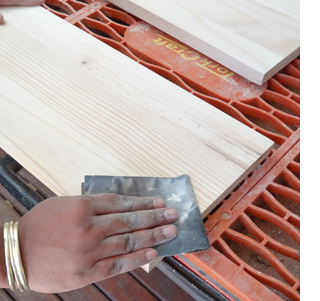
1. Before you assemble the bookcase, sand all the sections with 240-grit sandpaper. Use an orbital sander on the tops, bottoms and cut edges. Also wipe all the edges lightly with the sandpaper to ensure there are no splinters.
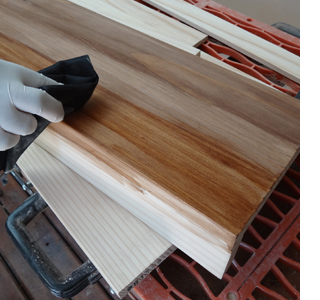
2. It's also easier to apply your stain to the surfaces rather than do this once the piece is assembled. By staining now you ensure a consistent finish along the tops, bottoms and outside edges. We use Woodoc Gel Stain in antique oak for this project.
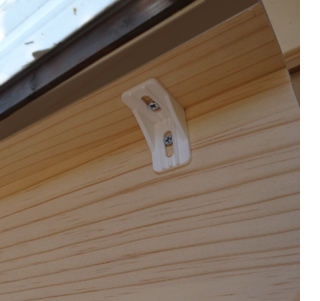
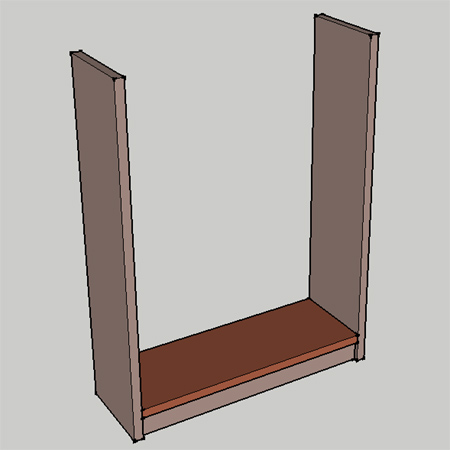
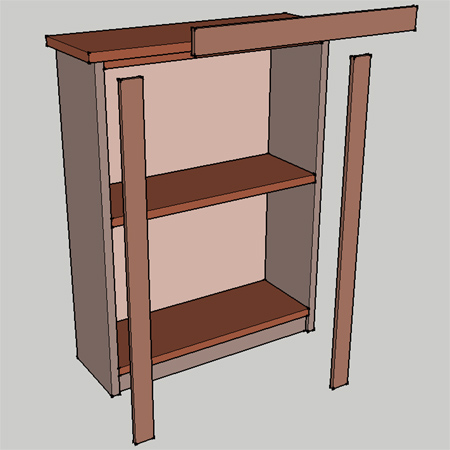
3. To start the assembly, join the bottom front panel to the underside of the bottom shelf. To do this we used corner brackets mounted underneath. This means you don't see any fittings.

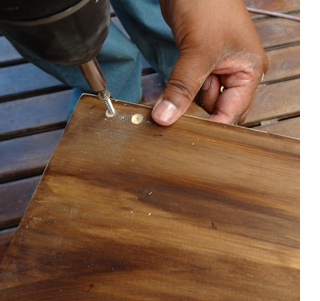
4. To attach the side panels, drill 2mm pilot holes in the sides of the cabinet and into the base shelf and front panel. Countersink these holes before driving in 3.5 x 30mm wood screws.
GOOD TO KNOW
The countersink holes should be the same size as the head of the screws you are using.
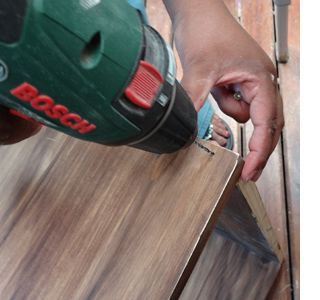
5. Add the top shelf by drilling two countersunk pilot holes at the top of each side section. Remember that the countersunk holes should be the same size as the screw head. Measure and mark for placing any shelves and repeat this process.
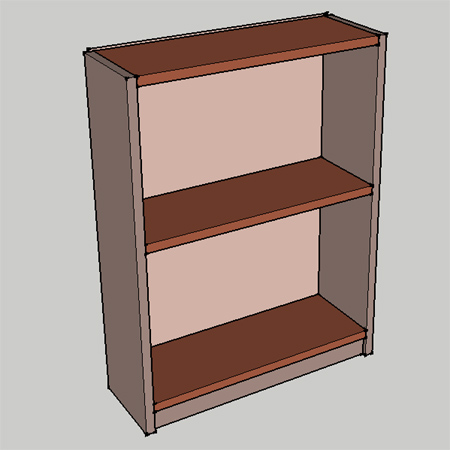
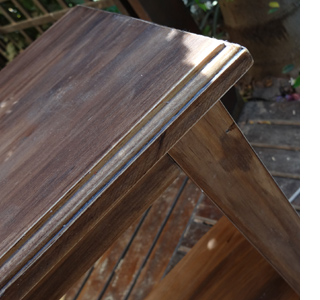
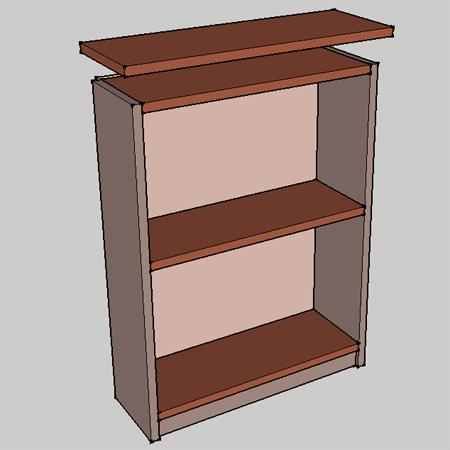
6. To add the bookcase top, align on top of the bookcase and drive screws through the underside of the top shelf. Since we are using 30mm long screws and the pine is 20mm + 20mm, we don't have to worry about the screws being visible. If you have a Dremel Trio, this is perfect for adding a finishing touch to the edges of the top, as shown here.
7. Now you can add the 3mm masonite backing board, stapling or using panel pins to secure to the back of the bookcase.
8. To finish off the bookcase we added a trim section around the front to give it a more chunky look. These sections are fastened in place with No More Nails adhesive and a couple of panels pins hammered in here and there.
Finishing your bookcase
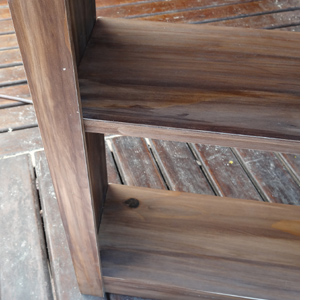
To tie in with the vintage look we wanted, the edges where lightly distressed with 120-grit sandpaper.
Note: We did this step after staining and before assembly.
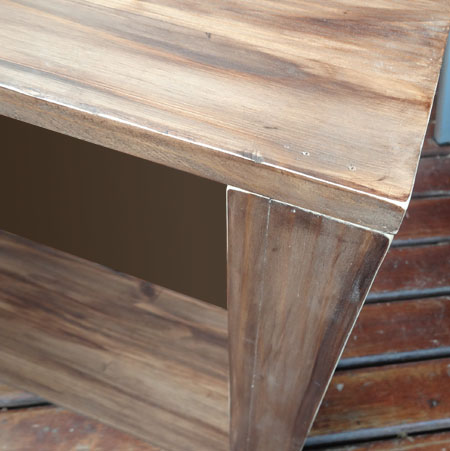
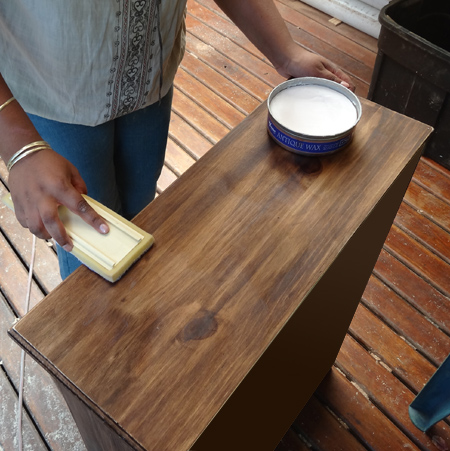
Again, for a more vintage finish, we applied Woodoc antique wax to the entire bookcase. Well done, Praveshree!