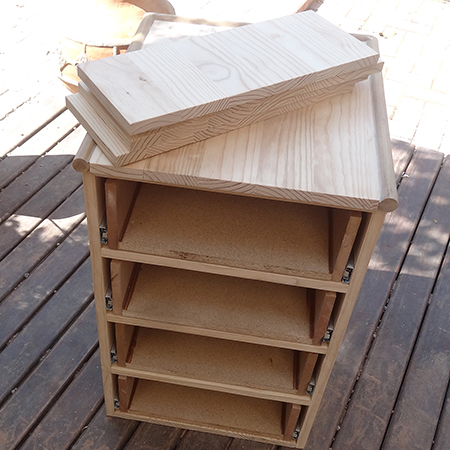
DIY 4-drawer cabinet with easy install drawer runners - add drawers
We have completed the frame for our drawer unit, now we install the drawer runners.
YOU WILL NEED:
4 sets of 450mm drawer runners
8 of 135 x 450mm - drawer sides
4 of 135 x 343mm - drawer backs - if using 16mm supawood
- 4 of 135 x 351mm - drawer backs - if using 12mm supawood
- 4 of 135 x cut to length if using pine*
4 of 340 x 430mm chipboard - base - if using 16mm supawood
- 4 of 344 x 434mm chipboard - base - if using 12mm supawood
- 4 of 3mm hardboard or masonite cut to size - if using masonite
40mm screws
8 plastic brackets and 12 or 16mm screws
*Pine comes in thicknesses ranging from 18mm to 20mm. You will need to cut sections depending on the thickness of the pine you obtain.
You can buy everything you need for this project at your local Builders store.
HERE'S HOW:
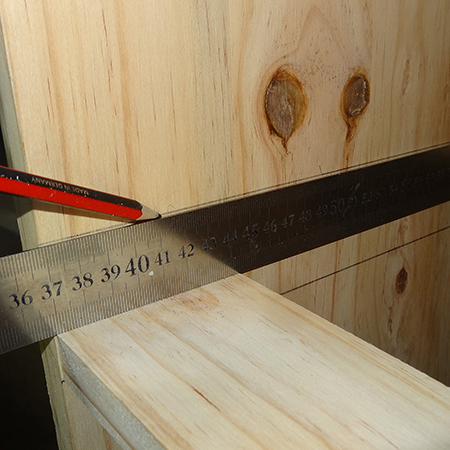
1. Use a steel rule or carpenters square to draw a line (front to back) for all the drawers. You need to draw a line on both side sections.
2. Remove the front slide from the drawer runner by extending the drawer runner to full length and lifting up the plastic clip. You will find more details below or you can click here. Put the front runner aside for now.
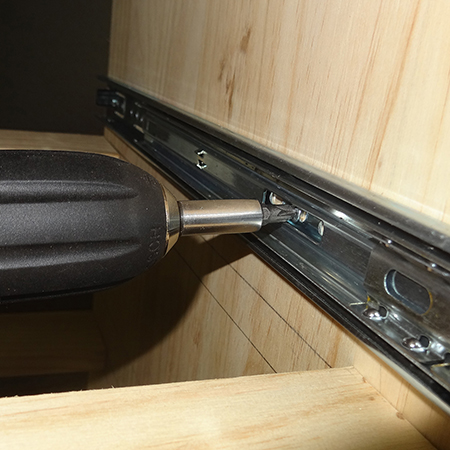
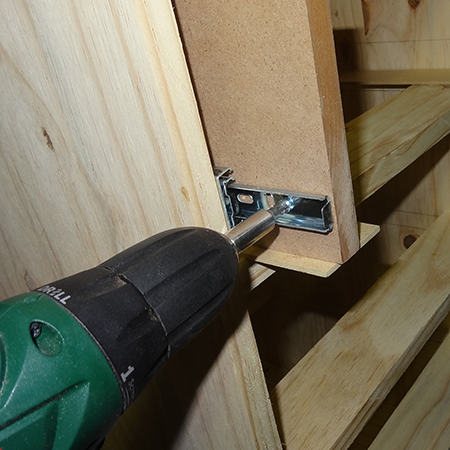
3. Place the drawer runner against the sides of the cabinet and align so that the mounting holes are positioned on the drawn line. You want to screw to the side of the cabinet with the screws perfectly centred along the length of your drawn line. I found it easier to mount the front first, then the back, and finish off in the centre.
4. Push the front runner all the way back into the assembly.
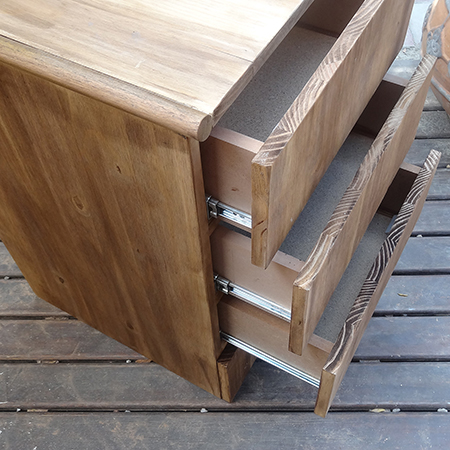
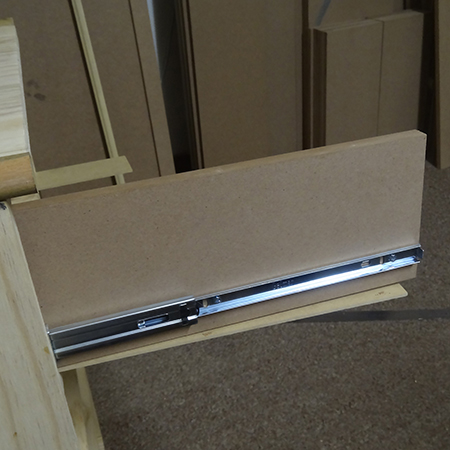
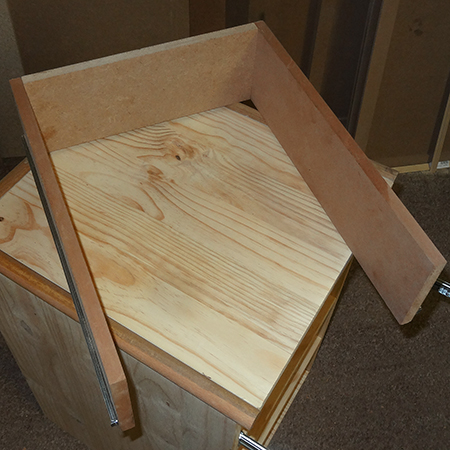
NOTE: You will notice that there isn't a complete drawer and I did this for a reason. You can use any material to make your drawers, be it 12mm supawood or 20mm pine. I used 16mm supawood since I had plenty of offcuts, but this is too thick and heavy for drawers. So I am mounting the sides first. Once the sides are in place you can measure the distance between the two drawer sides to have your back and base cut to the exact size you need for the material you are using.
5. Use a spacer to lift up the drawer assemble (or drawer sides in my case). This will ensure your drawers slide smoothly in and out. Pull out the top of the drawer runner and secure with a screw. Repeat this for the other side.
6. As you extend the runner and the drawer side you can secure with screws.
7. The drawer runner assembly will not allow you to secure with screws at the back, so you will need to remove the front runner. Now you can see the plastic clip that holds the top runner in place. Click this up to slide the front runner - attached to the drawer side - full out.
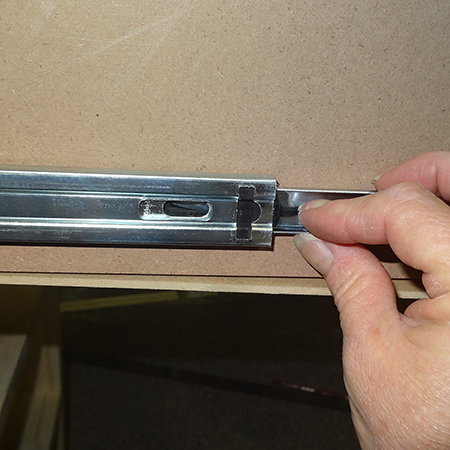
8. With the drawer side remove (or complete drawer) you can now add screws to the back end and then slide back into the main drawer runner assembly.
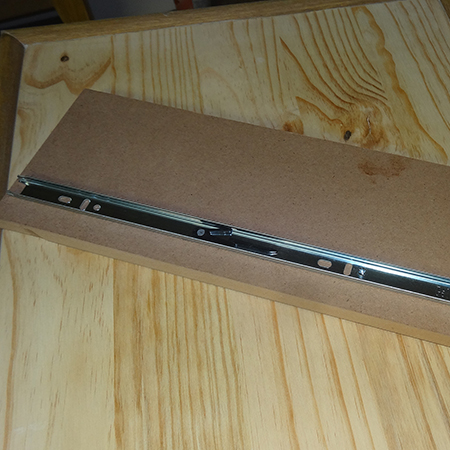
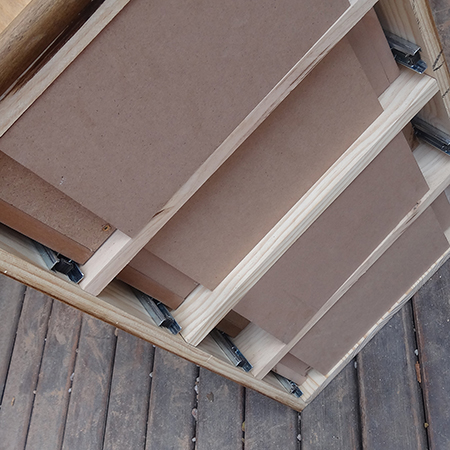
9. As I mentioned above, I only attached the drawer sides. Now I need to complete my drawers. While the drawers are still in the frame and attached to the drawer runners, use a tape measure to measure the distance between the sides. In my case this is 343mm for 16mm supawood sides. The base is 343 x 434mm and is placed and secured along the bottom edge of the sides and back.
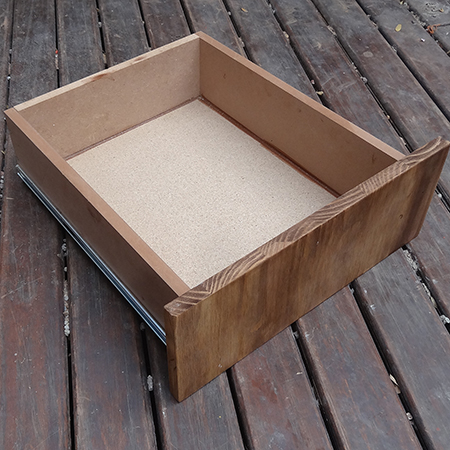
10. Again, because I am using offcuts and leftovers, the base is made of 16mm chipboard. You can use any board for your base. However, If you want to staple or pin hardboard or masonite underneath the drawer use a 6mm spacer to lift up the drawer when mounting onto the drawer runners.
11. Everything needs to be sanded. First use 120-grit on rough edges and then smooth with 240-grit.
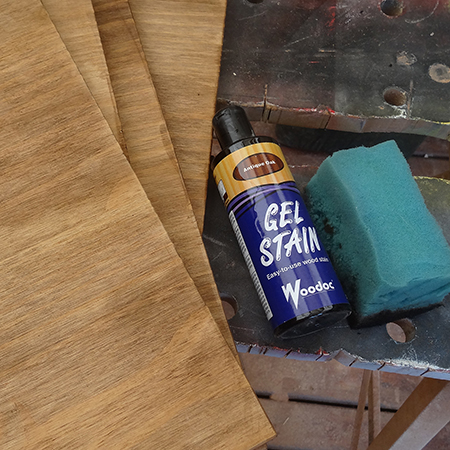
12. Apply your wood stain, gel stain or varnish to the drawer fronts before assembly and stain the cabinet. Remember at the end of the frame assembly I mentioned you should do the staining before inserting the drawer runners, but if you didn't you can stain the frame now.
13. To attach the drawer fronts the unit will be placed on its back. To raise the drawers slightly I placed some board at the back of the drawers to push them out.
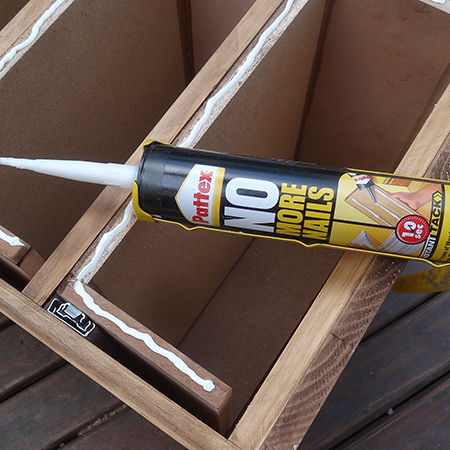
14. With the drawers slightly raised it is easier to apply the adhesive and mount the drawer fronts. I am using adhesive first and will then add brackets after about an hour.
GOOD TO KNOW
After placing the drawer fronts pop a couple of bricks on each end to make sure the front is pressed down onto the drawer. If you don't have bricks, anything heavy will suffice.
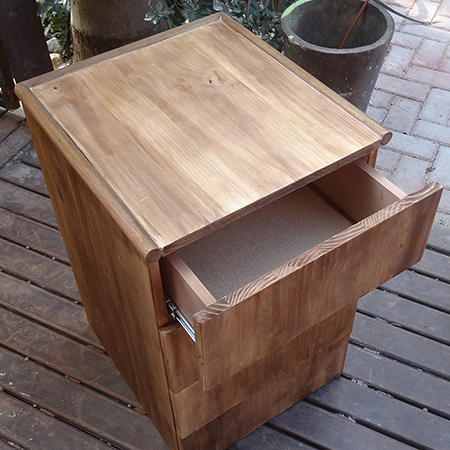
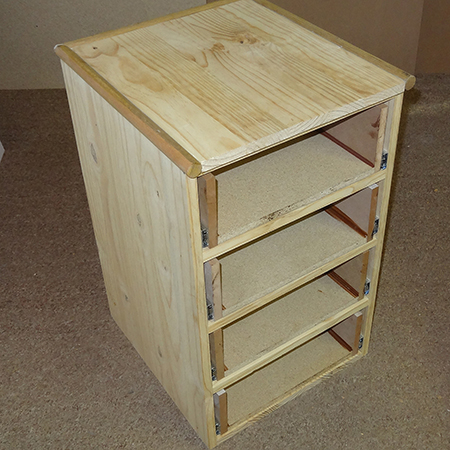
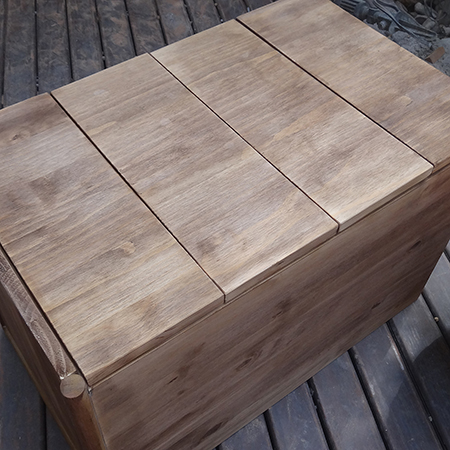
Below you can see how all the drawers are completely aligned and flush, with a 3mm gap between each drawer front.
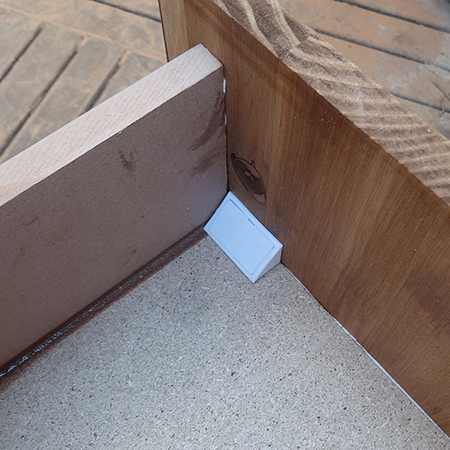
15. After an hour or so you can lift up the drawer unit, carefully pull out the individual drawers, and mount brackets onto the inside to make sure the drawer front is firmly secured to the drawer.
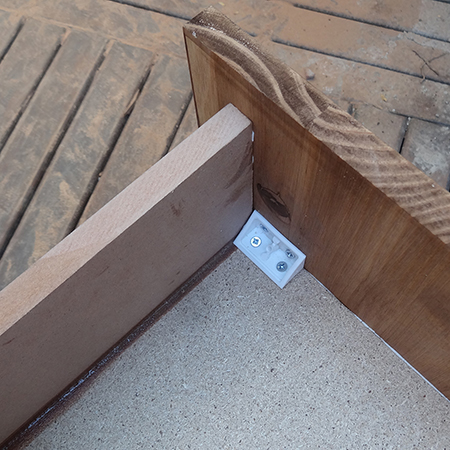
These plastic brackets have pop on tops that hide the screws. I like this system because there are no visible screws anywhere on the drawer unit, which is nice if you want to stain and varnish your new piece of furniture.
I used Woodoc gel stain in antique oak on the drawer unit, but still want to apply a dry brushing technique using white paint. I will add this to the post once finished.