DIY Toy Box for Messy Kids!
This versatile toy box is fun to make and fun to use. We show you how to make two different toy boxes - using stain or paint.
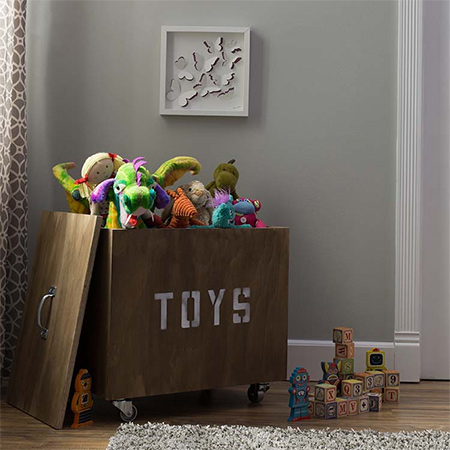
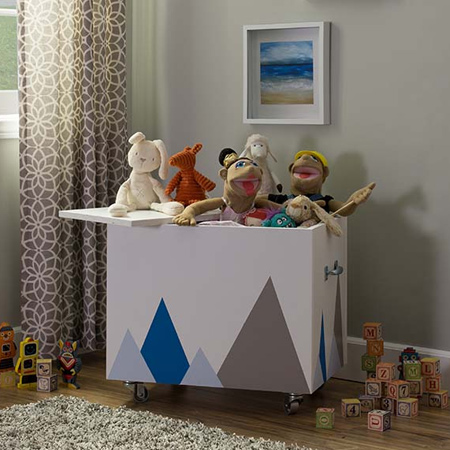
This easy toy box will help to bring back a bit of order to your home. You can build the toy box with pine plywood and stain, or you can build with SupaWood and apply a custom paint finish.
YOU WILL NEED:
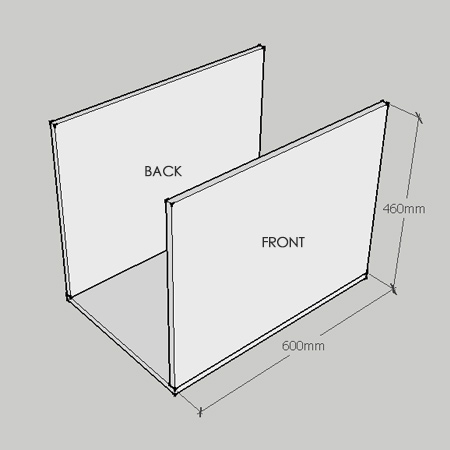
2 of 600 x 460mm 16mm plywood/supawood - front/back
1 of 400 x 600mm 16mm plywood/supawood - base
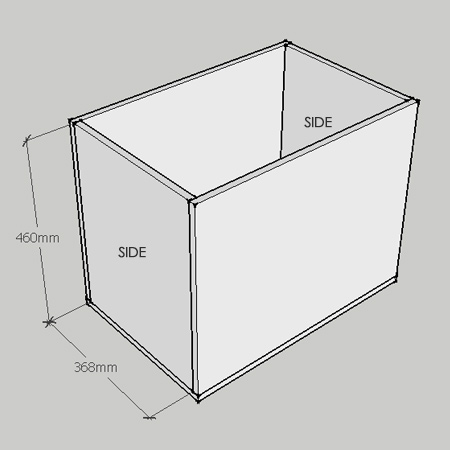
2 of 368 x 460mm 16mm plywood/supawood - sides
1 of 366 x 566mm 16mm plywood/supawood - lid
1 of 20 x 20mm x 568mm furring strip - lid support
Pattex No More Nails adhesive and caulking gun
Medium panel pins (if not using pneumatic nail gun)
Woodoc 5 or 10 interior sealer, tinted
Craft paint for lettering
Letter stencils
Masking tape
Paintbrush
Handles [3] and screws
Castors [4] and 16mm screws
TOOLS:
Drill / Driver plus assorted bits
Hammer - if not using pneumatic nailer
Tape measure and pencil
Buy all the tools and supplies for this project at your local Builders.
HERE'S HOW:
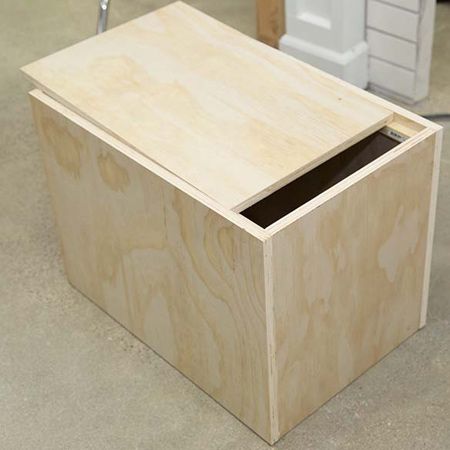
1. Lay out your pieces to help position them correctly when assembling the box.
2. Use adhesive and panel pins to secure the sides, front and back on top of the base - see below.
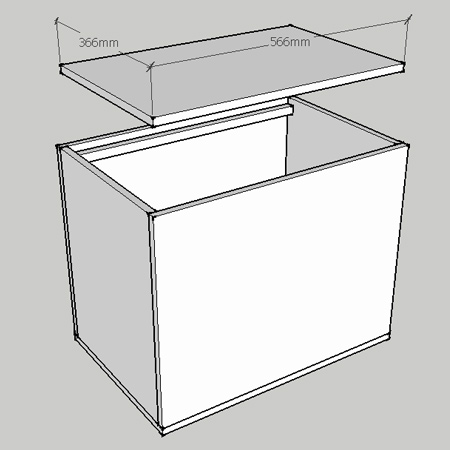
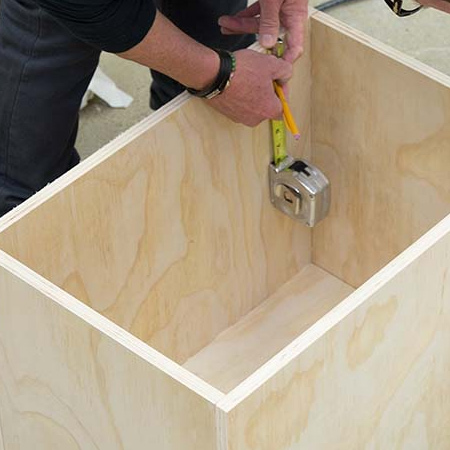
3. Measure down 16mm on the front and back and mark. This will be for mounting the furring strip - lid support.
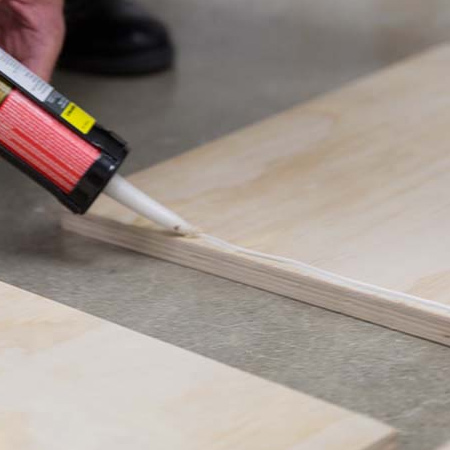
4. Glue the furring strips in place and drive in 3 or 4 panel pins (or use a pneumatic nailer).
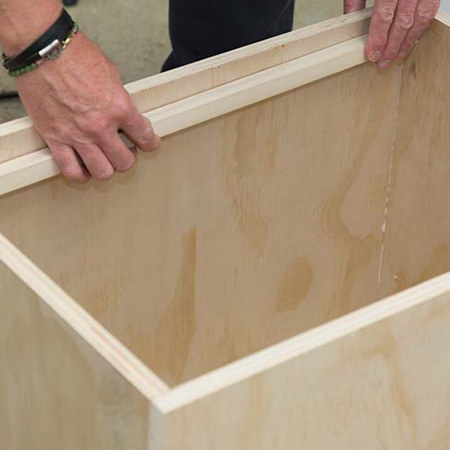
BELOW: Check that the lid fits easily on top of the lid supports.
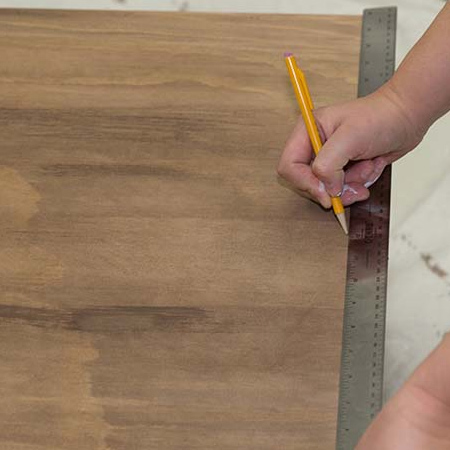
5. Apply wood sealer to the entire box, inside and out. Following the manufacturer's instructions for proper application.

6. Measure and mark the centre on the front.
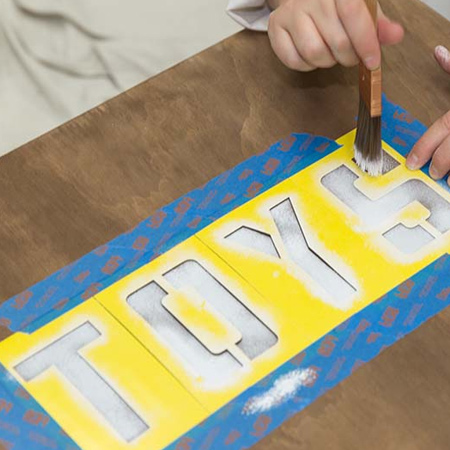
7. Let the sealer dry for the recommended time before taping down the stencils with masking tape. Use the centre guide as a mark for positioning the letter stencils.
8. Dip your brush lightly into the paint and dot over the stencil. To create a spray painted look, you’ll want to blend the paint leaving areas with less colour.
9. Let the paint dry and then remove the tape and stencils. Flip the box over and repeat for the opposite side, if desired.
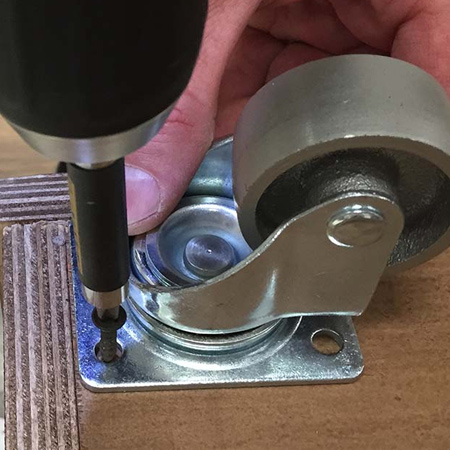
10. Position a caster inside each corner of the base and secure with 16mm screws.
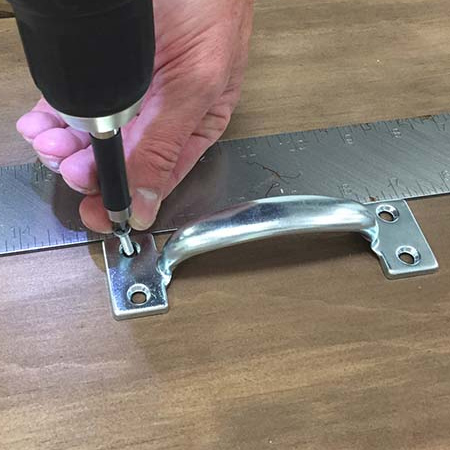
11. Measure equally from side to side where you’d like the handles to be and secure the handle to the sides and lid.