
Coffee Table with storage compartment
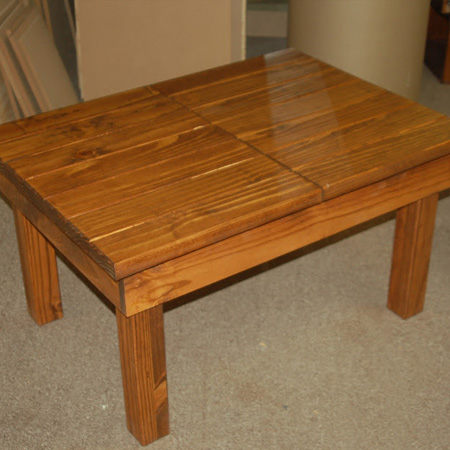
This pine coffee table has a sliding top that opens to reveal a handy storage compartment. The coffee table might look difficult to make, but is actually quite an easy project.
09/10/2017
Made of pine PAR, this easy DIY coffee table has sliding top sections mounted on runners that open to reveal a handy storage compartment.
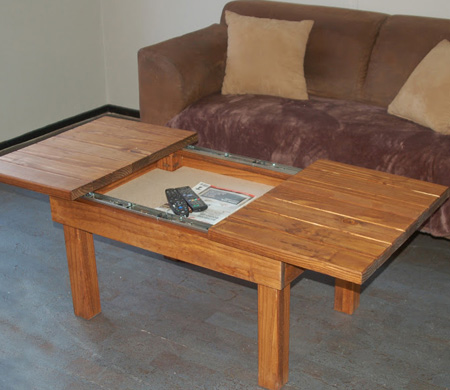
When closed, the table keeps all your media accessories out of sight. The storage compartment is large enough for your media remotes, magazines or books, or items that normally clutter the top of a coffee table.
Designed by the guys at Eureka, we used Eureka screws to assemble all the individual components. All the pine PAR can be cut to size at your local Builders, or easily cut at home using a mitre saw, table saw or jigsaw.
YOU WILL NEED:
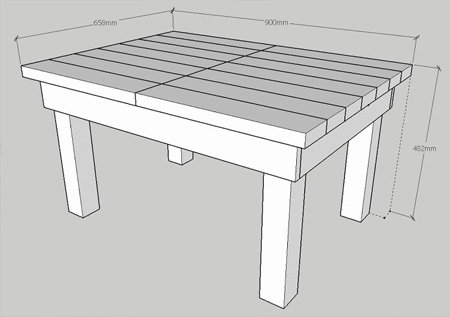
4 of 67 x 67 x 450mm pine – legs
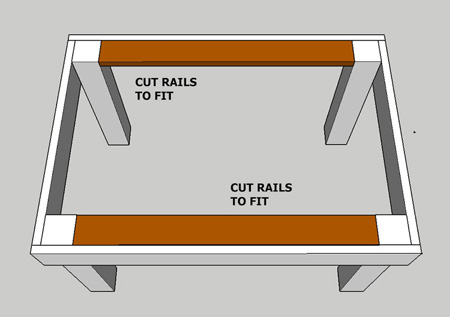
2 of 19 x 44 x 664mm pine – front/back rail
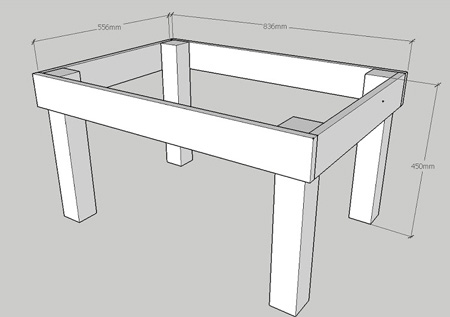
2 of 19 x 94 x 836mm pine – front/back apron
2 of 19 x 94 x 556mm pine – side apron
14 of 32 x 94 x 450mm pine – top slats
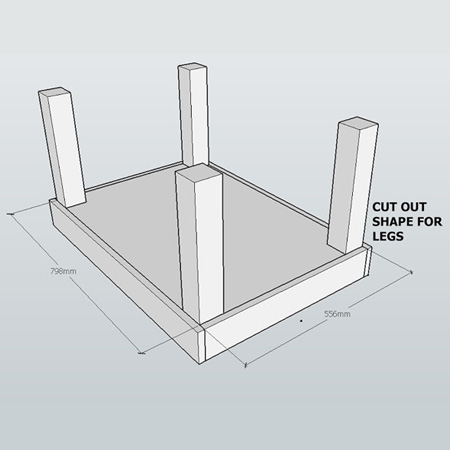
1 of 556 x 798mm 16mm plywood - base
Wood glue
2 sets of ball-bearing runners, 300mm
13mm screws
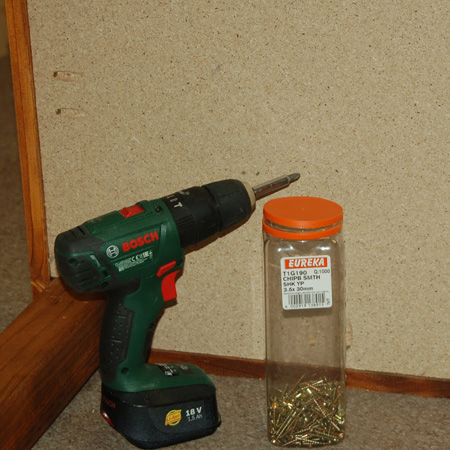
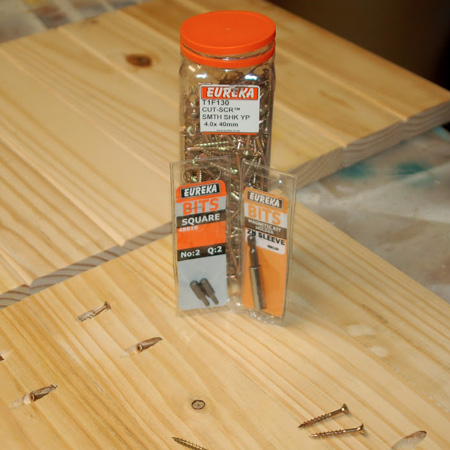
3.5 x 30mm screws
3.5 x 50mm screws
Stain or tinted sealer to finish
TOOLS:
Drill / Driver plus assorted bits
Kreg Pocket hole jig
Orbital Sander plus 120- and 240-grit sanding pads
Quick clamp
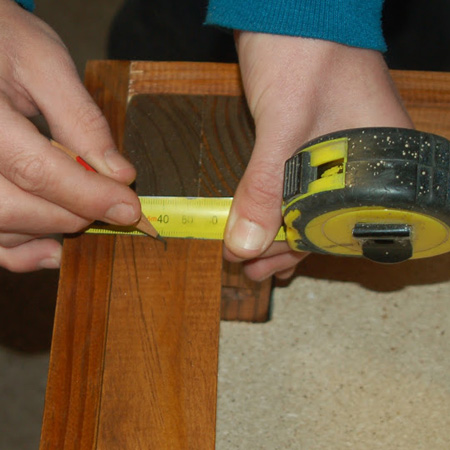
Tape measure and pencil
OPTIONAL: Router and ‘V’ groove router bit
HERE'S HOW:
![1. Drill [2] pocket holes at both ends of the side aprons.](../2017/oct/100.jpg)
1. Drill [2] pocket holes at both ends of the side aprons.
2. Use wood glue and 5 x 30mm screws to secure the side aprons to the front and back aprons to create a frame.

GOOD TO KNOW
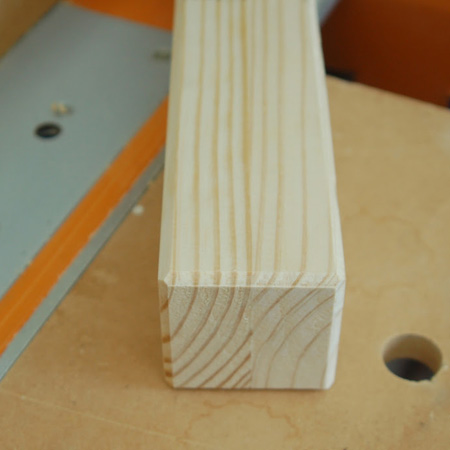
If you have a router, rout a chamfered edge with a ‘V’ groove bit on the legs (sides and base) before securing to the frame.
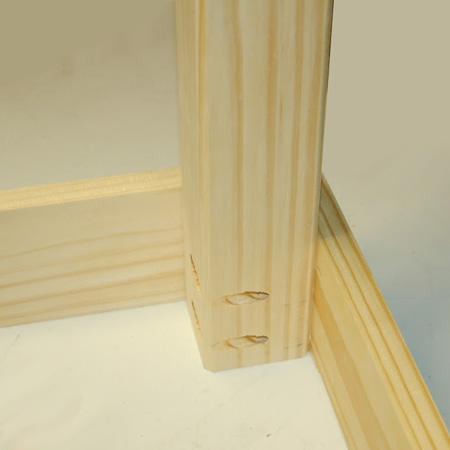
3. Drill [2] pocket holes on all legs to secure the legs to the frame.
![3. Drill [2] pocket holes on all legs to secure the legs to the frame.](../2017/oct/102a.jpg)
4. Apply wood glue to the top of the leg and clamp tightly into the corner of the frame.
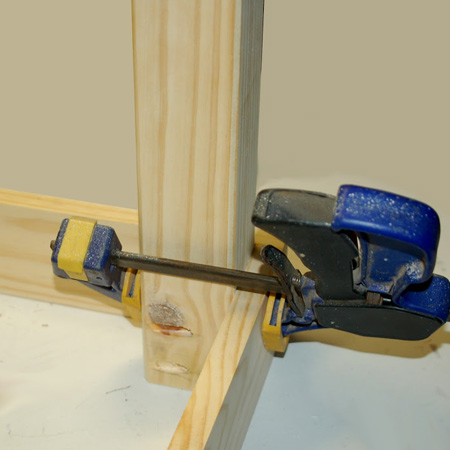
5. Secure the legs to the frame with 50mm screws.
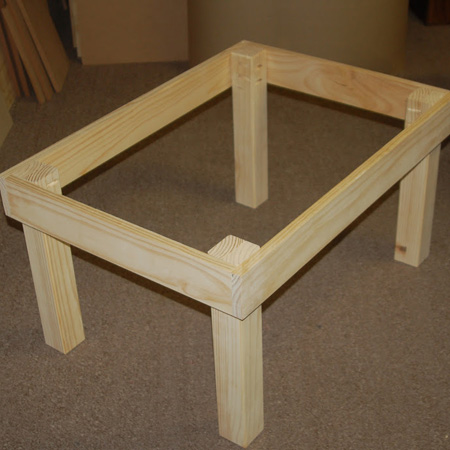
BELOW: Assembled frame.
GOOD TO KNOW
Once the legs are secured to the frame it’s easy to apply wood stain or tinted sealer.
6. Drill pocket holes along one edge and the ends of the front / back rails and secure with wood glue and 30mm screws. Apply any stain or tinted sealer to finish off the frame.

7. To prepare the plywood base, cut out 67mm x 67mm rebate at the corners to allow the plywood base to fit around the legs. Drill pocket holes on each side of the plywood base to allow for securing to the frame from underneath.
8. Fit the plywood base, making sure it is flush with the bottom edge, and secure to the frame with 3.5 x 30mm screws.
BELOW: Completed table without top sections.

9. To assemble the slat tops, drill pocket holes in each slat to join together. Apply wood glue and then clamp together and use 50mm screws to secure. Wipe away any excess glue that oozes out immediately. Leave overnight to dry.
GOOD TO KNOW
If you have a router, route a chamfered edge all around each individual slat, excluding the edge along the centre.
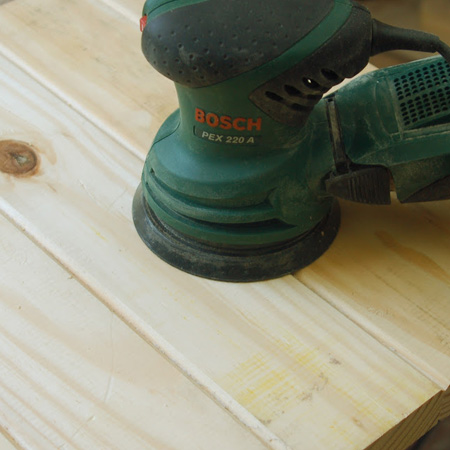
10. Stain the underside and sides of the slat tops but leave the top unfinished for now. Once the tops are attached you can sand any irregularities and then stain or apply a tinted sealer.
11. Measure and mark the centre of the rail along the width and length.
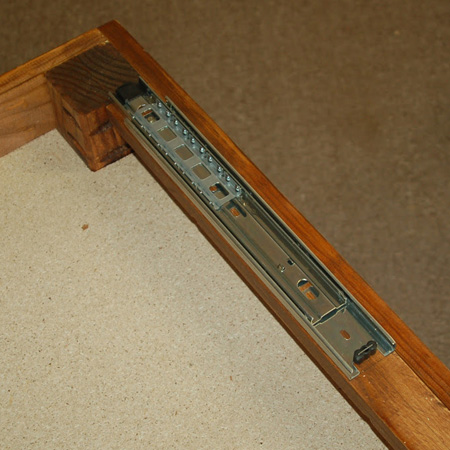
12. Measure and mark at 54mm up from the top and bottom edge of both tops. Separate the runner and place the frame side centrally on this mark and secure with 13mm screws.
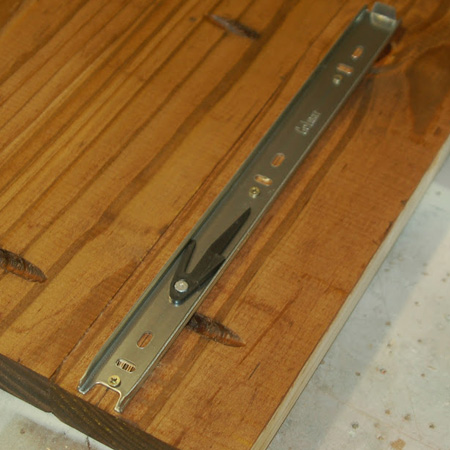
13. Place the opposing part on the front/back rails and align with the centre marks before securing with 13mm screws. Attach the remaining runners in this way.
GOOD TO KNOW
When mounting the runners, the bumper (end) should be at the centre of the table to allow for opening to the sides.
14. Slot on the tops and check that they sit flush when closed. Do any adjustments or sanding before staining or sealing the tops.
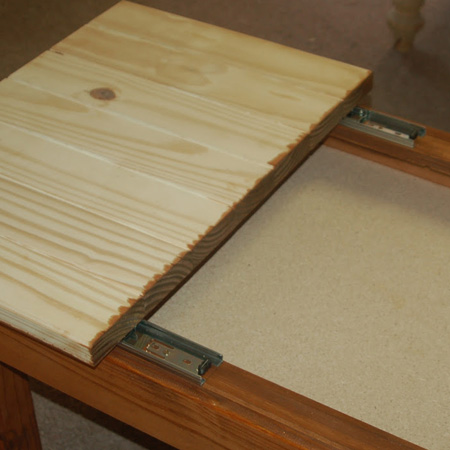
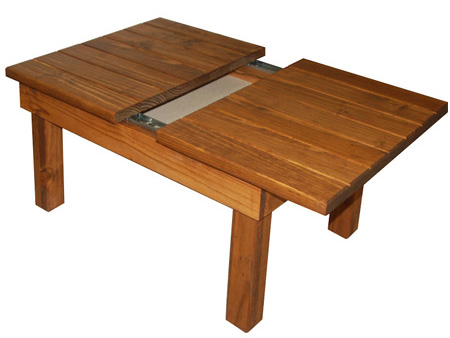
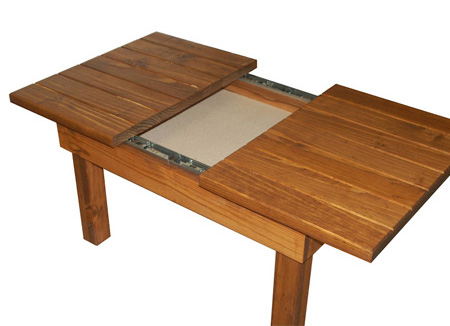
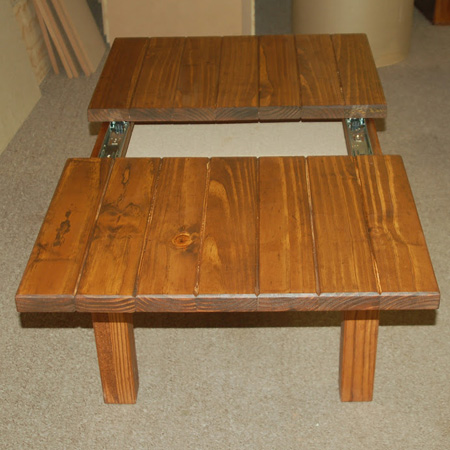
BELOW: Both top sections secured onto the sliders.

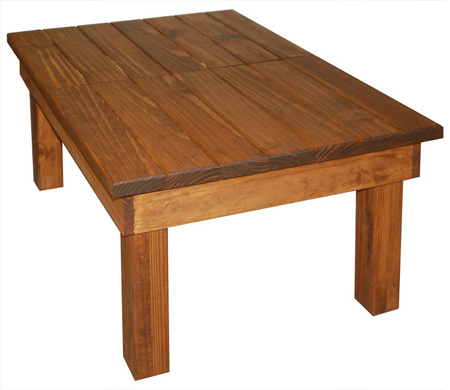
BELOW: Table after applying stain and sealer.
BELOW: Table with sections open to reveal storage compartment.
Finishing
For our sliding coffee table we used Woodoc Gel Stain (Imbuia) and Woodoc 10 Interior Polywax Sealer. Alternatively, you can apply Woodoc 10 tinted sealer. Follow the instructions on the tin for proper application and maximum protection for a coffee table. Woodoc products are available at Builders and leading hardware stores countrywide.