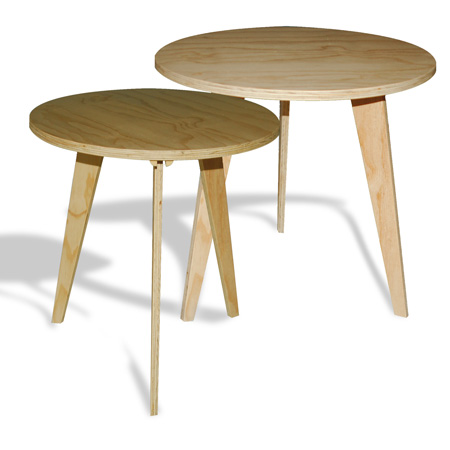
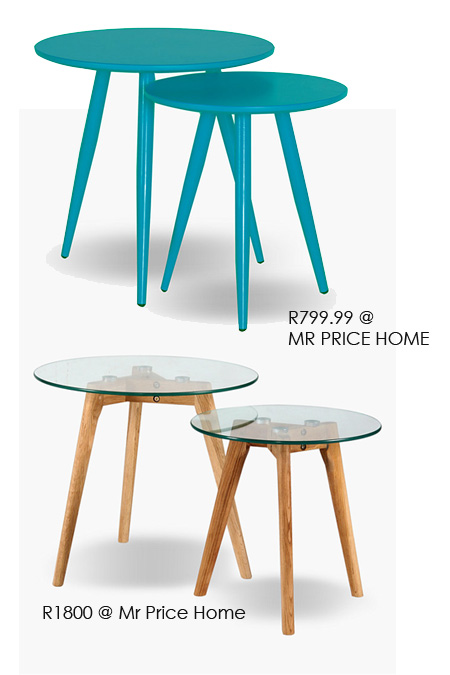
Make a Danish-style Side or Coffee Table
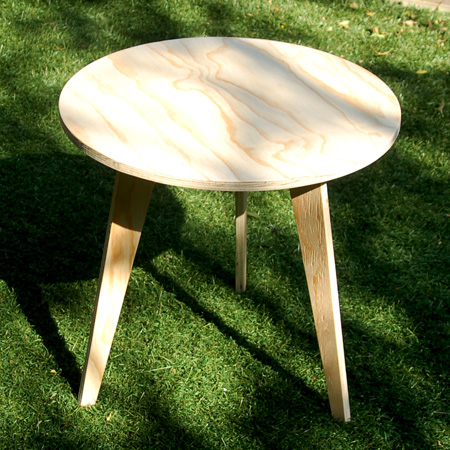
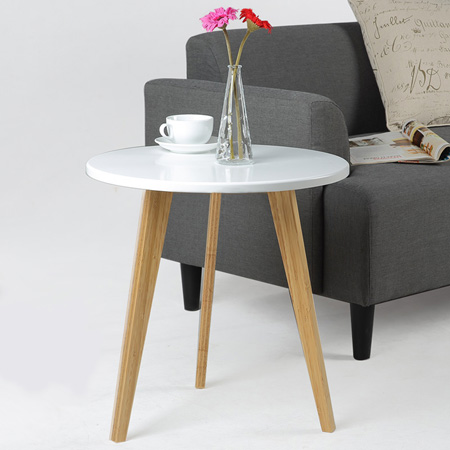
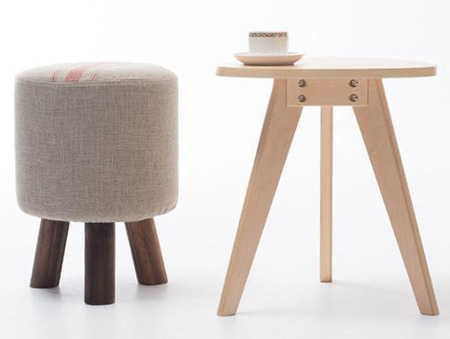
I love Scandinavian design, and these pretty Danish-style tables are easy to make using 16mm pine plywood that you can buy at Builders.
Although the Scandinavian-style tables shown here are generally birch, I decided to replicate the look with some leftover 16mm pine plywood that I had. If you manage to find a nice sheet, there's no reason why plywood can't look just as good - plus it's strong enough to make a sturdy table. And you can buy pine plywood at your local Builders Warehouse or timber merchant.
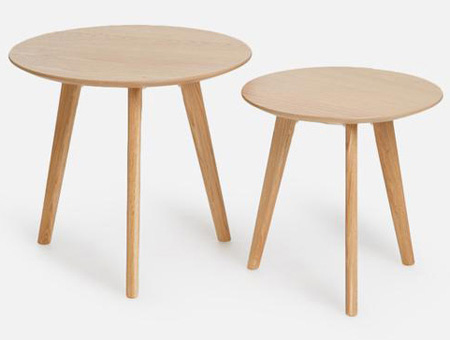
Make a pair of Danish tables in different heights for a set of nesting tables. You have the option to wax them, stain, seal, varnish or paint in your choice of colour.
YOU WILL NEED:
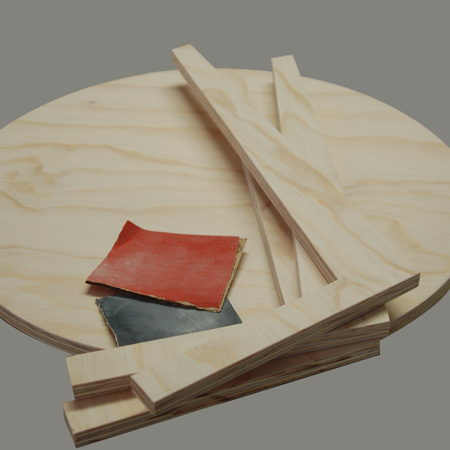
1 of 500 x 500mm 16mm plywood - table top
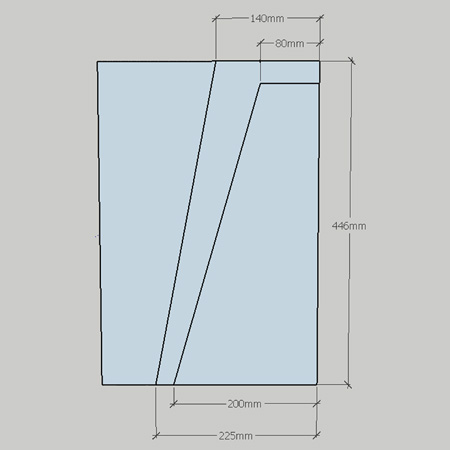
1 of 300 x 1800mm 16mm plywood - legs
- Cut to 3 of 446mm lengths - see cutting diagram below
1 of 12mm quarter-round
Wood glue
Wood filler
20mm panel pins
120- and 240-grit sandpaper
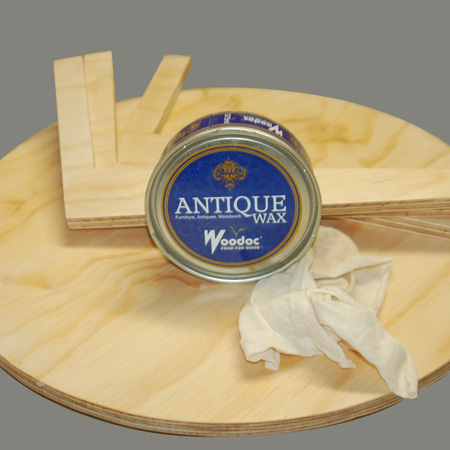
Woodoc Antique Wax or Woodoc 5, 10 or 20 Sealer
TOOLS:
Jigsaw and fine-toothed (steel) blade
Hammer
Tape measure and pencil
Buy everything you need for this project at Builders Warehouse.
HERE'S HOW:
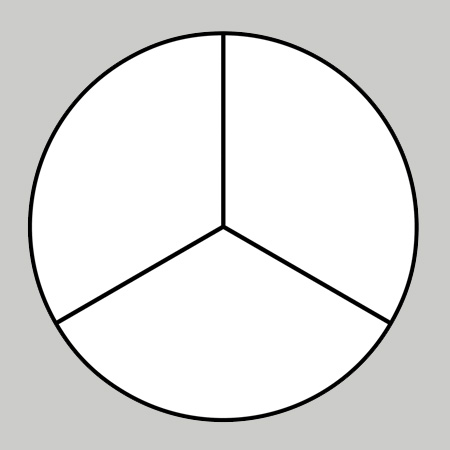
1. Cut out a 500mm diameter circle using a jigsaw and fine-toothed blade (see below for tips). This will be marked in 3 equal portions.
GOOD TO KNOW: Cut slowly and accurately, you want to cut these as perfectly as possible, and any irregularities should be sanded. Perfect cutting is the difference between "did you buy this?" and "did you make this?"
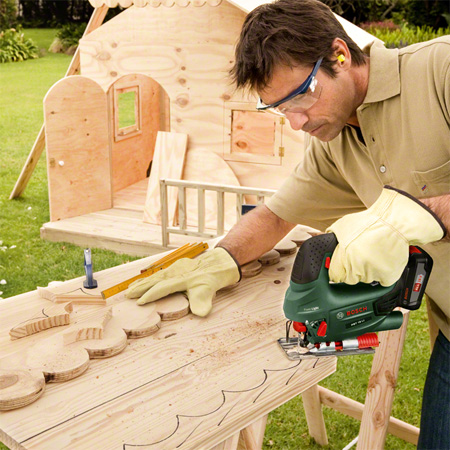
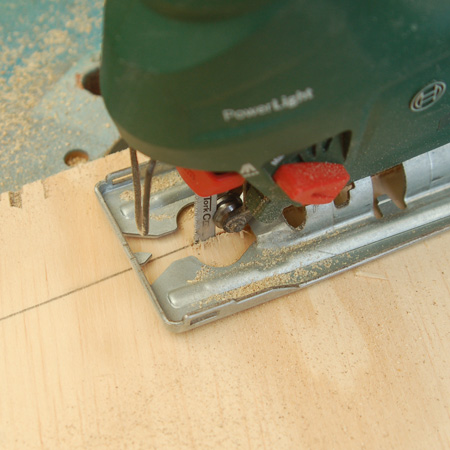
2. Use a jigsaw to cut out three legs.
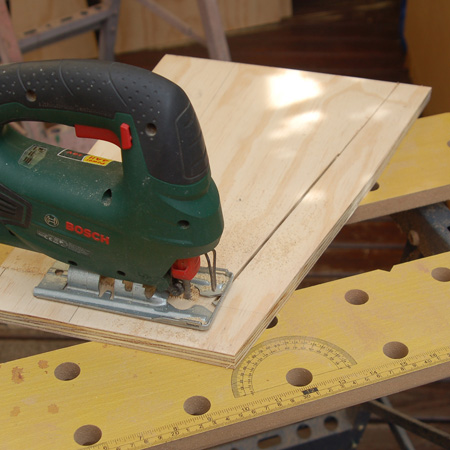
GOOD TO KNOW: Use a fine-toothed blade to cut the plywood and reduce ripping. I used a jigsaw blade for steel to cut the plywood.
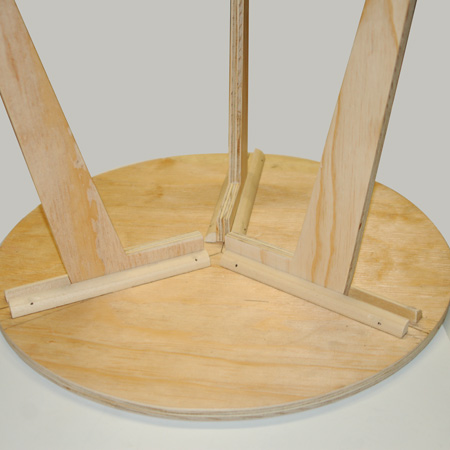
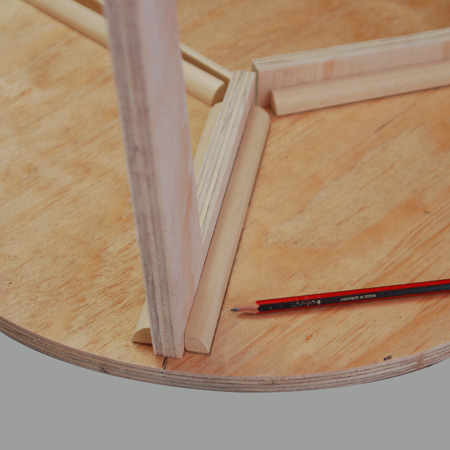
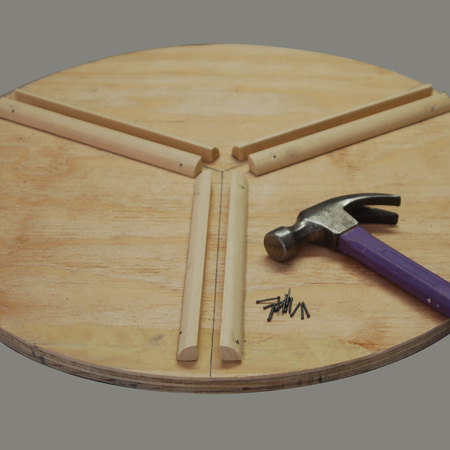
3. To secure the legs to the underside of the table I cut some 12mm quarter-rounds to 150mm long. These were placed on the underside and a pencil used to outline. Make sure the pencil mark is as close as possible to the edges.
GOOD TO KNOW: You want a very snug fit, so that the legs aren't loose.
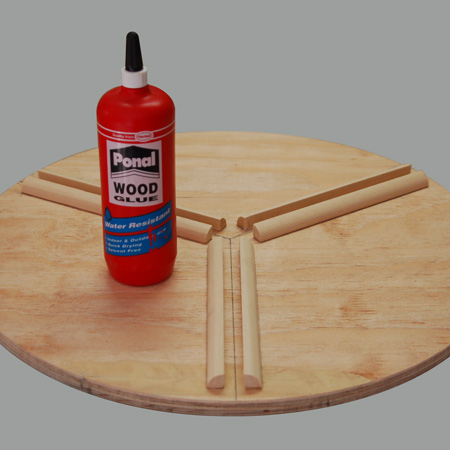
4. The quarter-rounds were glued to the table with Ponal wood glue. Press down hard and wipe away any excess glue that oozes out. Follow the pencil marks to ensure accurate placing.
NOTE: You will see that the finished legs are shorter on the top than the ones shown in these pics. I cut the legs shorter to ensure that they wouldn't protrude around the table once assembled.
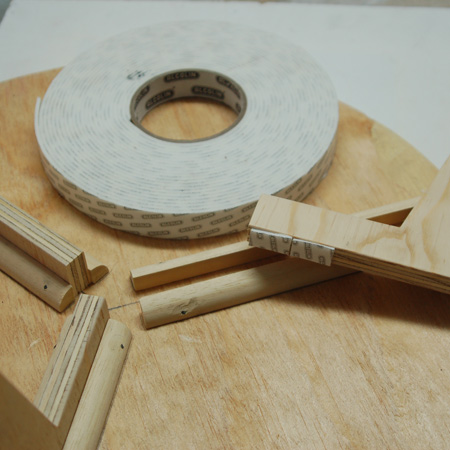
5. After letting the glue dry for a couple of hours, I added a couple of 20mm long panel pins to the quarter-rounds.
6. Before assembling the plywood table, take the time to sand smooth. I sanded with 120- and then 240-grit sandpaper. Don't use a sander, as this is a bit too aggressive for the veneered plywood - sand by hand and go with the grain. Also round off the edges slightly.
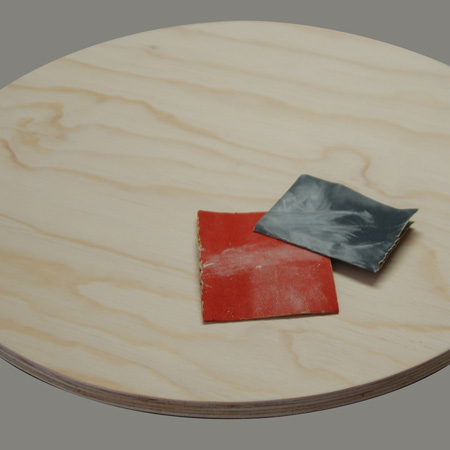
Sand the legs as well.
7. After sanding, wipe down and then apply Woodoc Antique Wax. If you prefer, you can also use a stain and sealer, tinted sealer, varnish. whitewash, or paint the table or table top. I wanted to have a more natural finish in line with Danish trends.