DIY Plywood Pedestal | Storage Cubby
These plywood storage pedestals can be used for storage in so many places. Use them in the bedroom as bedside cabinets, in the bathroom for storage, in a kids bedroom, or in a workshop.
16/01/2018
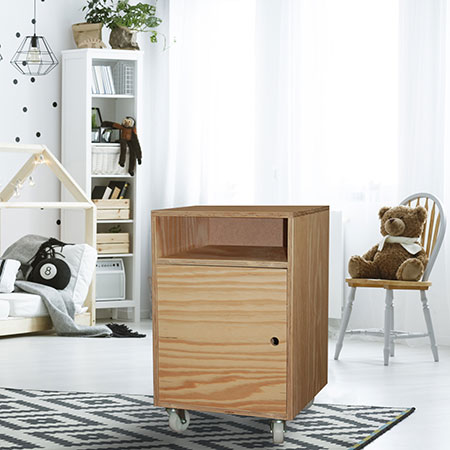
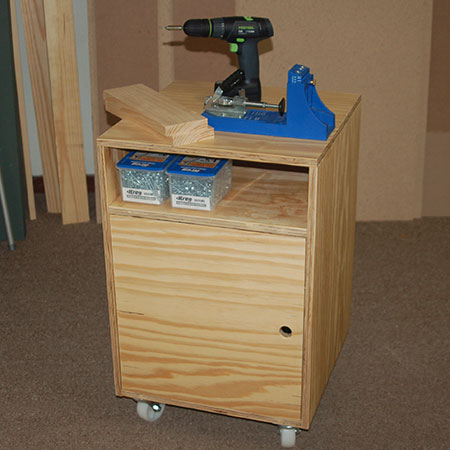
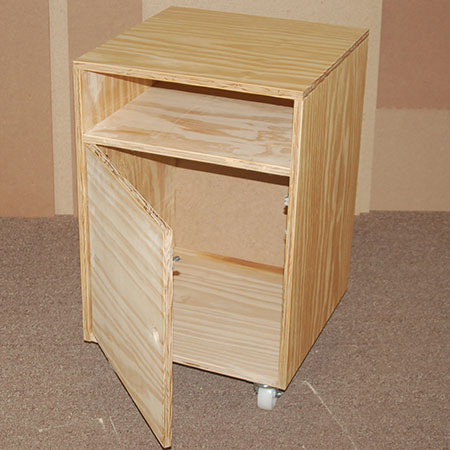
I made a plywood storage cubby as a Kreg Tool work station. The wheels allow me to move it around to where I need it, and it's big enough to store all my Kreg accessories and tools.

YOU WILL NEED:
1 of 452 x 450mm 16mm pine plywood - top
2 of 450 x 600mm 16mm pine plywood - sides
1 of 434 x 416mm 16mm plywood - door
2 of 450 x 420mm 16mm plywood - shelf / base
1 of 442 x 606mm 3mm Evowood/Masonite, hardboard or SupaWood
4 of castor wheels, locking and screws
Wood glue
32mm pocket-hole screws
2 of Concealed hinges, inset plus 16mm screws
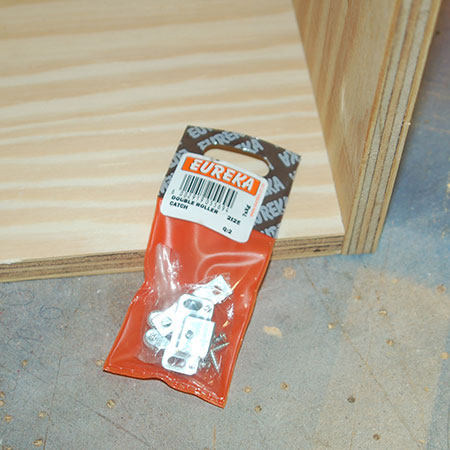
1 of Roller catch for door
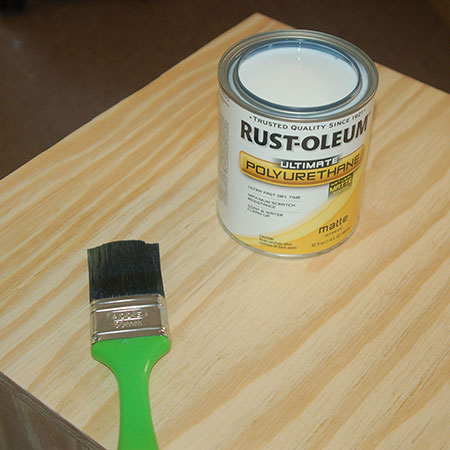
Rust-Oleum Ultimate Polyurethane and paintbrush
TOOLS:
Kreg Pocket hole jig
OPTIONAL: Kreg Plug Cutter
Drill / Driver plus assorted bits
25mm spade bit
Orbital Sander plus 120- and 180-grit sanding pads
Clamps
Bosch Tacker or hammer and panel pins
Tape measure and pencil
Buy everything you need for this project at Builders Warehouse.
HERE'S HOW:
Preparation
Most plywood requires some sanding over the surface to clean it up and remove rough splinters. Sand all pieces - both sides - before assembly.
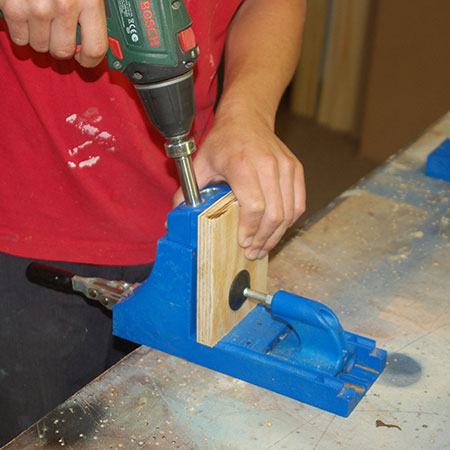
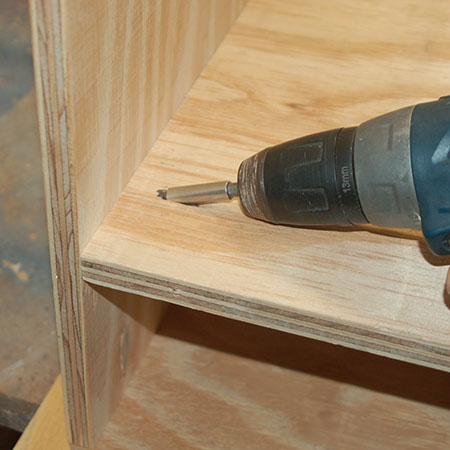
1. Drill 2 pocket-holes along the top and bottom of the side, and the sides of the top shelf and base section.

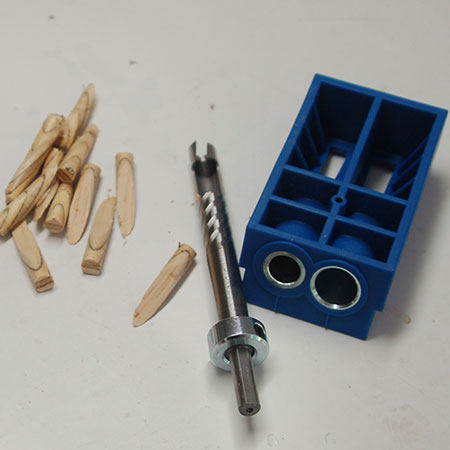
2. If you are going to be filling the pocket-holes with custom plugs, cut these out of a piece of scrap plywood with your Kreg Plug Cutter.
The Kreg Plug Cutter allows you to cut plugs to match your project material.
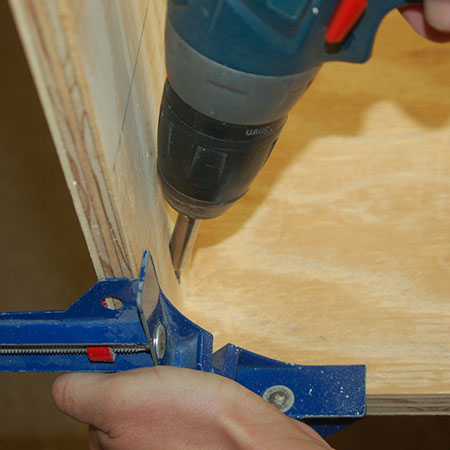
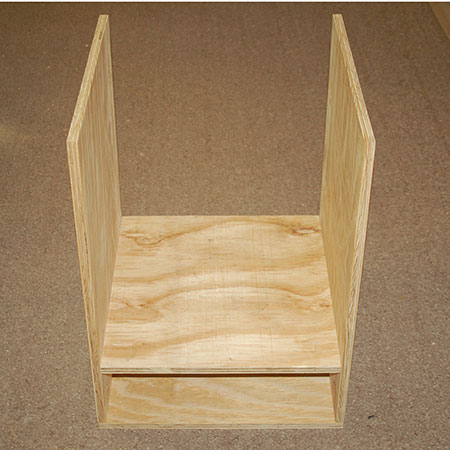
3. Attach the side sections to the top piece with wood glue and pocket-hole screws.
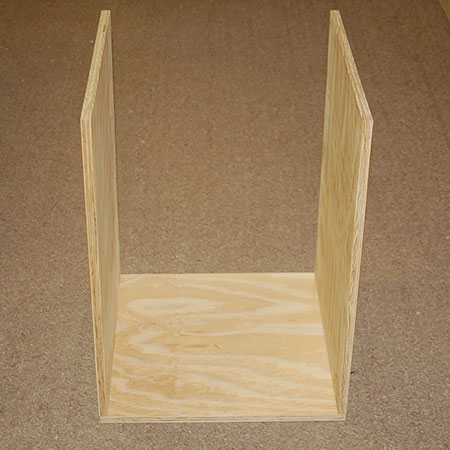
BELOW: Top attached to side sections.
4. Measure 130mm from the top and mark. Use this as a guide for mounting the top shelf. Secure to the sides with pocket-hole screws.
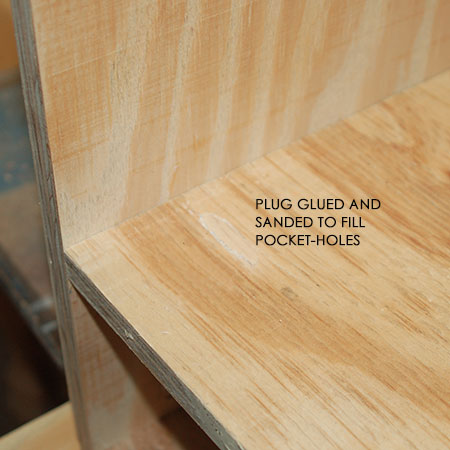
5. If you are filling all the pocket-holes with plugs, do this now before you finish assembly. Apply wood glue to all the pocket-holes and pop in the plugs. Allow the glue to dry and then sand flush.
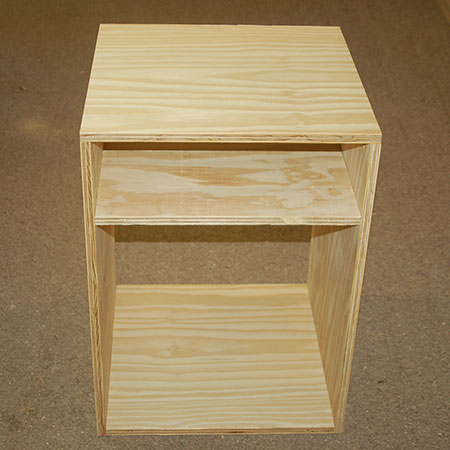
BELOW: Top shelf attached to side sections.
6. Attach the base in the same way as the top shelf.
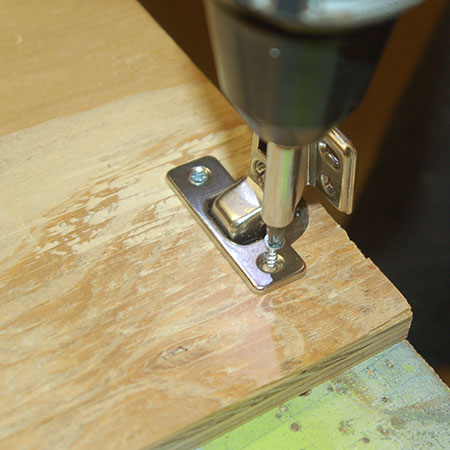
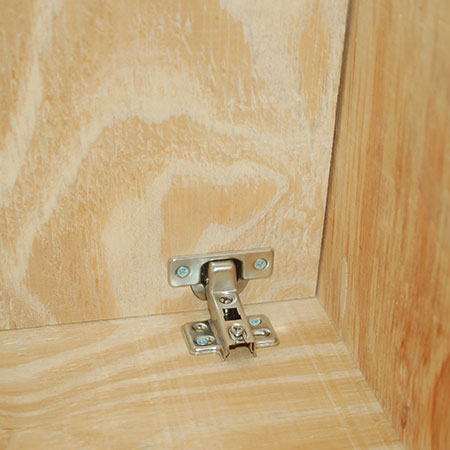
7. Mark and drill out for the concealed hinges. You will find detailed instructions here. On this cabinet we used inset hinges that allow the door to fit inside the frame.
8. Secure the concealed hinges to the back of the door with 16mm screws.
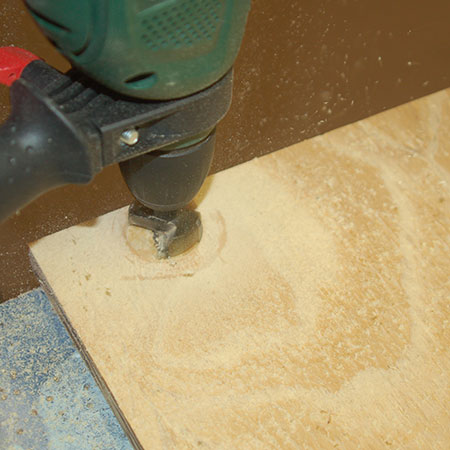
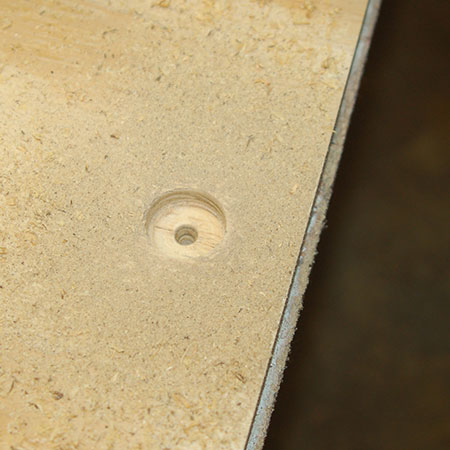
9. Before mounting the door, use a 25mm spade bit to drill out the finger hole.
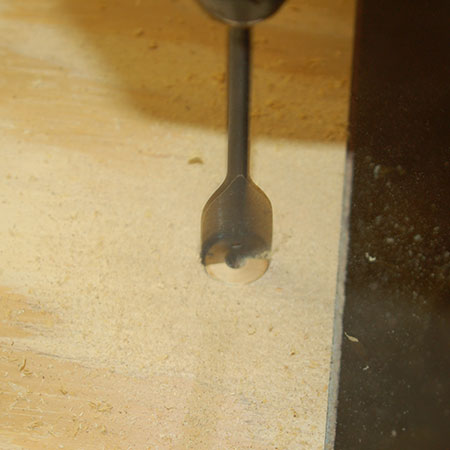
GOOD TO KNOW
Drill about three-quarters depth on one side before turning over to complete the hole. This prevents ripping-out for a neat hole on both sides.
10. Flip the project onto its side to make it easier to mount the hinges from the inside. You might need someone to hold the door flush while you secure the hinges to the side.
GOOD TO KNOW
Once in place, you can adjust the hinges for a perfectly aligned door.
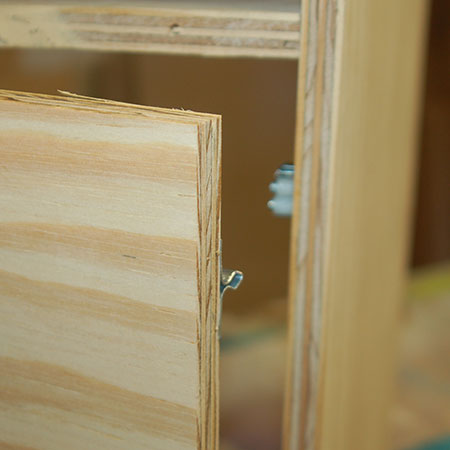
BELOW: Use Double Roller Catch to hold the door in place.
11. Secure the individual components to the door and cabinet frame.
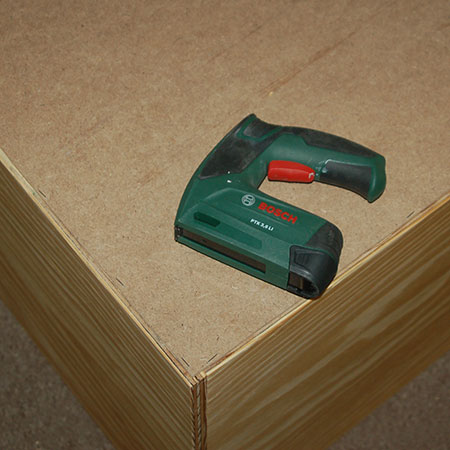
12. Secure the backing board in place with a Bosch Tacker, or hammer and panel pins. Turn upside down to attach the castor wheels to the base.
Finishing
Sand all the rough edges smooth and wipe clean.
Apply Rust-Oleum Polyurethane Sealer with a synthetic paintbrush - following the grain. It dries to an invisible finish that is ultra matt. No sanding is required between coats, and you don't have to worry about blending brush strokes. Click here for more information on this product.