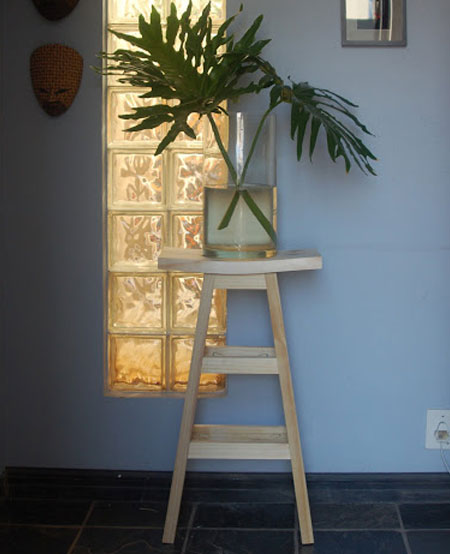
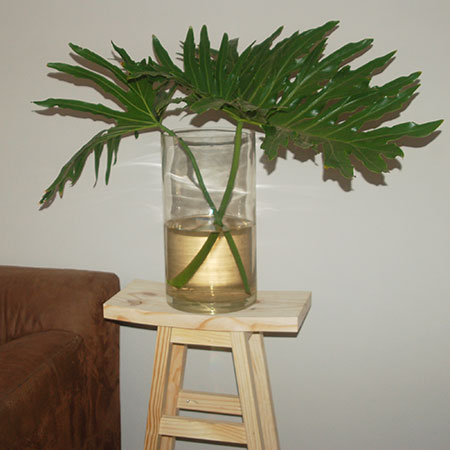
Pine Plant Stand with Curved Top
I am working on a design to make my own wooden bar stools with curved seats. As a tester project, I made a plant stand to work out the design kinks and get everything perfect for the stools.
18/09/2017
I love the look of wooden bar stools with curved seats, but wanted to find an easy way to do this. I recently featured an article on using an angle grinder as a sander by using flap discs, and I wanted to try using my planer to cut out the basic curve and then sand with flap discs - it worked like a dream. Find the article here for using your angle grinder as a sander.
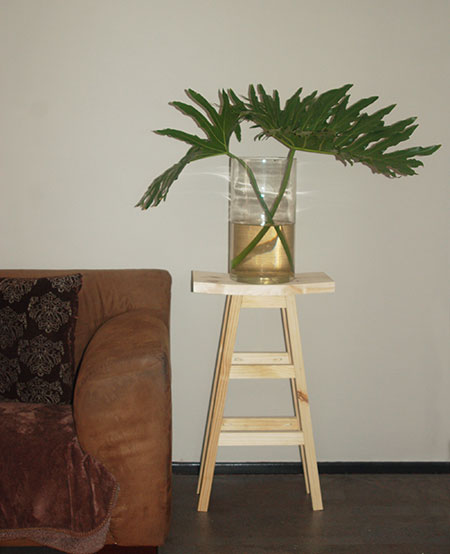
Before making my wooden bar stools I wanted to see how the project would work - how easy it would be to make a curved seat and how to make the frame for the bar stools. This pine plant stand allowed me to work out all the kinks and refine the design before making the stools - and I love the plant stand! I will be sharing the bar stool project as soon as I'm done.
YOU WILL NEED:
1 of 50 x 450 x 224mm untreated (rough) pine*
2 of 32 x 32 x 1800mm PAR pine
1 of 22 x 44 x 1800mm PAR pine
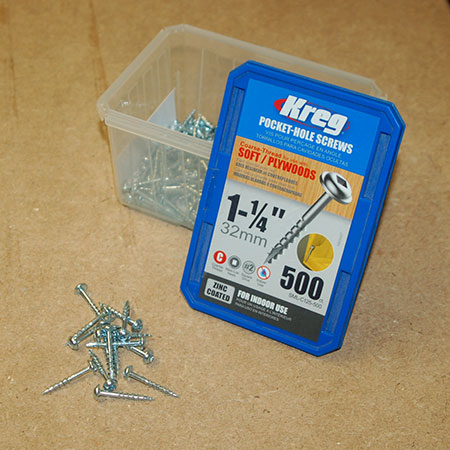
32mm coarse-thread pocket hole screws
Wood glue
TOOLS:
Drill / Driver plus assorted bits
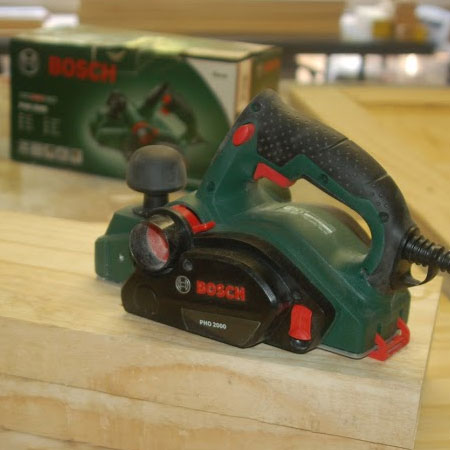
Bosch Planer
Angle Grinder with 120-grit flap disc
Kreg Pocket Hole Jig
Orbital Sander plus 180/240-grit sanding pads
Tape measure and pencil
*Untreated (rough) pine available at Builders (stock varies by store).
Buy everything you need for this project at Builders Warehouse.
HERE'S HOW:
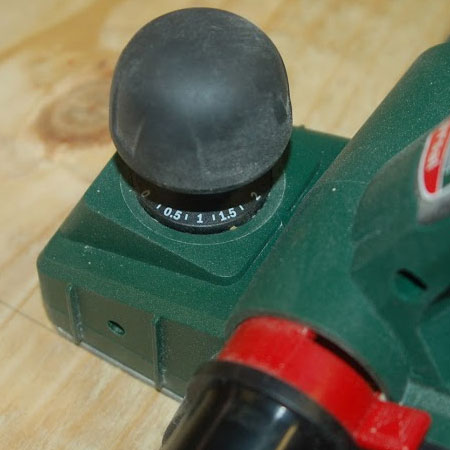
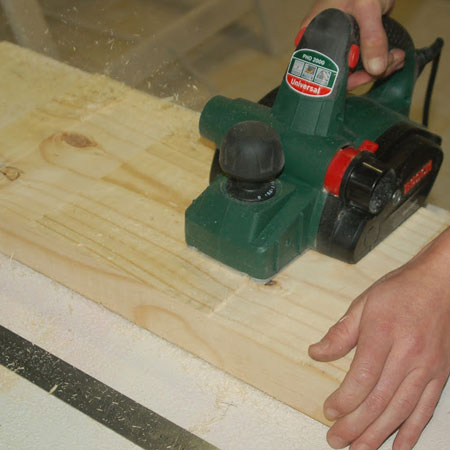
1. Set the planer for maximum cutting depth - 2mm.
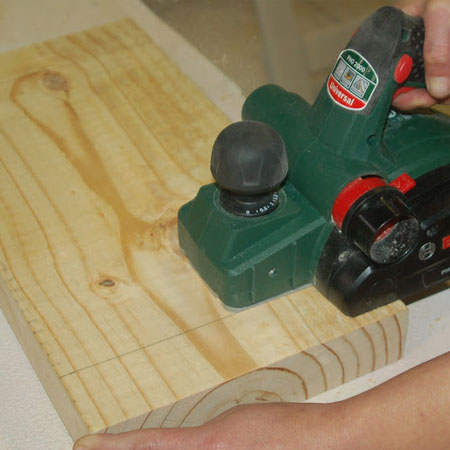
2. Start planing about 50mm from the sides. Make sure the planer is away from the wood before switching on and then slowly guide over the wood from front to back..
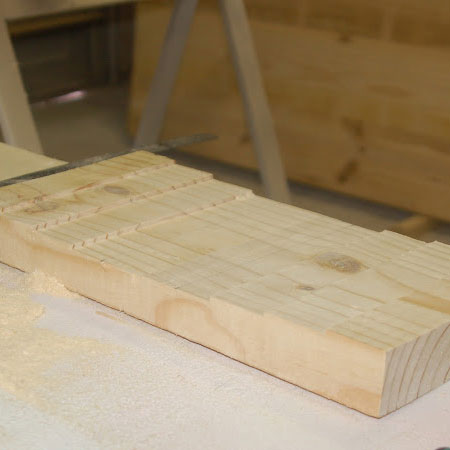
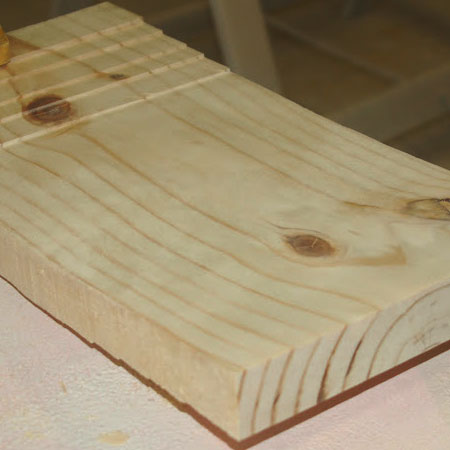
BELOW: First section removed.
3. Work from both sides in to the centre.
4. Make repeat cuts until you achieve a total depth - in the centre - of about 12mm.
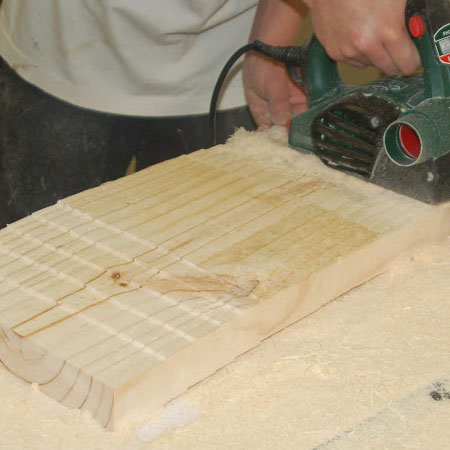
5. Repeat the planing on the underside of the seat. Start planing 100mm from the centre and work out to the sides to a total depth of 12mm at the edge.
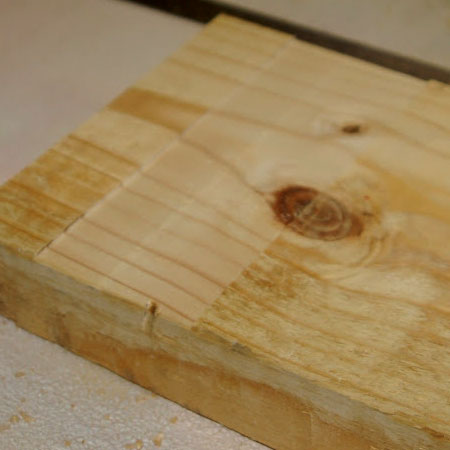
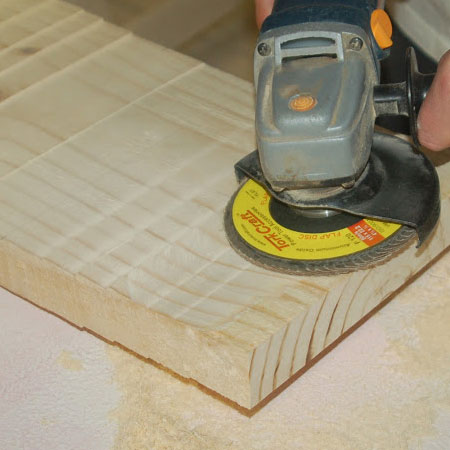
6. After planing, use a 120-grit flap disc to smooth the cut edges. Gently smooth the angle grinder and flap disc over the seat from the sides towards the centre.
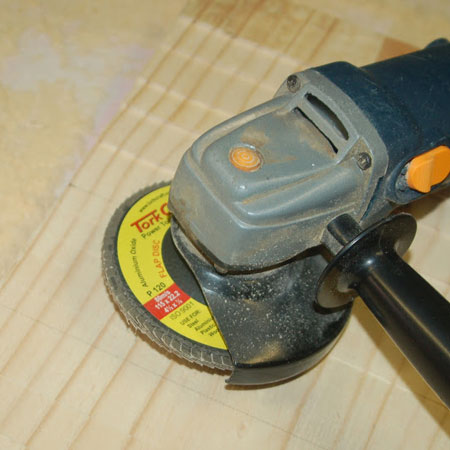
A flap disc makes it easy to remove excess wood.
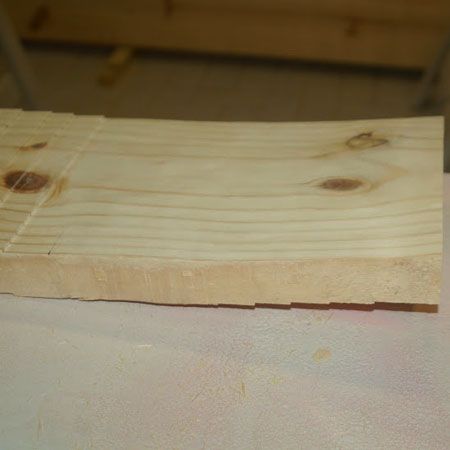
Half the curved seat after sanding with a flap disc.
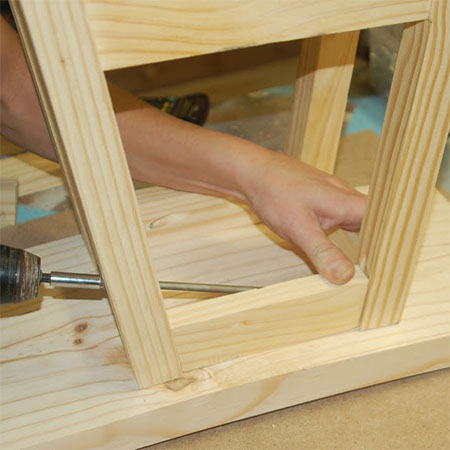
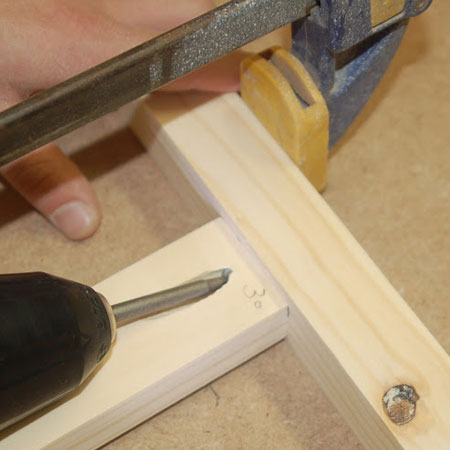
7. All the sections for the base of the plant stand have a 5-degree angle cut at the ends and are assembled using wood glue and a pocket hole jig, coarse-three pocket hole screws and wood glue.
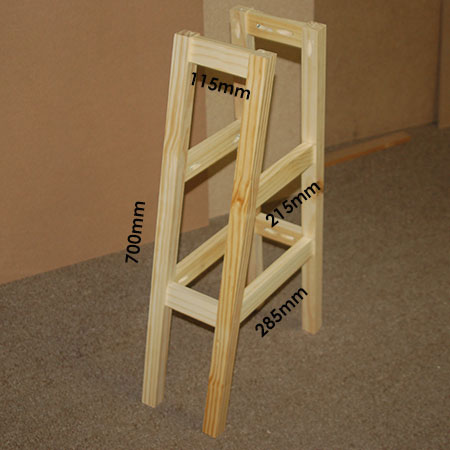
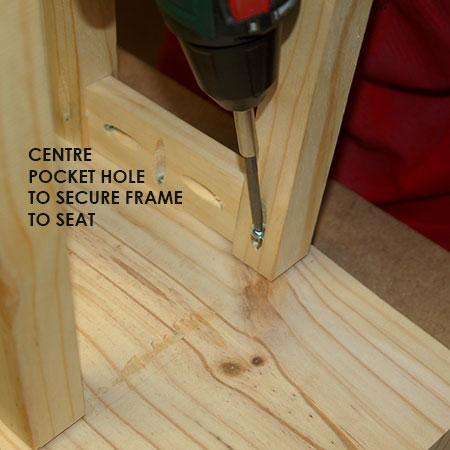
8. Drill a single pocket hole at the end of every section. The top sections that will secure the base to the seat have a pocket hole at both sides and a single pocket hole in the centre (to attach to the stool seat).

GOOD TO KNOW
Use 32mm coarse-thread pocket hole screws to assemble the base of the plant stand.
GOOD TO KNOW
Apply wood glue and clamp together while you drive in the screws.
9. To attach the base to the seat, place a bead of wood glue along the top edge of the frame and position centrally underneath the seat.
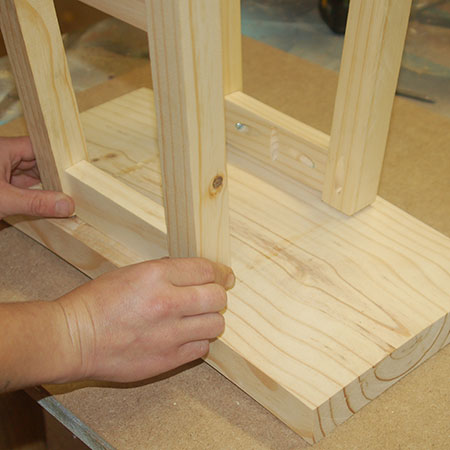
10. Drive screws through the legs and side tops into the seat.
GOOD TO KNOW
The legs are secured to the seat and the final side sections screwed in place at the top.