
How to achieve successful DIY projects
Even a beginner DIY enthusiast can create perfect projects. It is important to note that no project is free of flaws but there are tips and techniques that you can apply to create a project that looks perfect.

When tackling your own DIY projects it all boils down to learning the common areas in projects where errors can occur and why. Once you understand this you will be able to develop your own methods to avoid those mistakes. In this article we look at some common problem points and offer tips you can use to produce your best projects ever. Perfect-looking projects are achievable for anyone who takes a proactive approach. All it takes is an awareness of avoidable mistakes, and reliable methods to overcome them.
Natural defects
Wood might look perfect, but by its nature it is not always consistent and there still may be defects. It is very important to not only inspect wood products before you buy the, but also give your project pieces a thorough inspection.
Assembled projects should have flat faces, straight edges, and square corners. Any irregularities should be sanded smooth before you paint, seal or varnish.
GOOD TO KNOW:
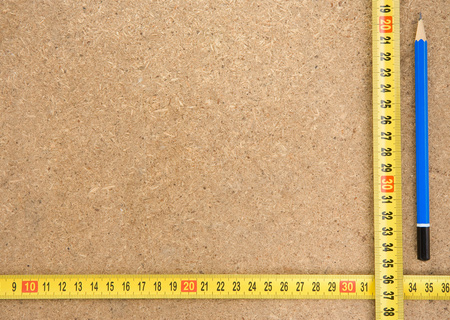
Always use the
same tape to measure all of your project parts.
Even if the markings on the tape aren’t totally
accurate, your measurements will still be
consistent.
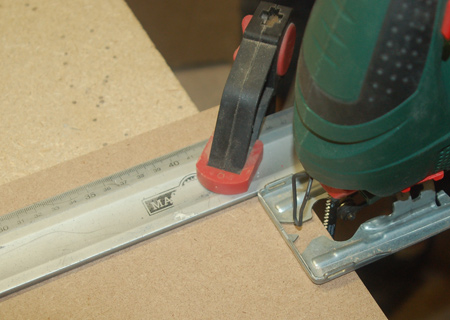
Consistent cutting
More often than not projects require cutting multiple parts to the exact same length. After cutting, check that all your pieces are cut to the same length and width, or trim / sand as required.
When ordering wood or board that is cut to size, double check that the pieces are perfectly cut, as even a millimetre or two can make a difference to your finished project.
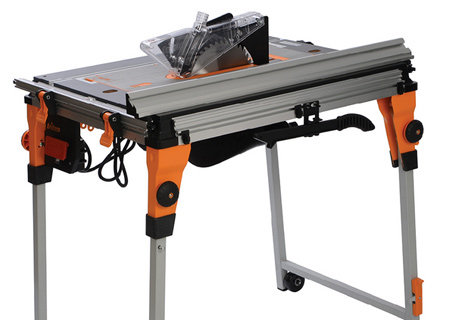
If you use a table saw for cutting consider replacing the gauge. Most saws come with a very basic gauge. Alternatively, start saving for a professional table saw that guarantees excellent results with every cut.
Check as you work
For most projects, the most important factor is consistency in thickness, width, or length. A simple solution for this is to line up the parts side by side to ensure the dimensions match up. Note: Just make sure you do so on a perfectly level or flat surface.

Mark your pieces
It’s so easy to get mixed up when working with a lot of parts. The smartest approach is to mark each piece visibly so that you don't get confused when assembling. Use corresponding letters on pieces that will be joined together, mark inside and outside faces, label tops and bottoms, and lay out locations for curves and other details. Remove the marks once assembled during the sanding stage.
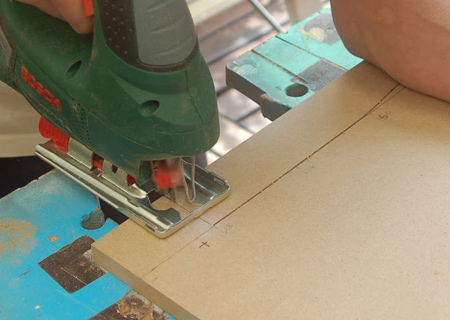
Cut to fit
In many projects we do here on Home-Dzine, a project calls for pieces cut to a specific size. However, there will be times when it is necessary to cut a piece to fit. This takes the worry about whether or not a particular piece fits a specified dimension. This is especially true when building things like doors or drawers that need to fit inside another assembly, or when you’re fitting the last piece in a group.