How to achieve perfect mitres
Mitre joints are handy for a variety of projects, but getting them perfect every time can be a challenge. We offer some tips on achieving accurate mitre joints that match up nicely.
You can use mitre joints to make boxes and frames, and we use mitre joints all the time when making picture frames. The easiest way to cut mitre joints is with a mitre saw, and you can buy online from www.tools4wood.co.za. Definitely worth the investment if you plan on doing lots of DIY projects, or tackling home improvements that include fitting cornice, mouldings, skirting boards and trim.
We have done plenty of workshops on making frames for www.DIY-Divas.co.za and one question that repeatedly pops up is how to cut perfectly mitred corners. While it is possible to achieve almost perfect corners, there are several factors to take into consideration to get them as accurate as possible. We picked up a few tricks when making so many picture frames for workshops and I'm sharing some with you:
Even though you are working with boards of a similar thickness and width, there may be miniscule differences along the length that will affect the angle being cut, and that's why wood filler is your best friend when making picture frames! When selecting timber for your project, look for pieces that have a similar grain patterns, have no knots and are not bent or bowed along the length.
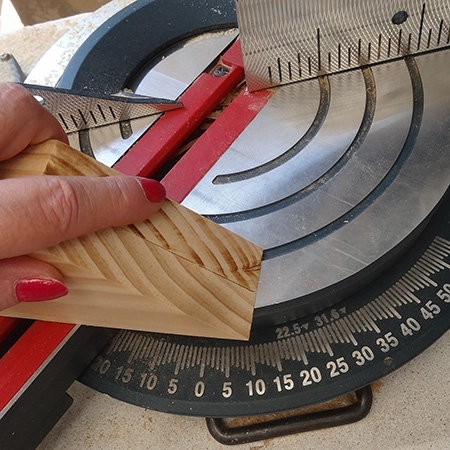
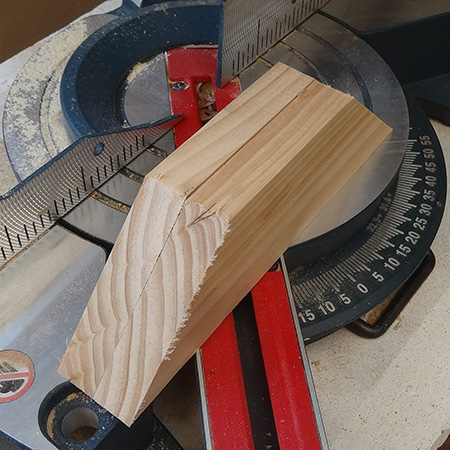
Start at one edge and cut your first 45-degree angle, making sure to double check the setting on the mitre saw before you cut.

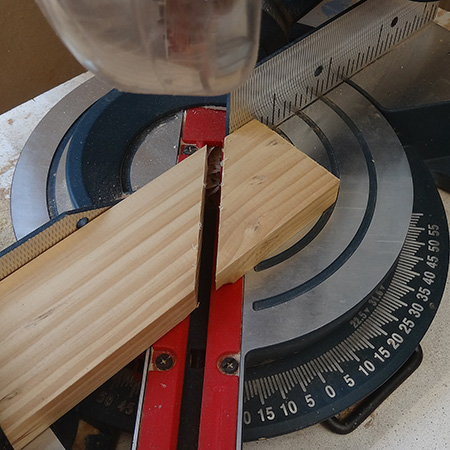
When cutting the opposing edge, rather than adjust the angle on the mitre saw - turn the board over to cut. This ensures that both angles are cut exactly the same, since you are moving the board and not adjusting the mitre saw.
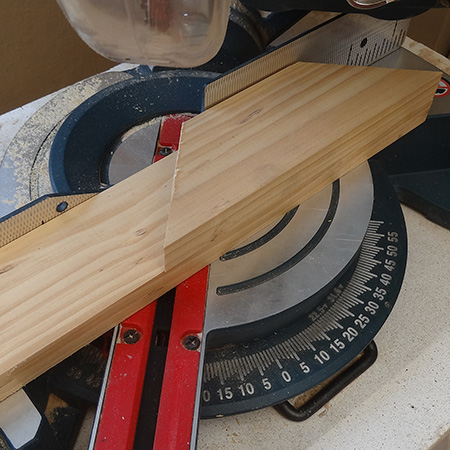
To cut the next piece use the first piece as a template, turning the board over to set the angle correctly for each end.
Now you have two pieces. You can cut an additional two pieces of the same size to make a square frame, or repeat the above steps to cut longer lengths for a rectangular frame.
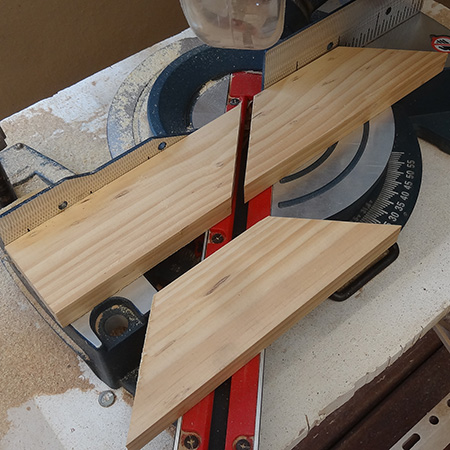
All four pieces should have exactly the same angle at the ends, if they don't...
You can hold two blocks together and cut these again to allow for any differences, cutting two at a time into all four sections are perfect.