
Quick Project: Hardware Organiser
It's not always easy to keep screws, hardware and small items organised. This wall-mounted hardware organiser is a 30-minute project that will help keep your workshop or workspace clutter free.
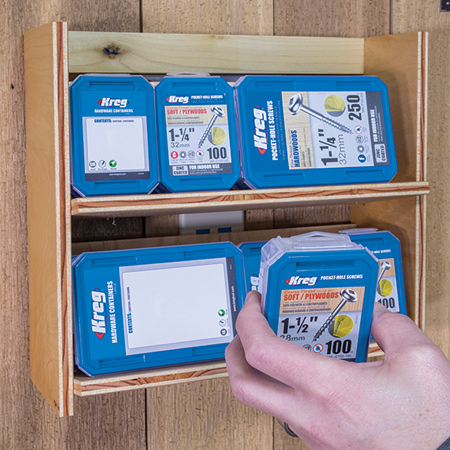
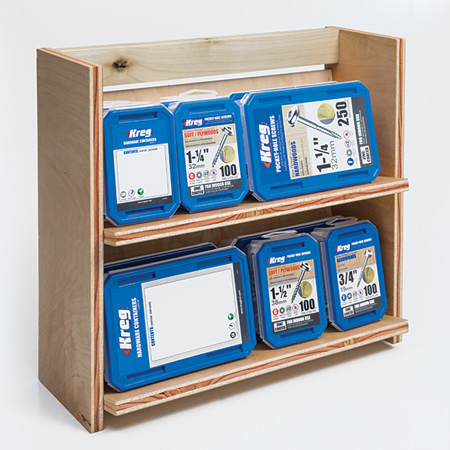
Make a handy, wall-mounted organiser for all your screws and hardware. Simply modify the length of the shelves to make a longer organiser, or make more than one for a large workshop.
We used 12mm pine plywood offcuts to make this wall-mounted hardware organiser, but you can substitute with any scrap material that you have left over in your workshop.
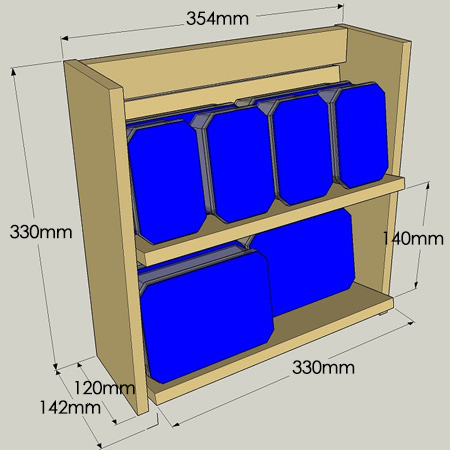
What makes this project so easy is a Kreg Pockethole Jig and pockethole screws. Cut all the pieces as per the diagram above and join together with pocketholes, screws and wood glue.
1. Start by assembling the shelves and then arrange the shelves on one side. Position the upper shelf assembly so that it’s tilted back at a slight angle, this helps keep containers in place securely in the organizer. Once you have the position figured out, spread glue on the end of the shelf assembly, and then attach it to the side using pockethole screws.
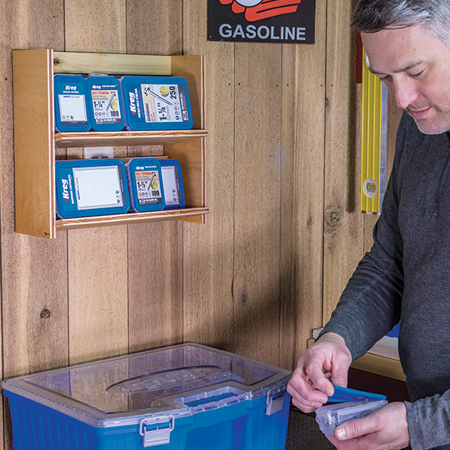
2. The organiser is mounted onto a wall via the cleat at the top of the unit. A Hangman French cleat hanger is shown here, and you can order these online, or simply use wall plugs and screws to attach to the wall.
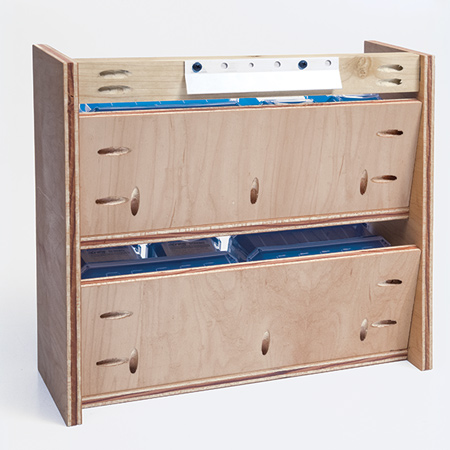
3. After attaching the first side and the cleat, you can position and attach the remaining side in the same way
Now you can use Woodoc interior sealer to protect the wood and load up the organiser with screws or hardware to keep your work space organised and tidy.
buildsomething.com