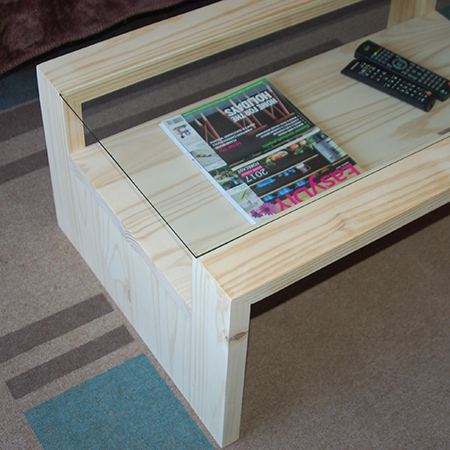
Make a stylish coffee table in a weekend
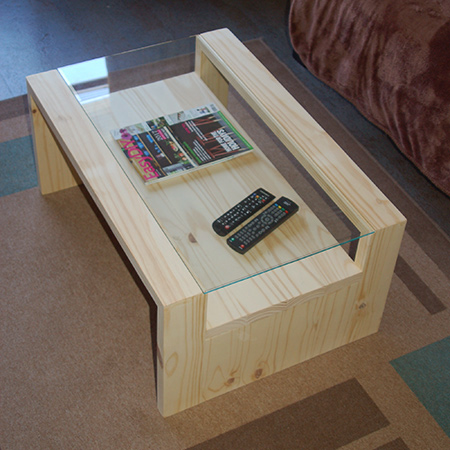
Use pine planks and mitre joints to make this simple yet stylish coffee table. This is an easy DIY project and you can make your own coffee table in a weekend.

DIY coffee table without any stain and finished with Woodoc Antique Wax.
YOU WILL NEED:
4 of 32 x 94 x 400mm pine - high side pieces
8 of 32 x 94 x 280mm pine - low side pieces
4 of 32 x 94 x 800mm pine - shelf
2 of 32 x 94 x 800mm pine - mitred tops
Ponal wood glue
Bar clamps or duct tape
Sealer
Safety glass, cut to size
TOOLS:
Mitre saw
Router, preferable table mounted + straight bit
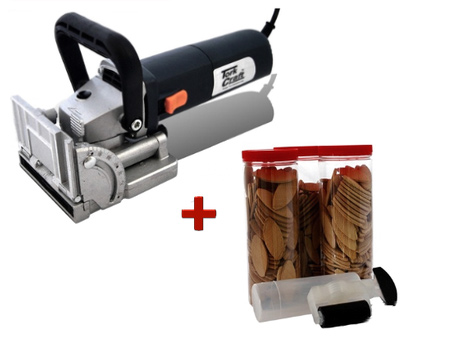
Biscuit joiner and #20 biscuits [4]
Orbital sander plus 120- and 180-grit sanding pads
Tape measure and pencil
Buy all the tools and materials for this project at Builders.
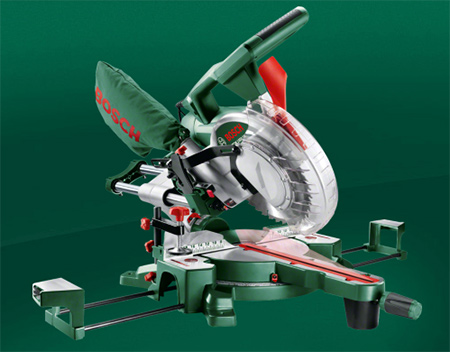
If you're serious about making your own furniture, or making furniture to bring in extra income. you'll want to invest in a Mitre Saw. With a mitre saw you can easily cut pine planks to length for a variety of projects, plus the Bosch PCM 1800 SD also cuts and angle 0 - 45-degree angles and up to 45-degree mitre cuts. The Bosch PCM 1800 SD retails at around R4 000.
HERE'S HOW:

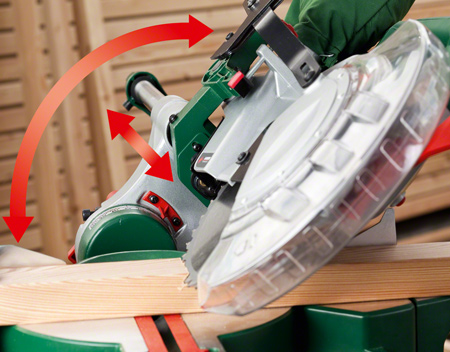
1. While Builders or timber merchants can cut all your timber and board to length, they don't cut circles, curves or mitres. On both the top sections and the high side sections you need to cut a 45-degree mitre at both ends.
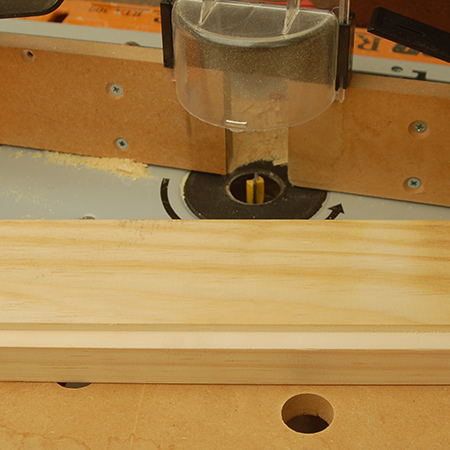
2. Use a router and straight bit to cut a rebate in the top sections for mounting the glass. The depth will be determined by the thickness of the safety glass you fit - we cut a 5 x 5mm rebate on the inside edge of both top sections.
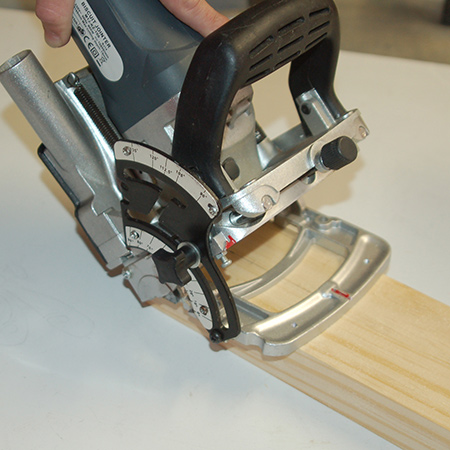
3. Set your biscuit joiner plate at a 45-degree angle to cut slots in the ends of the top sections and high side pieces.
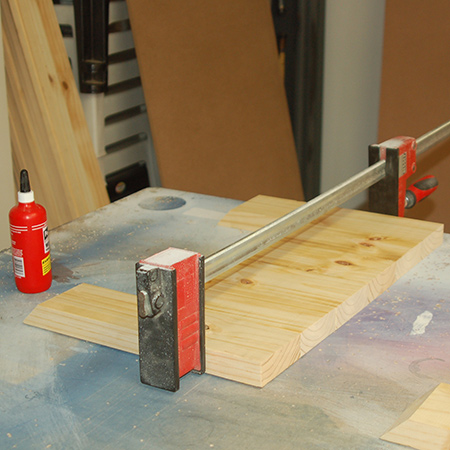
4. Laminate the side pieces with wood glue and bar clamps and leave these overnight. If you don't have bar clamps, wrap tightly with duct tape to hold the sections together.
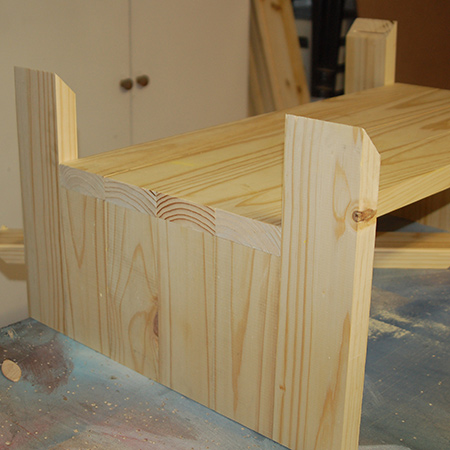
5. Have someone help you when mounting the shelf onto the low sides. Apply a bead of glue along the top edge of the [low] side sections and place the shelf in position, aligning the edges perfectly flush. Put aside for a couple of hours for the glue to set.
GOOD TO KNOW
Wipe away any excess glue that oozes out with a damp cloth.
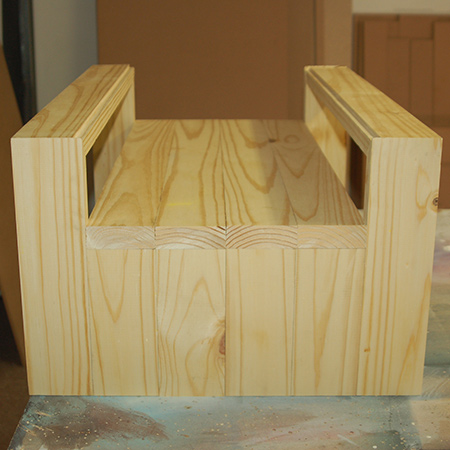
BELOW: Sides with mounted shelf.
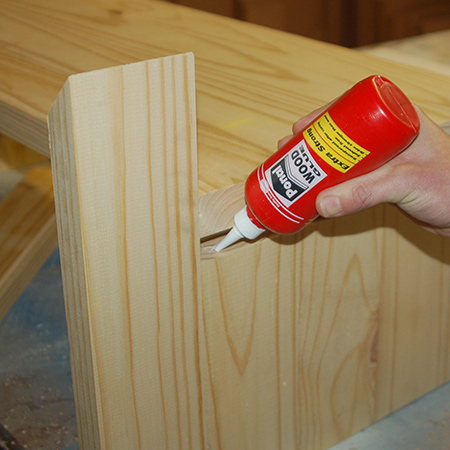
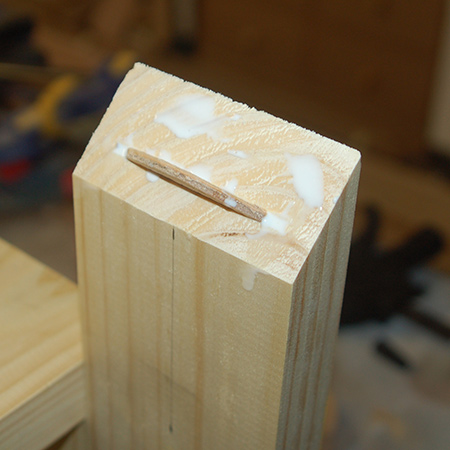
6. Now you're ready to glue the high sides to the tops with Ponal wood glue and biscuits. Squeeze wood glue into the high sides and pop in a biscuit.
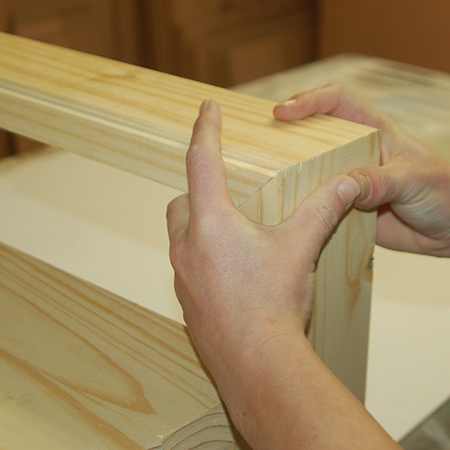
7. Squeeze wood glue into the tops and carefully place on the high sides, adjusting until the edges are flush.
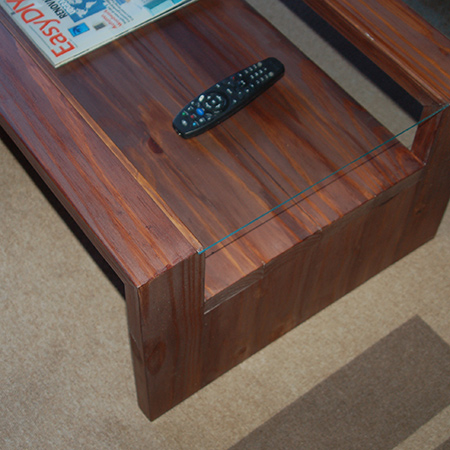
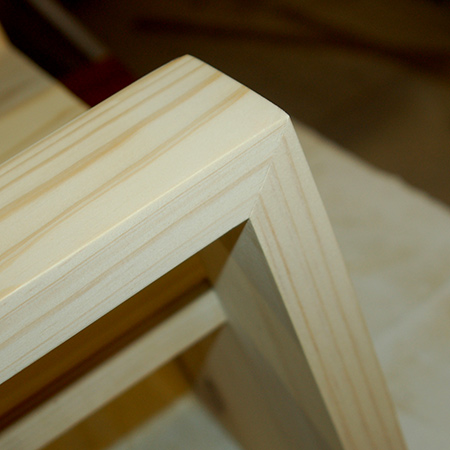
BELOW: Absolutely flush mitred corners where the high sides join the tops.
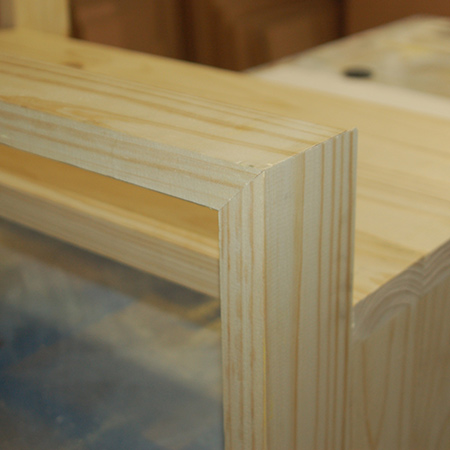
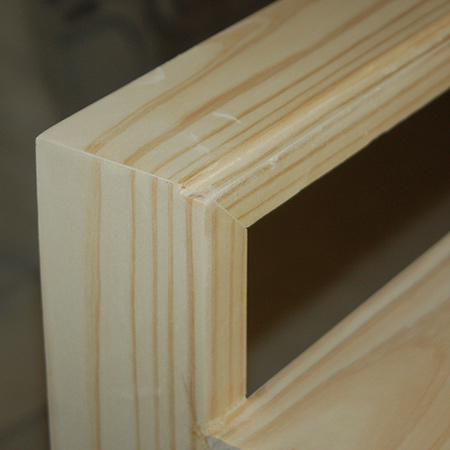
BELOW: Side view of the mitred corners.
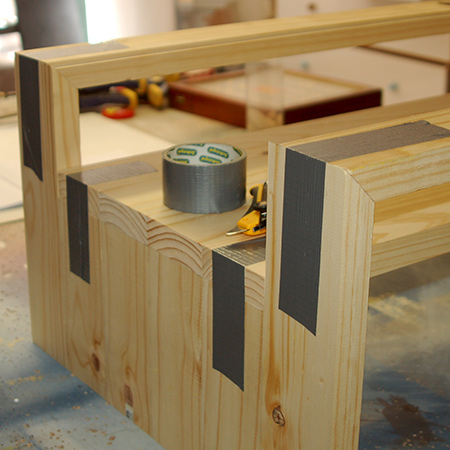
8. Tape the corners and leave overnight.
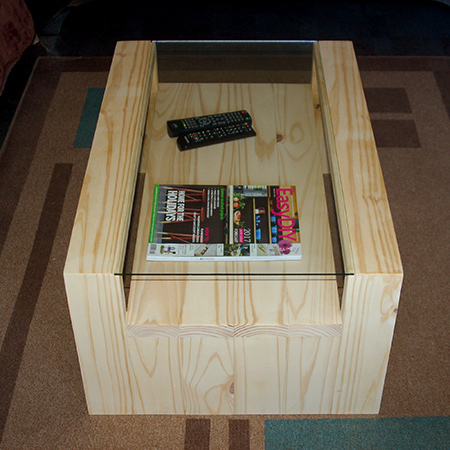
BELOW: Completed table ready for sanding and finishing.
GOOD TO KNOW
Should there be any small gaps at the joins, use sawdust and wood glue to fill. Immediately wipe away any excess glue with a damp cloth.
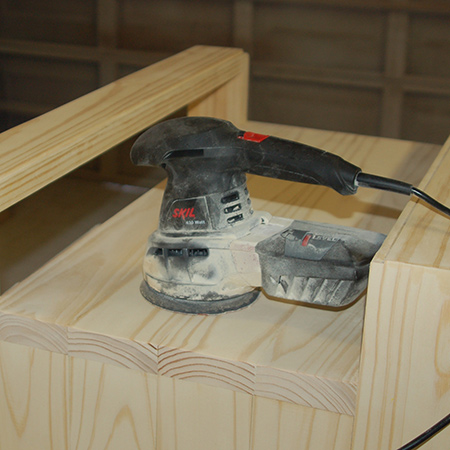
9. Sand the table with 120-grit to remove any uneven edges and then 180-grit for a smooth finish. Wipe clean.
Finishing
There are two options shown below:
1. You can leave the table raw and apply Woodoc Antique Wax for protection. I like this option because the wax does not discolour the pine and leaves a silky, smooth finish that protects the wood.

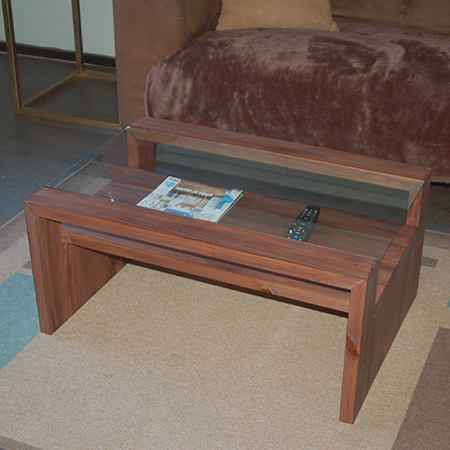
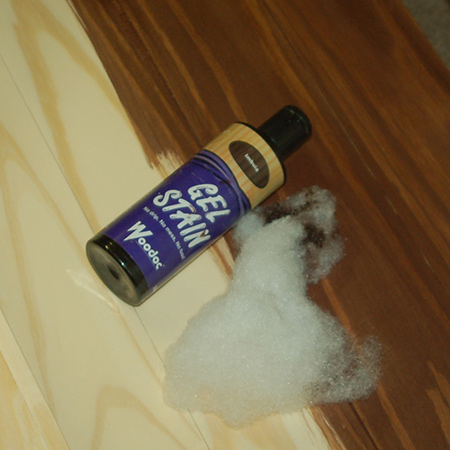
2. If you prefer to stain, you can apply Woodoc Gel Stain and then Woodoc Antique Wax or Woodoc Interior Sealer. I went with Woodoc Gel Stain - Imbuia.
Measure up for the glass top and have safety glass cut to size. Ask the glass supplier to sand the edges.