
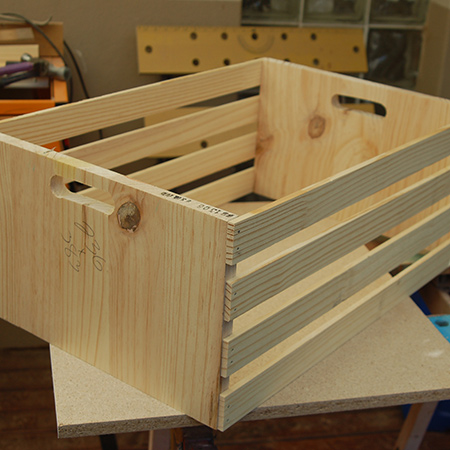
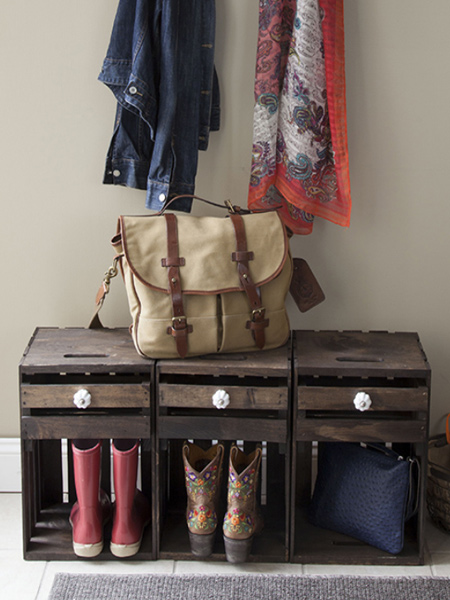
Crate storage for bathroom or bedroom
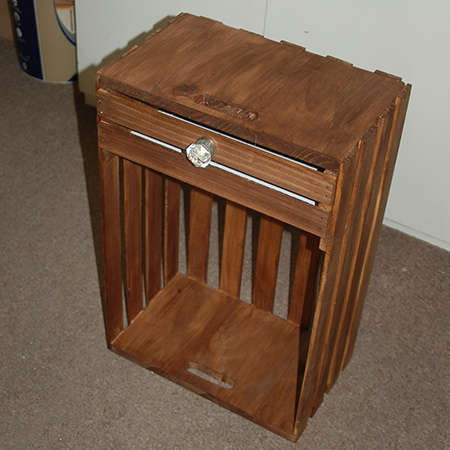
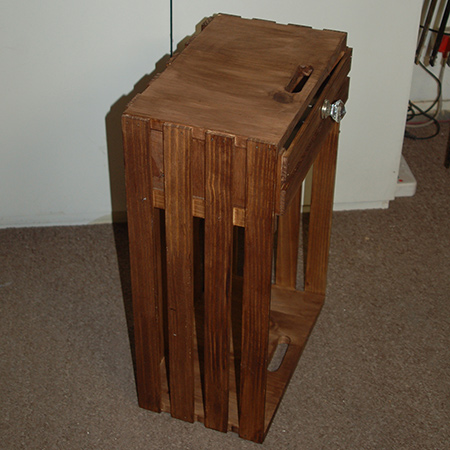
After featuring a project on bathroom storage crates I received numerous requests for instructions on how to make these crates. This article shows how easy it is to make your own crates for a bathroom cabinet, side table or bedside table.
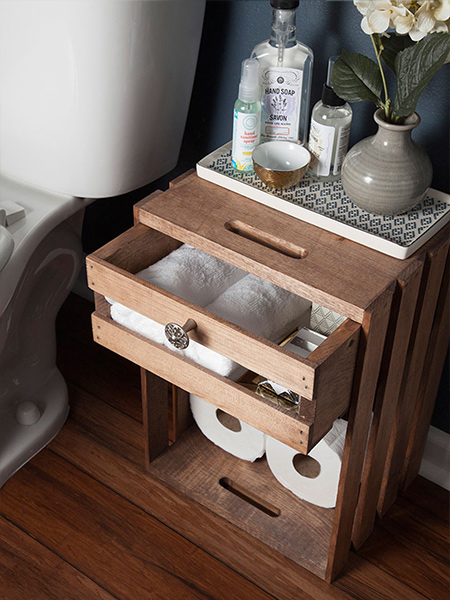
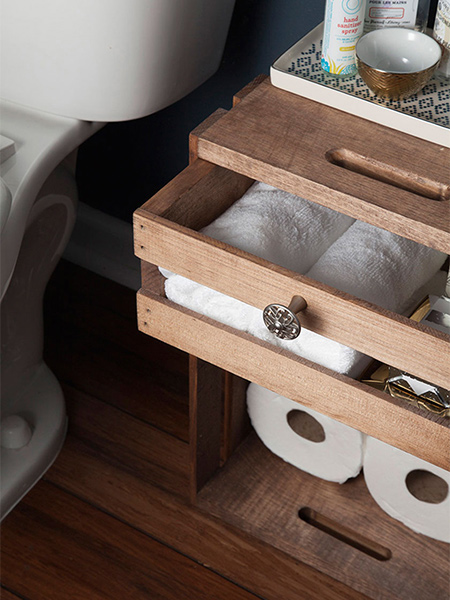
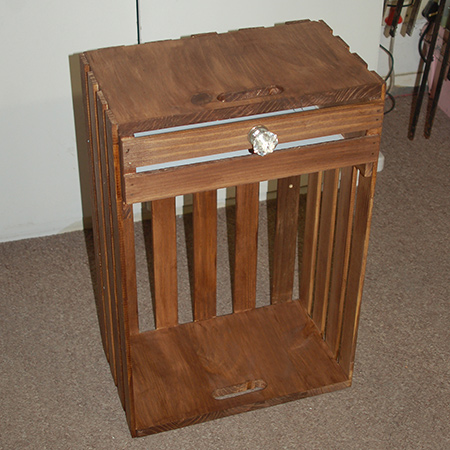
These pine crates can be made using reclaimed timber, or with pine that you can buy at your local Builders Warehouse. You will find instructions below for making the crates, and you can use them stacked up on top of each other as shown here, or add a simple drawer and use as a small bathroom storage cabinet.
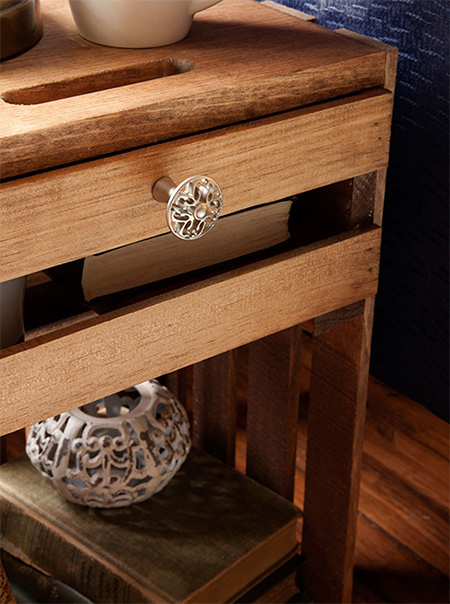
When finished nicely, you can also use these pine crates as side tables in a living room. Add decorative hardware that matches our decor. You will find a selection of knobs and handles at your local Builders Warehouse, or pop onto www.cabinetfittings.co.za for a huge selection of options.

YOU WILL NEED:
Below you will find a cutting list for the crates shown here. These measurements can be modified if you are using reclaimed wood. Whatever timber you use, use the side slats (and gaps between) to determine the height for the solid ends.
2 of 20 x 235 x 382mm pine - ends
13 of 12 x 44 x 600mm pine - slats
2 of 20 x 100 x 235mm pine - drawer sides
2 of 12 x 44 x 380mm pine - drawer slats
1 of 100 x 380mm masonite - drawer back
1 of 245 x 380mm masonite - drawer base
2 of 230mm long batters for drawer supports
8 of 16mm screws for drawer supports
Wood glue
120-grit sandpaper
Woodoc 30 exterior polywax sealer or Antique Wax
Decorative handle or knob
TOOLS:
Drill / Driver
Hammer and 32mm panel pins
30mm MAD or spade bit
Jigsaw and clean-cut blade
Tape measure and pencil
HERE'S HOW:
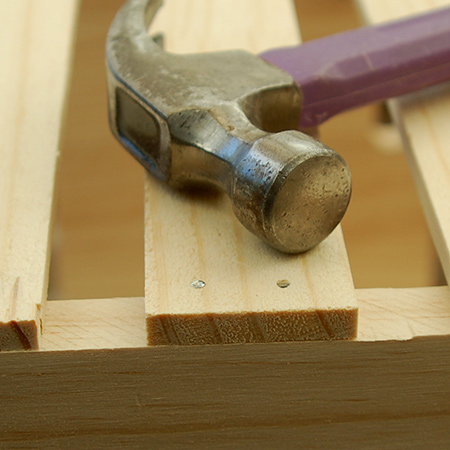
GOOD TO KNOW: For all joins apply a bead of wood glue before using panel pins or screws.
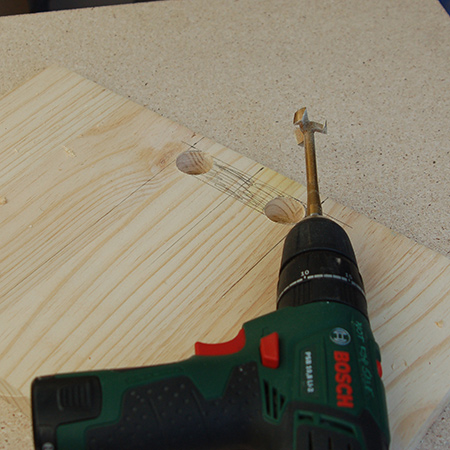
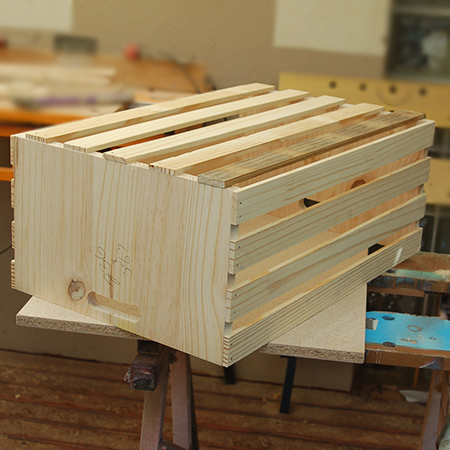
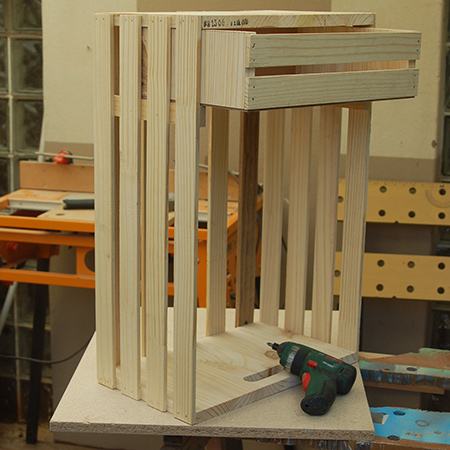
1. Measure and mark the position for the handles in the end pieces and drill out holes with a 30mm MAD bit.
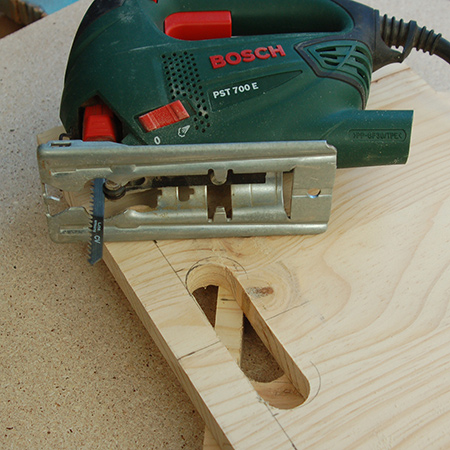
2. Use a jigsaw to cut out the remaining slot and then sand smooth.
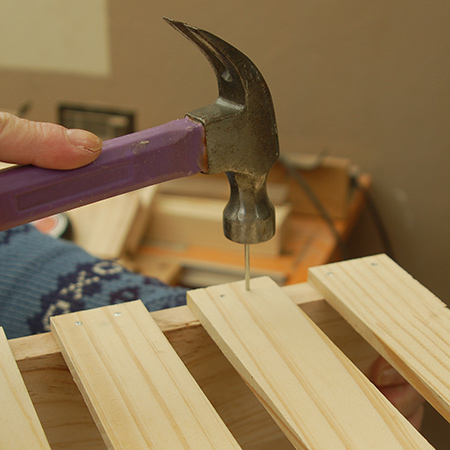
3. Space the slats [4] evenly along the edge of the sides and secure with panel pins. The pins should not be too close to the edge or the wood will split.
4. Attach the slats [5] to the base of the crate in the same way as for the sides.
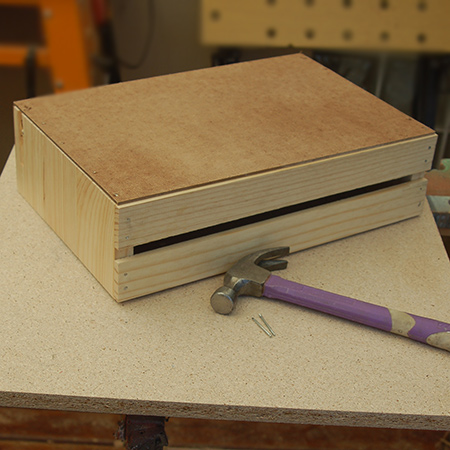
5. To assemble the drawer, secure slats [2] to the drawer sides. For the back secure the 3mm masonite. All are attached using wood glue and panel pins.
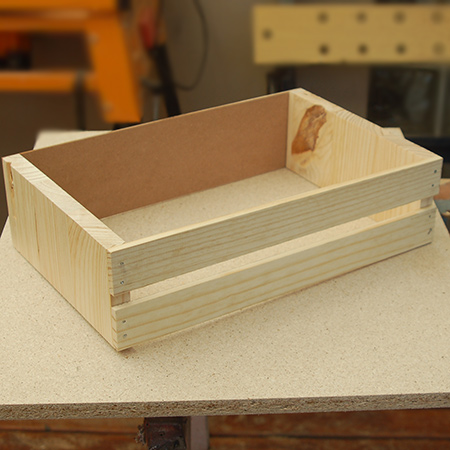
6. Attach the masonite for the drawer base in the same way.
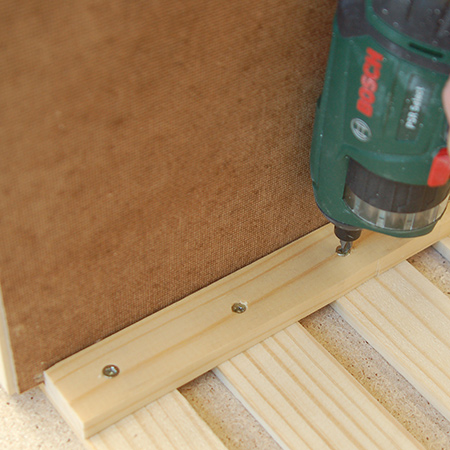
7. With the crate on its side, insert the drawer to determine where to attach the battens for the drawer support. This is secured in place with 16mm screws.
Finishing
Woodoc Gel Stain is available in a variety of wood and colour tints and is easy to apply using a lint-free rag or cloth. Apply the stain according to the direction of the wood grain.
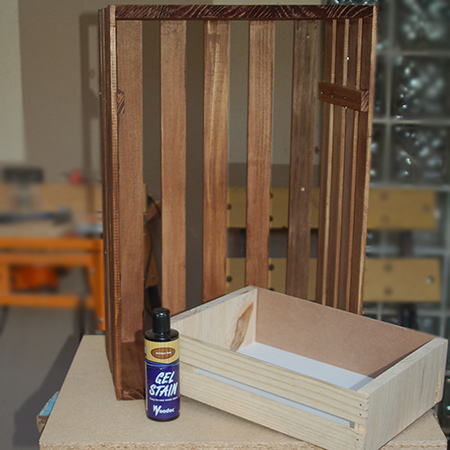
To protect the piece you can choose between Woodoc 30 Exterior Polywax Sealer, or Woodoc Antique Wax. Both leave a natural matt finish, but antique wax needs to be applied regularly.

If the crate storage unit is to be placed in a bathroom, it is a good idea to add rubber washers to the base so that it is not flat on the floor.
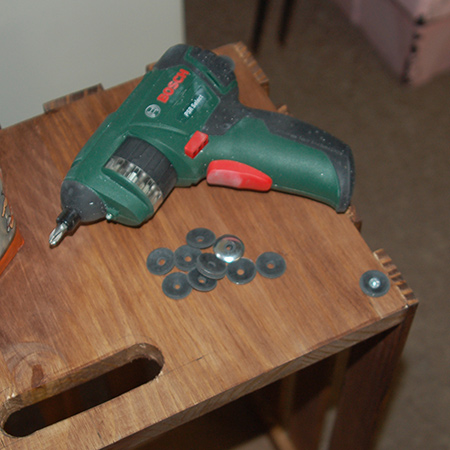
Finish off your wood crate storage unit with a decorative handle or knob.
There are so many ways to use these wood crates for storage in the home.
homedepot