
Quick Project: Pine Coat Rack & Shelf
This practical coat rack and shelf is easy to make and you will find everything you need to make it at Builders Warehouse.
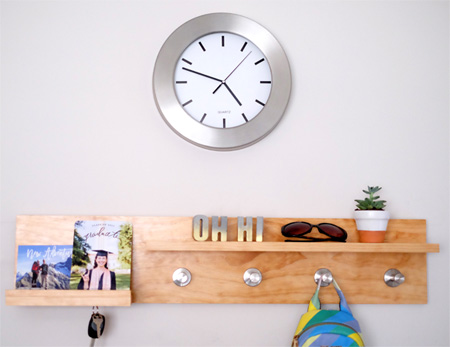
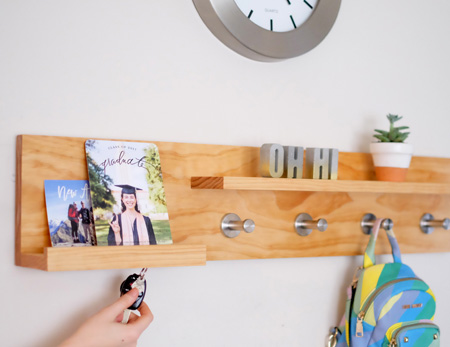
Made using readily available pine planks, this handy coat rack and shelf is perfect for an entrance, for essentials and towels in a bathroom, or for a child's bedroom. It's super easy to make and you can buy everything you need at Builders Warehouse.
When selecting pine planks for this project, check that there is no bowing or warping, and choose pieces that have no knots.
YOU WILL NEED:
1 of 22 x 140 x 1800mm - back
- cut to desired length (this one is 900mm long)
1 of 22 x 94 x 1800mm
- cut to 600mm - long shelf
- cut to 220mm - short shelf
1 of 12 x 12mm pine cut to 2200 - short shelf ledge
Wood glue
Eureka 5 x 60mm screws [6]
4 Decorative knobs or hangers and screws
2 Hangers and 16mm screws
Woodoc 5 or 10 Interior Sealer, clear or tinted
Paintbrush
Steel wool
TOOLS:
Drill / Driver plus assorted bits
Countersink bit
Orbital sander plus 240-grit sanding pads
Quick clamps
Tape measure and pencil
Have everything cut to size at Builders or cut yourself with a jigsaw, mitre saw or table saw
HERE'S HOW:
Preparation
After cutting, sand all the cut sections smooth.
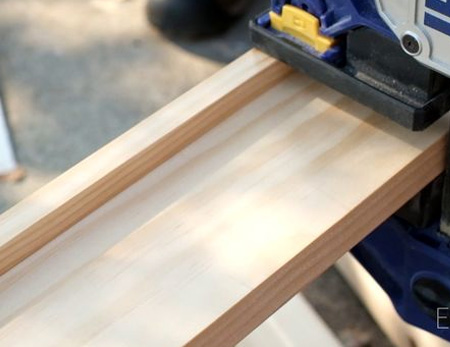
1. On the short shelf, attach the 12 x 12mm strip to the edge with wood glue and clamp for a couple of hours.
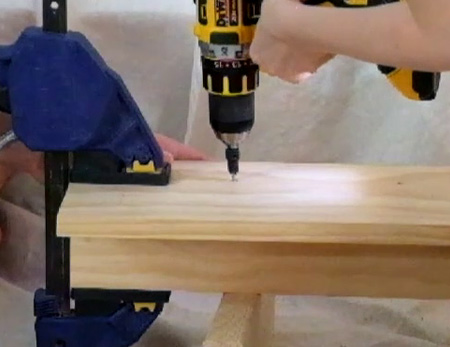
2. Both the long and short shelves are attached with wood glue and 60mm screws. Mark the back where the shelves are the to be place, individually clamp the shelves in place and then drill countersunk pilot holes through the back. Apply wood glue and drive in screws.
GOOD TO KNOW: Use a damp cloth to immediately wipe away any excess wood glue that oozes out.
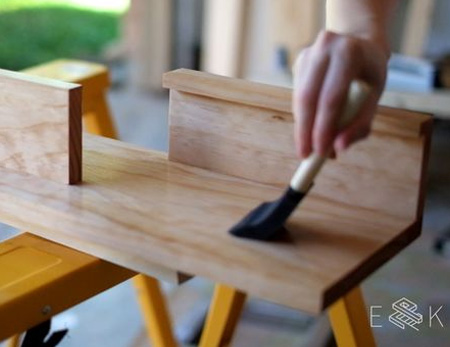
3. Apply Woodoc 5 or 10 Interior Sealer to the assembled shelf. Follow the instructions on the can for proper application. Leave to dry thoroughly.
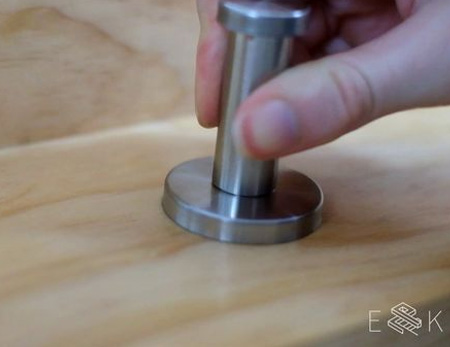
4. To finish off, attach your choice of hardware. Drill countersunk pilot holes through the back to secure knobs or hangers at the front of the shelf.
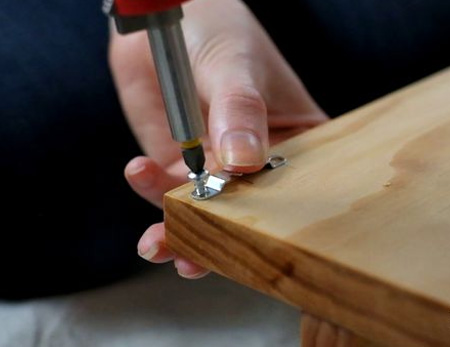
5. To hang the shelf on a wall, attach hangers at either side (top) of the back.
instructables.com