
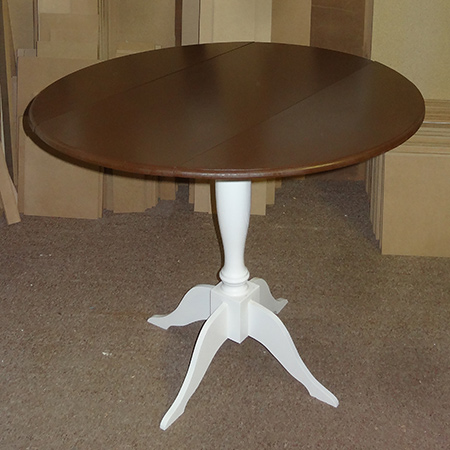
Make a round drop-leaf table
I have received plenty of requests on how to make a drop-leaf table and most of the instructions you find are extremely complex. This DIY round drop-leaf table is easy enough for anyone to make.
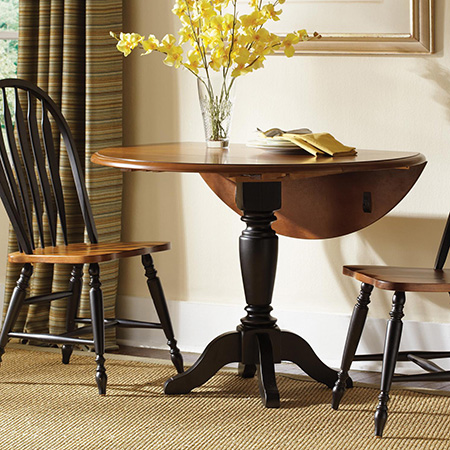
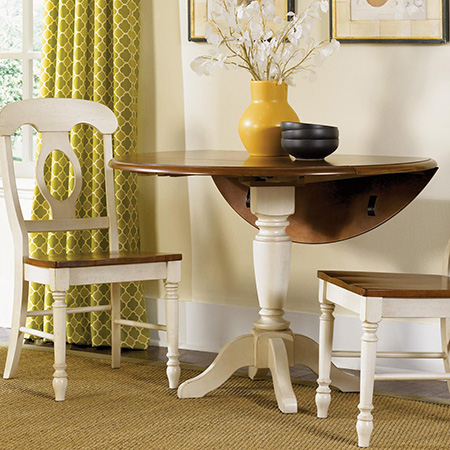
The tables shown here are designs that quite easily be done as a DIY project using table legs that are available from www.cabinetfittings.co.za or a local woodturner. The leg that I have used for my table differs slightly in profile, but it is still sturdy enough to make the table. In fact, the leg is probably the most expensive item for this project (approx. R200 ea.).
YOU WILL NEED:
1 of table leg TW33 (100 x 100mm)*
2 of 1800mm lengths of 22mm diameter Meranti dowels
- 1 of 500 x 1000mm - centre top
- 2 of 250 x 1000mm - flaps top
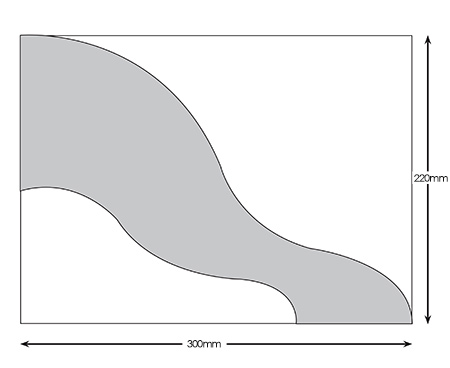
- 4 of 220 x 300mm for the feet
- 2 of 50 x 500mm for the sides (support frame)
-2 of 50 x 132mm for ends (support frame)
4 of 22mm pipe brackets
Pack of 13mm screws
8 of 4 x 45mm screws (support frame)
4 of 5 x 50mm screws (support frame)
4 large brass butt hinges
8 of 8mm dowels and 8mm dowel centres
8 brackets (support frame)
Ponal wood glue
2 cans of Rust-Oleum 2X satin espresso
1 can of Rust-Oleum 2X semi-gloss white
TOOLS:
Drill / Driver plus assorted bits
22mm spade bit
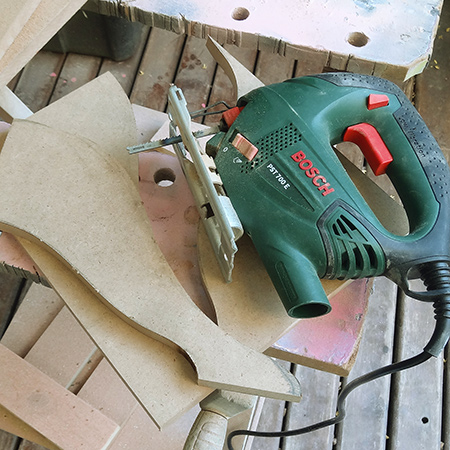
Jigsaw and clean-cut blade
Sander plus 120- and 240-grit sanding pads
Router plus straight and roundover bit
Hammer, panel pin and length of chain
Tape measure and pencil
Steel ruler or straight edge
Buy everything you need for this project at your local Builders. You should be able to make this project for around R900 - a fraction of what you would pay to buy ready made.
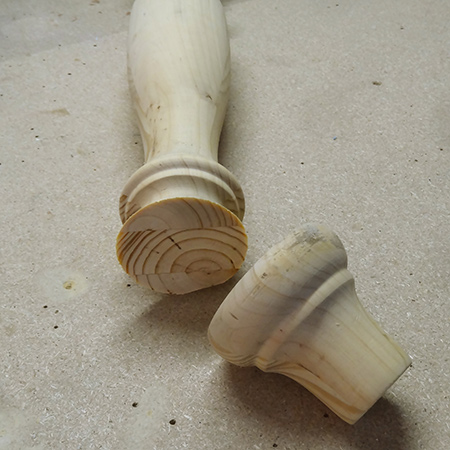
Note: When making up the prototype for this project I used a complete leg and added a block of 100 x 100mm pine onto the other end, but this is not necessary. The total height of the leg, including feet assembly, only needs to be between 720 and 760mm. This means you can cut some off the top of the leg with the block - which becomes the base, and add the offcut to the bottom - which becomes the top. This is better explained below.
HERE'S HOW:
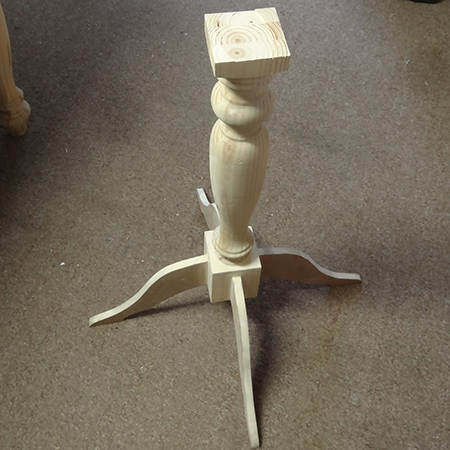
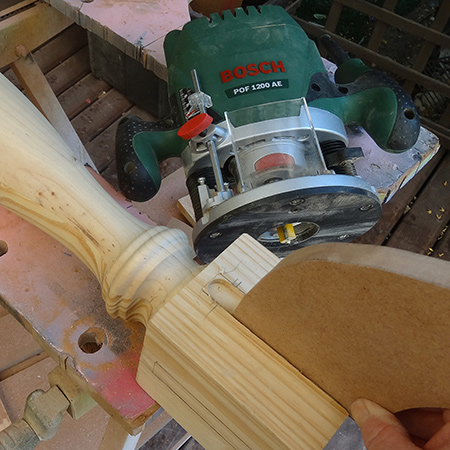
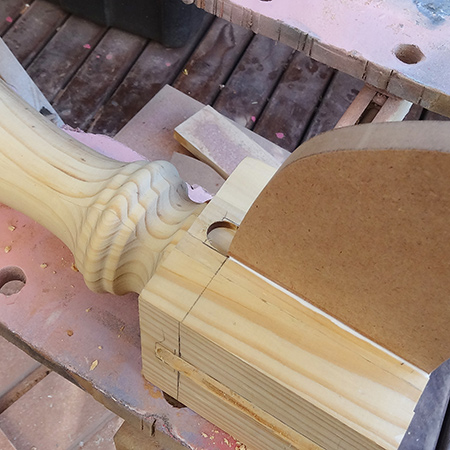
1. The foot of the original leg is removed. If you refer to my note above this then becomes the top of the leg for the table. However, you need to add a block here for stability and support. You can add a block of 100 x 100mm PAR pine, or trim some off the other end to add to the now top.
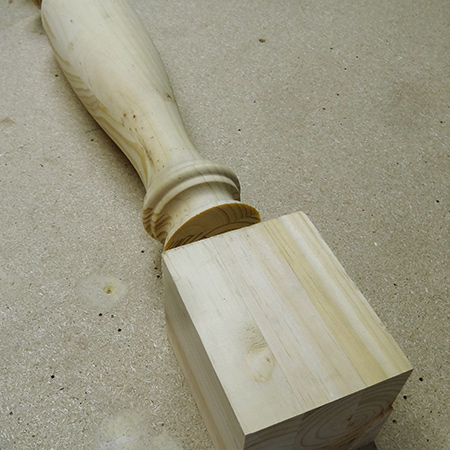
2. The top for the new leg is attached to the block using a length of 22mm dowel and wood glue. Use a 22mm spade bit to drill out in the leg and top block. Add wood glue and join the sections together. Leave this overnight to set. Fill any defects with wood filler, let dry and then sand smooth to prepare for painting.
3. While waiting for glue to dry you can start cutting out the feet. Draw out the design for one foot, cut this out and then use as a template for the remaining three feet. The shape must form a perfect 90-degree angle down the side and along the bottom so that you don't have a wobbly table. Enlarge the design before to use as a template.
4. Use 120- and then 240-grit sanding pads to remove uneven edges and smooth.
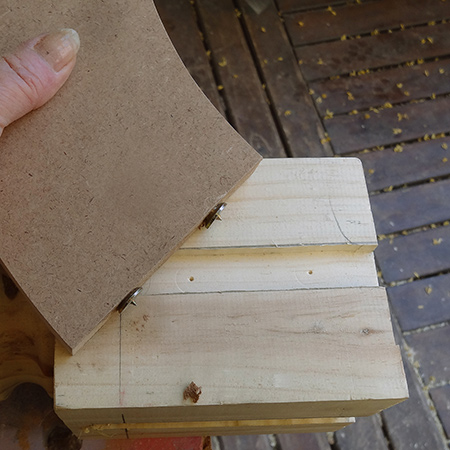
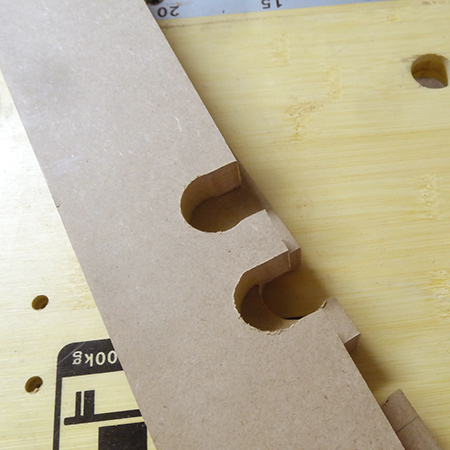
5. Now you can use a router and straight bit to cut a rebate 0.5mm deep and 16mm wide to the length (plus extra) to fit the feet into the base. This will ensure you have sturdy feet to support the weight of the table.
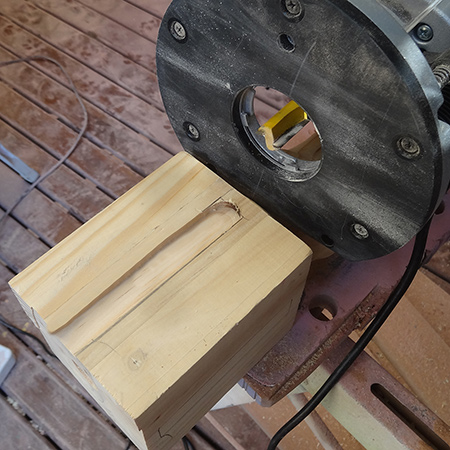
GOOD TO KNOW
Make sure that each individual
slot is a snug fit for each foot.
6. On the edge of each foot drill an 8mm hole to half the depth of your 8mm dowels. Hold the drill at an angle to that of the edge while you drill the holes, so that the holes are straight.
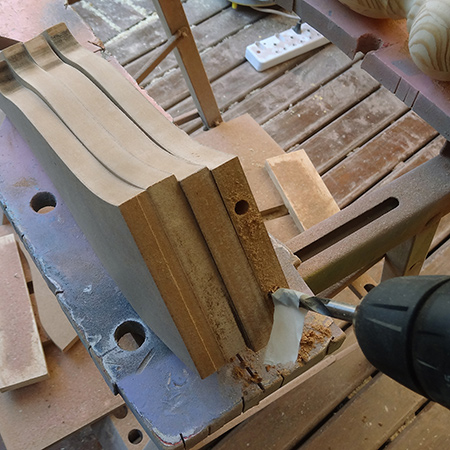
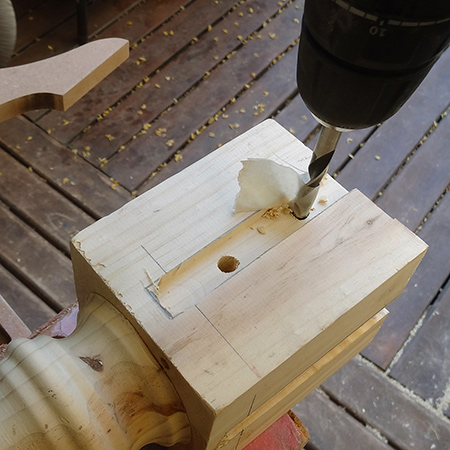
7. Working one foot at a time, insert dowel centres to mark the cut out slots. Mark each foot an corresponding slot so that you know which foot fits into which slot.
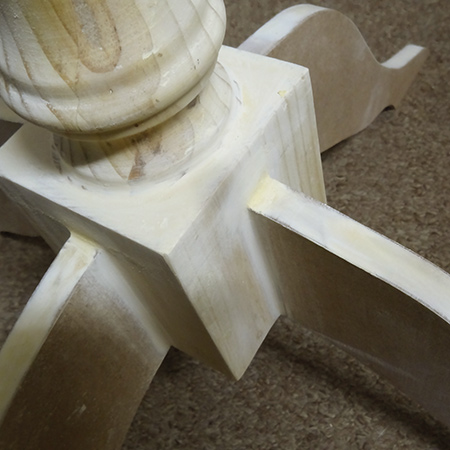
8. Drill an 8mm hole to half the depth of your 8mm dowels. Make sure the holes are free from debris and do a dry fit for each foot before adding some Ponal wood glue and popping in a dowel.
9. Pop some wood glue into the holes in the foot and place on top of the dowels. Tap down into place. Fill up around the edges with more wood glue and immediately wipe away any excess.
10. Leave overnight for the glue to dry and then cover any gaps with wood filler. Let this dry and then sand smooth.
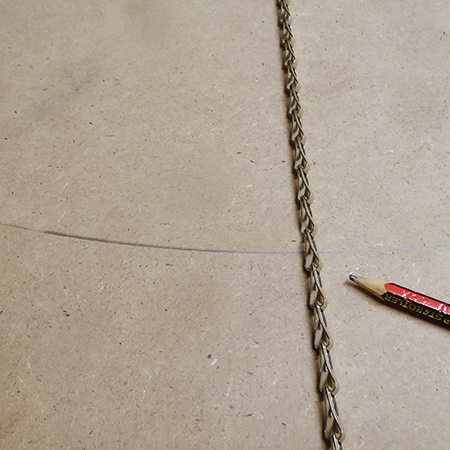
11. I cut the top out of a single sheet, but it is far easier to have 3 sections cut as per the cutting list at the top (a centre and two flaps). By doing this you will have perfectly straight joins between the three sections. and place these side-by-side as they will be fitted onto the leg - hammer a panel pin in the absolute middle of the centre section, place a length of chain onto this and use this to draw a circle around all three sections.
12. Cut out the circular shapes with a jigsaw.
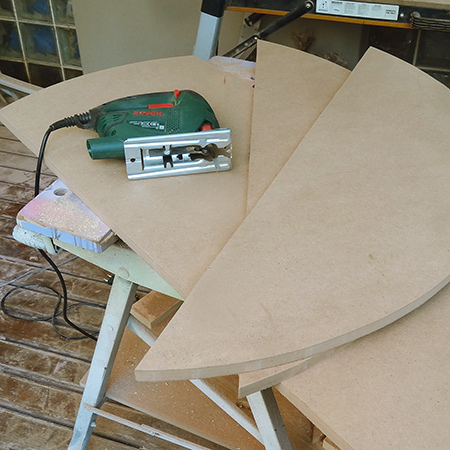
13. Sand with 120- and then 240-grit sanding pads to remove any uneven edges and smooth the edges.
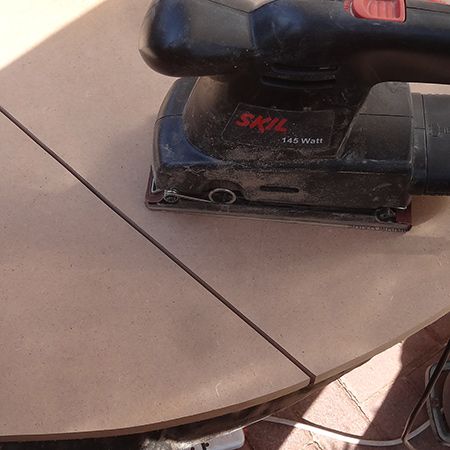
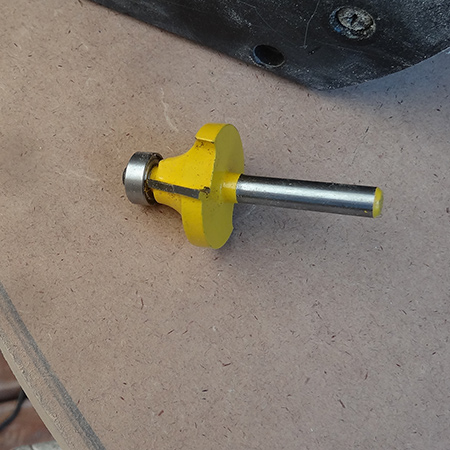
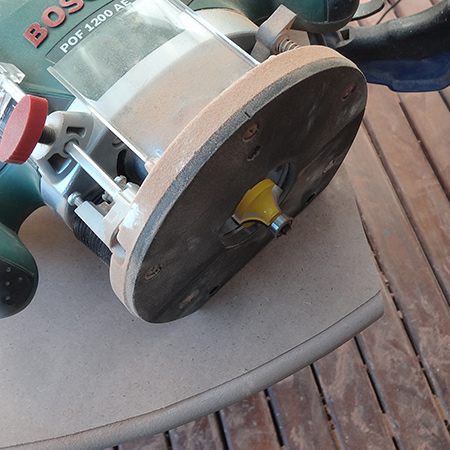
14. Set the depth so that the roller bearing will sit flush against the edge of the board. Use a scrap piece of board to ensure the depth is correct before you cut the edge of the top.
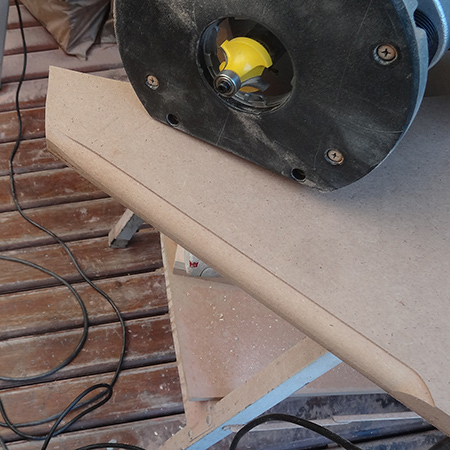
GOOD TO KNOW
Work from right to left around
the edge of all three sections.
15. Place the three top sections face down on a flat surface and position the butt hinges. The barrel of the hinge should be placed to overlap onto the flap sections.
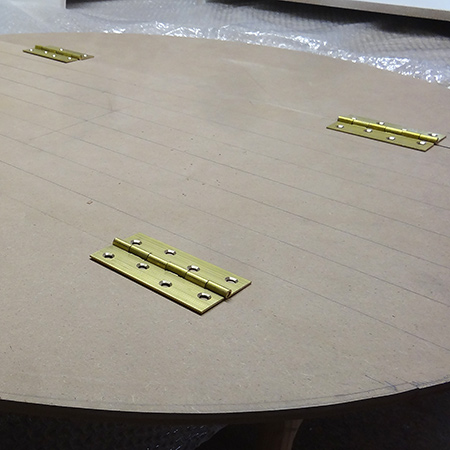
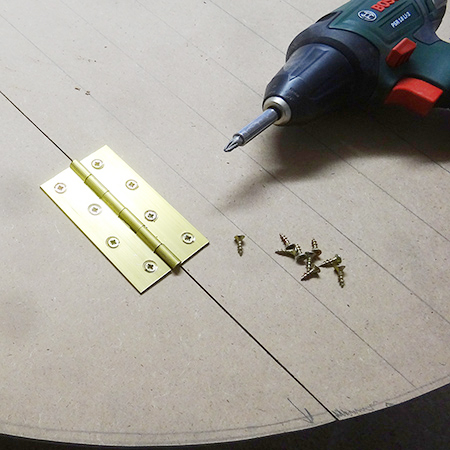
16. Use 13mm screws to secure the butt hinges to the underside of the top. The hinges should be about 150mm in from the edges.
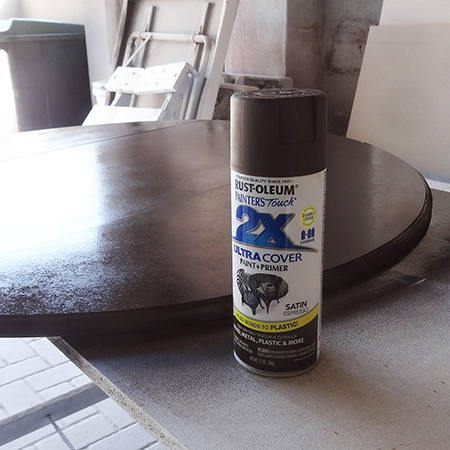
Finishing the top
The edges were sanded with 240-grit sand paper and then the entire table top sprayed with Rust-Oleum 2X UltraCover in satin espresso. Shake the can well and hold 30 cm away from the surface. Spray the edges first, as these will require more paint. Work from side to side in slightly overlapping strokes to spray the entire top - allowing drying time between each coat of paint. I applied 5 coats of paint to the table top, which is why I recommend two cans of satin espresso - or your choice of colour.
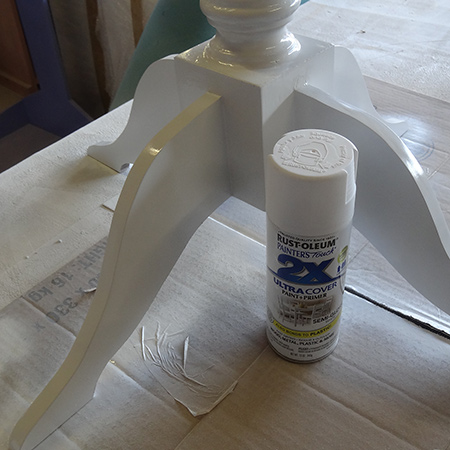
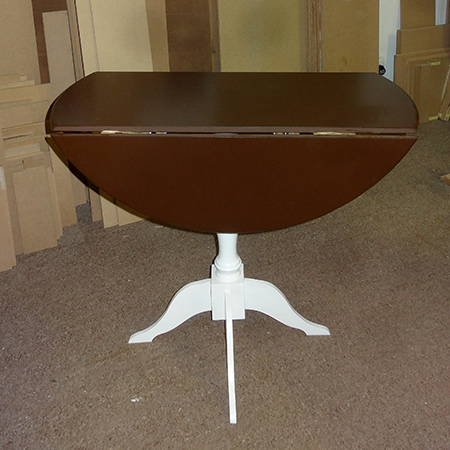
You will also need to spray the edges of the flaps, so that when the flaps are down the edges are painted. Cover the hinges with a strip of masking tape to protect from spray.
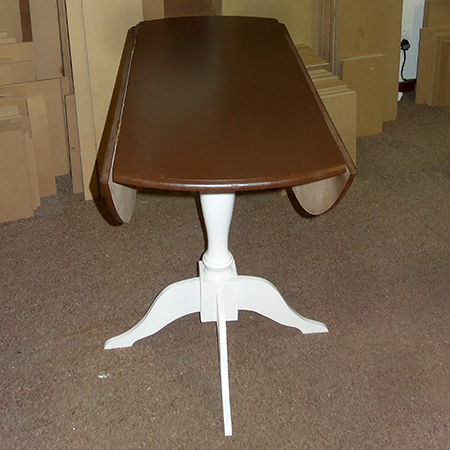
The table leg was sprayed with Rust-Oleum 2X semi-gloss white. It's not too glossy but has a lovely sheen that will be perfect for the base. It only looks glossy here because it's still wet.
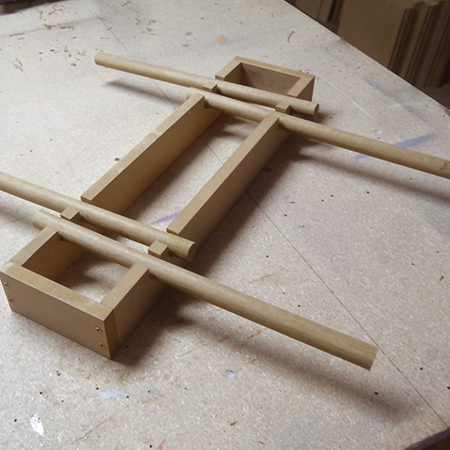
Assembling the table
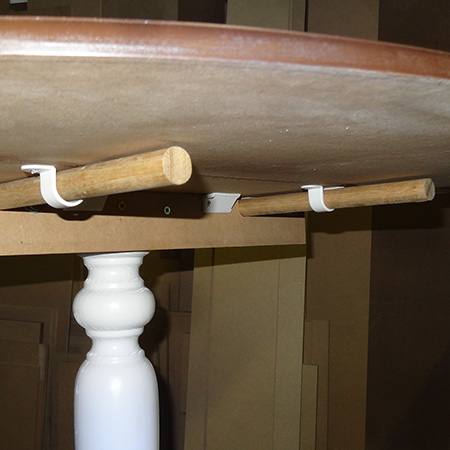
Use a 22mm spade bit to drill two holes at the ends of both side sections for the support frame. The holes must be as close to the edge as possible to ensure that the dowels support the flaps.

Drill 3mm pilot holes and then use 45mm screws to attach the support ends to the support sides.
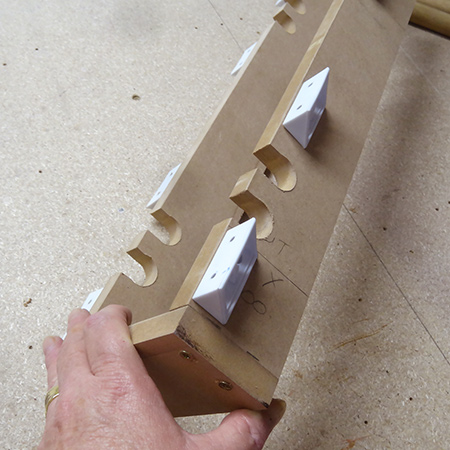
Secure the brackets to the support frame. These will also be secured to the underside of the table top using 16mm screws.
Attach the support frame to the table leg using two 50mm screws on either side. DO drill 4mm pilot holes beforehand.
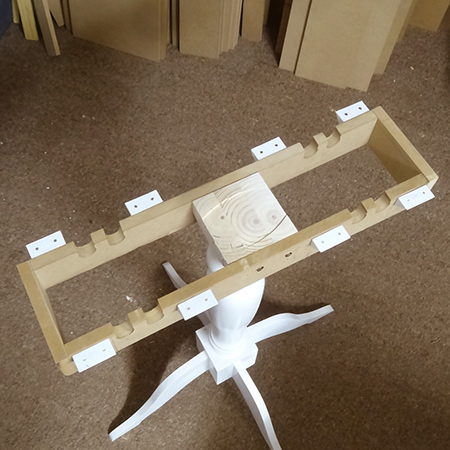
With the support frame secure you can add the dowels. Note: To prevent the dowels from going straight through I wrapped a rubber band tightly around one end - not a great idea but it works like a dream!
Push the dowels out and secure a pipe bracket on each dowel at about 20mm in from the end of the centre section using 16mm screws.
And there you have it... An easy drop-leaf table without all the technical jargon that few can understand, and that won't cost you a small fortune to make. It took me 2 days to make, and that includes waiting for paint to dry!
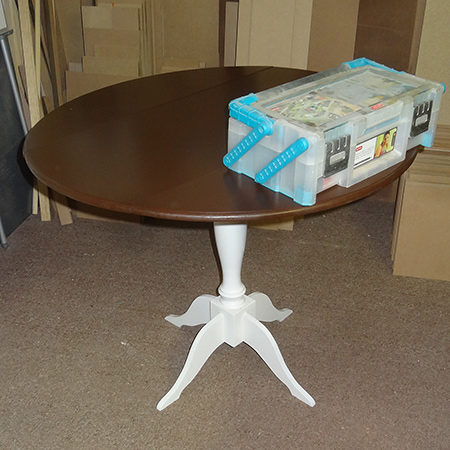
If I had one recommendation to make, I would probably make the centre wider and the flaps smaller. While the flaps can take a fair amount of weight it will only allow for one person dining in this area.
Not responsible for errors or omissions