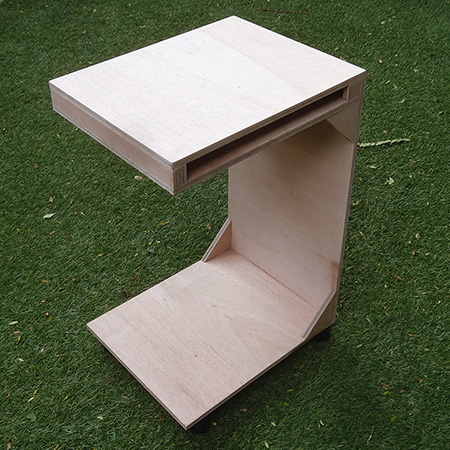
Portable Laptop Stand
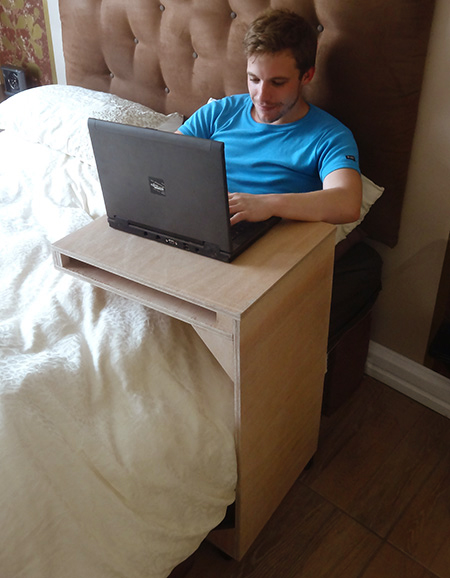
This laptop stand has caster wheels that allows you to use the laptop stand in the bedroom or in the lounge, or even outdoors.
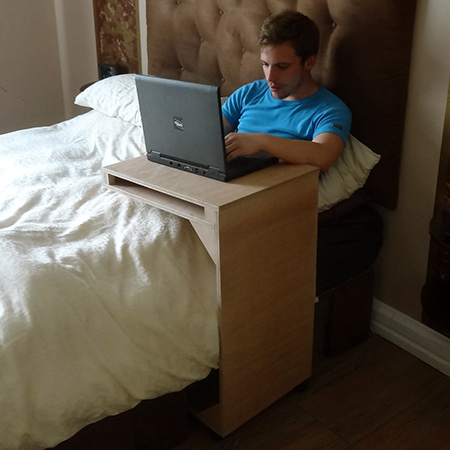
When you need to work late at night, which many of us often do, having a portable laptop stand makes it comfortable to work in bed.
SHOPPING LIST:
1 of 400 x 700mm 16mm marine plywood - upright stand
1 of 400 x 550mm 16mm marine plywood - top shelf
2 of 400 x 534mm 16mm marine plywood - bottom shelf / base
1 of 60 x 400mm 16mm marine plywood - shelf divider
2 of 60 x 60mm 16mm marine plywood - shelf sides
4 of 100 x 100mm 16mm marine plywood - corner supports
4 x 35mm cut screws
Wood glue
Kreg pockethole jig kit
Couple of quick clamps
Orbital sander plus 240-grit sanding pads
Woodoc 5 (matt), Woodoc 10 (velvet), or Woodoc 20 (gloss) interior sealer
Paintbrush
Steel wool, fine
4 caster wheels plus 16mm screws (attach with a screwdriver or drill / driver)
DIY TIP
Have the 16mm marine plywood cut to size and make assembly easy and quick. The individual components are assembled using a pockethole jig and wood glue.
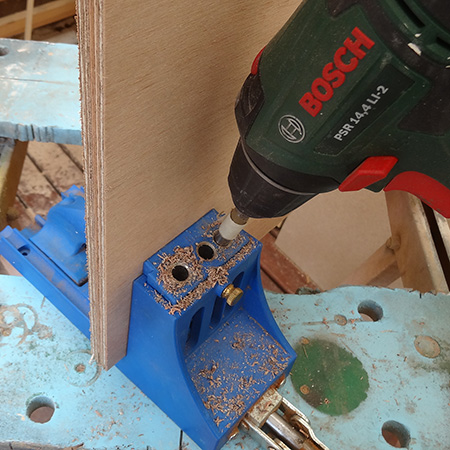
Step 1
Drill two pocket holes at either side of the top shelf. Holes are only drilled on one side of the board, so choose the best side for the top of the laptop stand.
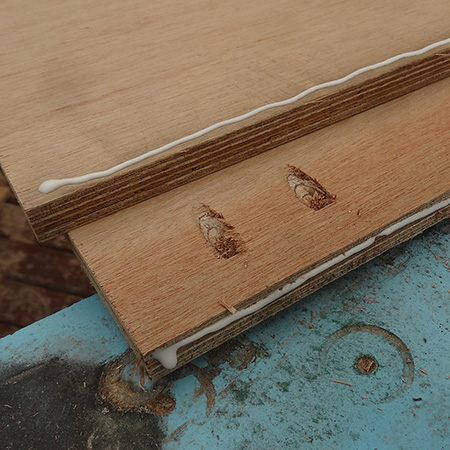
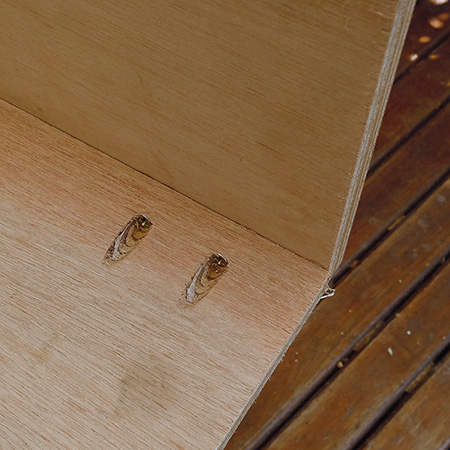
Step 2
Apply wood glue along the top edge of the upright and edge of the top shelf and join the two sections together using screws.
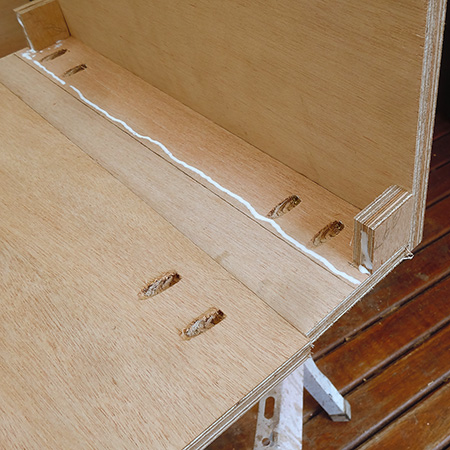
Step 3
Repeat the drilled pocketholes on the underside of the bottom shelf. Also apply glue to the shelf sides and place these before attaching the bottom shelf to the upright. Place a bead of wood glue along the upright, place the bottom shelf in place and secure.
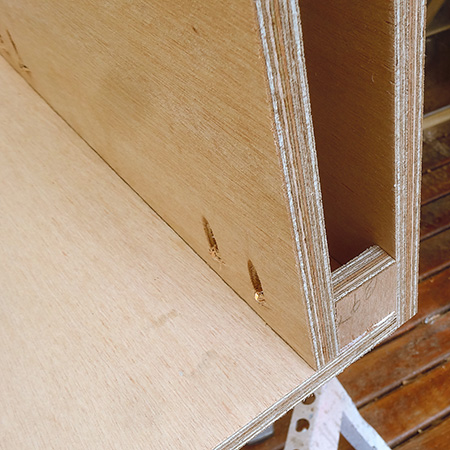
Step 4
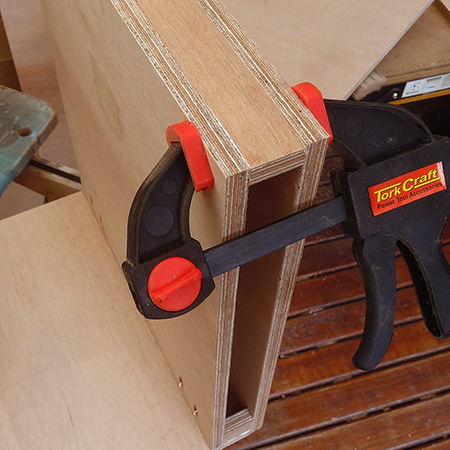
Apply wood glue to the edges of the shelf divider and use clamps on both sides. Leave this in place overnight.
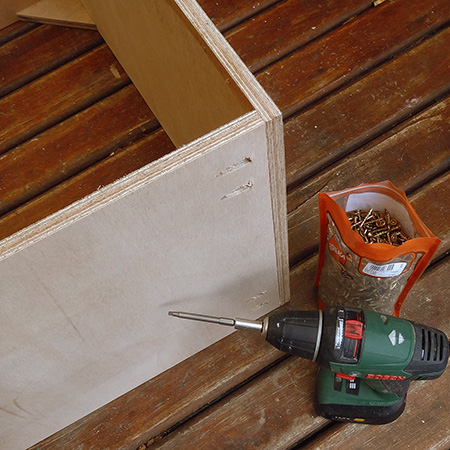
Step 5
Drill pocketholes through the base, apply wood glue and secure the base to the bottom of the upright.
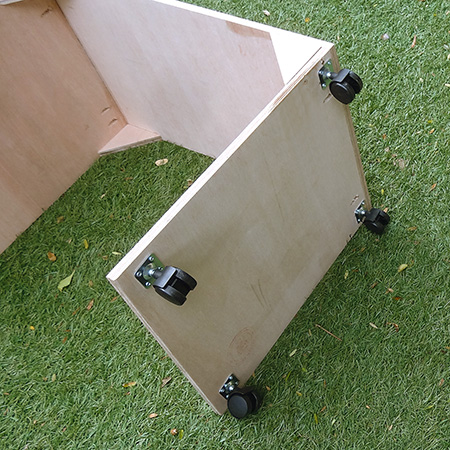
Step 6
Finish off by gluing the corner supports under the shelf and above the base, and attach the caster wheels using 16mm screws.
Finishing
Sand the entire project with 240-grit sanding pads for a splinter-free and smooth finish. Wipe clean with a lint-free cloth.
To ensure that the project is adequately protected apply your choice of Woodoc interior sealer as per the manufacturer's recommended instructions.