
Add a coloursplash with painted furniture
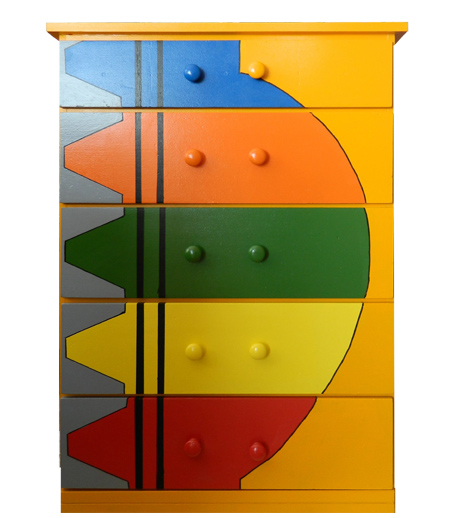
Today's range of Plascon paints are so easy to use. You can transform dated or secondhand furniture into a colourful and practical piece for your home. Use bold, bright colours for a children's bedroom, add an ombre touch to a chest of drawers , or doll up a dark piece for a more modern touch.
Pop into your local Builders Warehouse and grab yourself some Plascon Paint colour swatches to take home and start planning your next furniture painting project. You only need a few 1 litre pots of acrylic colour to completely transform any piece of furniture.
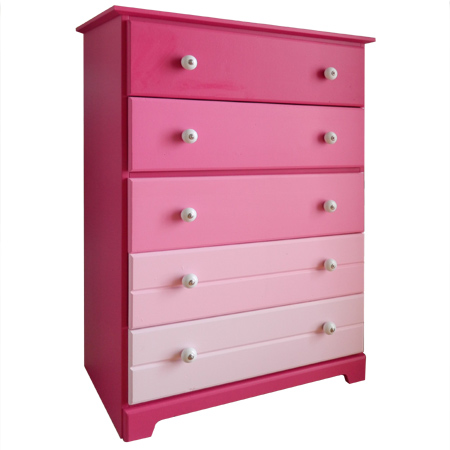
BELOW: An ombre chest of drawers in shades of magenta taken from a single colour swatch.

Prepare furniture for painting
You can paint any piece of furniture, whether it's melamine, laminate, veneer, wood or MDF (SupaWood). All that is needed is to properly prepare the finish before painting.
Melamine or Laminate
A light sanding is all that is required for melamine or laminate furniture- just enough to de-gloss the finish. Use 180-grit sanding pads and a random orbit sander. It is better to use a random orbit sander, as these don't leave circular scratch marks on the surface.
Veneer
When sanding
veneer it is very important that you don't sand away the veneer. Because this is a thin layer of hardwood, too much sanding can
remove the veneer, after which you will either have to replace if it is applied over chipboard, or repair and sand down the wood underneath.
Use Plascon Sanding Sealer to fill in highly visible wood grain and small imperfections before painting.
Painted or Varnished
If you are painting a piece it isn't necessary to completely strip away existing paint or varnish. You only need to sand enough to de-gloss the surface or remove any existing imperfections. It is especially important to sand an oil-based finish if you are applying acrylic - as the two are incompatible. Alternatively, use Plascon Universal Undercoat after sanding existing oil-based or varnished finishes to improve adhesion and bonding.
Oiled or Waxed
Where furniture has been oil or waxed you can use fine steel wool (not the kitchen variety!) and mineral turpentine to remove these layers to prepare for painting. On older pieces you may find that there are layers and layers of wax build up, and a quick solution for this is to use a heat gun to degrade the wax build up, as it turns to dust and can then be wiped away with steel wool and mineral turpentine.
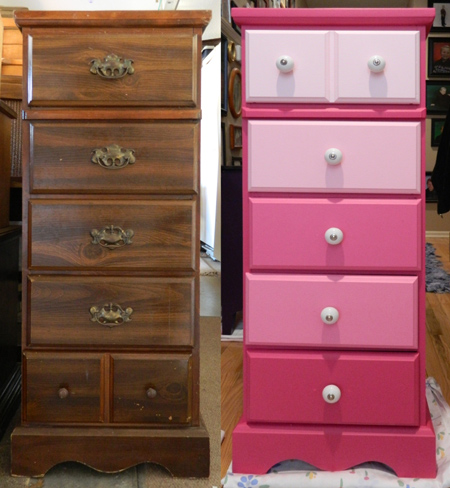
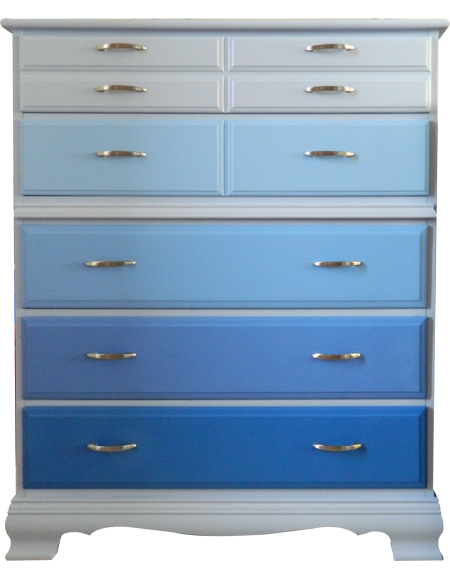
ABOVE: From ordinary to ombre - this tallboy chest of drawers now takes pride of place in a little girl's bedroom.
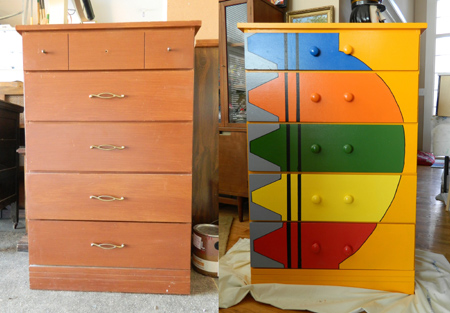
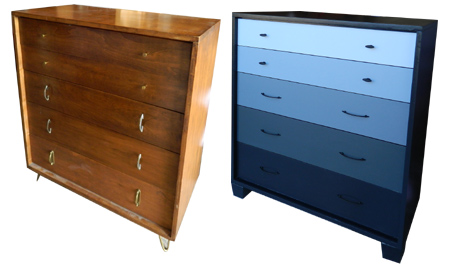
BELOW: Add practical storage to a bathroom or boy's bedroom and add refreshing shades of blue.

Handy painting tips
When you are working with more than one colour at a time, or need to speed up the paint drying process, use a hairdryer on low setting to speed up drying time.
For an ultra-smooth painted finish, use 1000- or 1200-grit wet/dry sandpaper. Dip in water, shake to remove excess moisture and then use a circular motion across the painted surface. Have a slightly damp cloth on hand to wipe away any excess paint and then run your hand across the surface to feel how smooth it is.
To prevent paint from peeling, don't skimp on preparation and always allow sufficient drying time between coats. Use a paintbrush for detailed areas and then run over this with a foam roller. Alternatively, invest in a Bosch PFS spray system for a professional finish for all your painting projects.
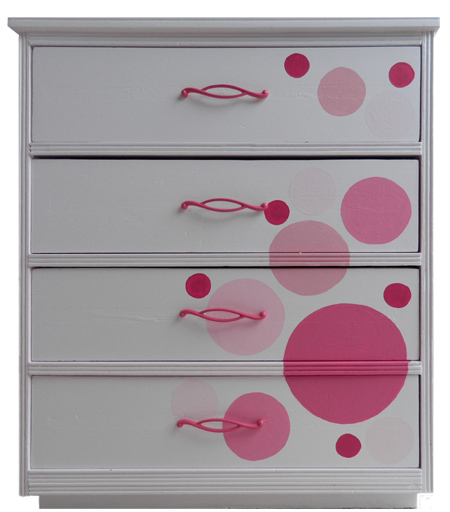
ABOVE: Hand painted polka dots in shades of pink with gloss pink handles turn previously boring chests of drawers into eye-catching pieces.
onmycreativeside.wordpress.com

All the painted furniture shown here are custom orders for clients and done by julie at on my creative side. Make extra money by buying furniture at auctions and secondhand stores and applying your creativity to start up your own business or bring in a bit of extra cash.