
Paint furniture with home made chalk paint
Chalk paint is one of the easiest paints to make at home and you can make chalk paint in an unlimited variety of colours if you do it yourself
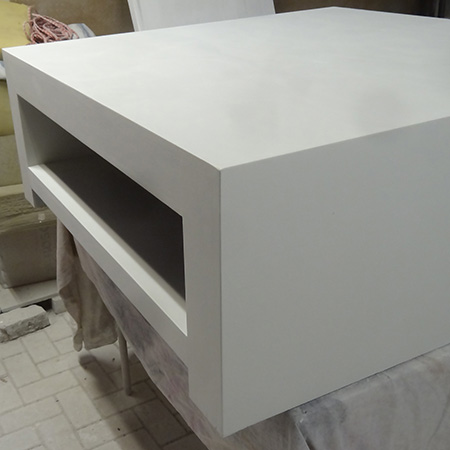
When you want to paint furniture the easy way, or give furniture a shabby chic or distressed finish, chalk paint allows you to do it quickly and easily. The problem with ready made chalk paint is the cost. Chalk paint on the shelf is very expensive and yet you can make your own at a fraction of the cost.
All the supplies used in this project are sponsored by www.buco.co.za and are available at your nearest store.
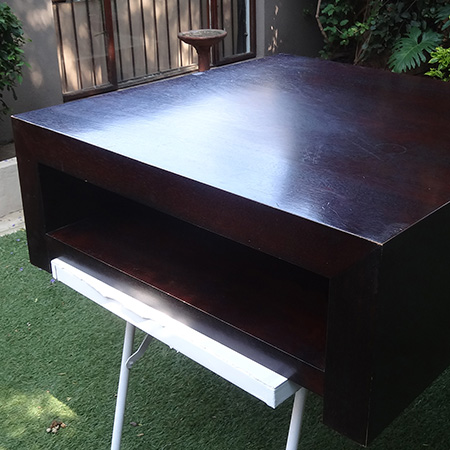
Previously painted, sealed or varnished furniture requires very little sanding, other than the de-gloss the finish, which means less time spent sanding and quick application of paint. And since chalk paint dries quickly, your projects are finished without fuss and much faster.
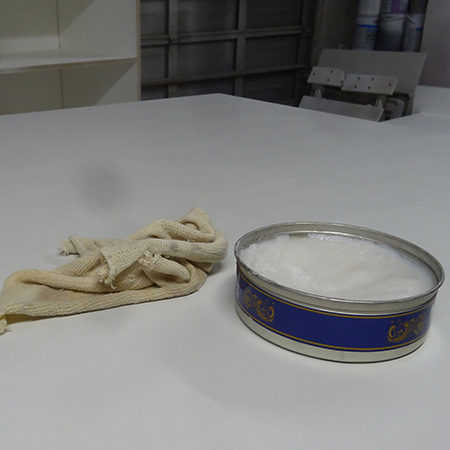
YOU WILL NEED:
To make your own chalk paint you will need a few suppliers:
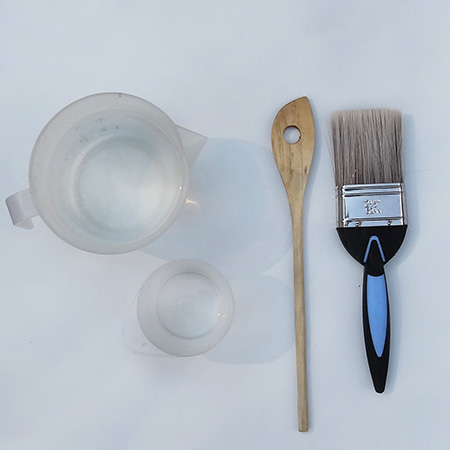
Paintbrush
Wooden mixing spoon
Large jug of water
Measuring cup
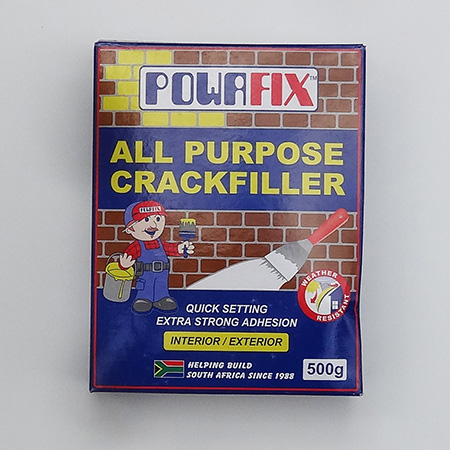
Interior crackfiller
OPTIONAL: 240-grit sandpaper or sanding pads
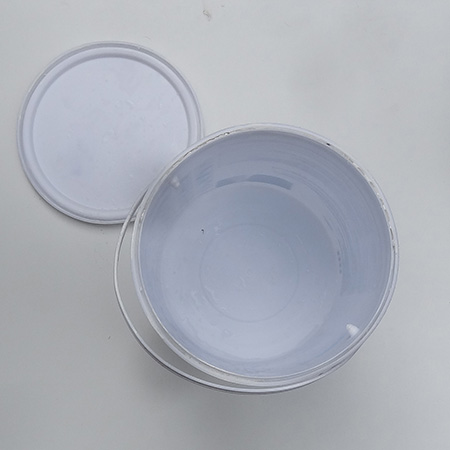
You will need an empty, clean container for mixing. Recycle an old paint container for this.
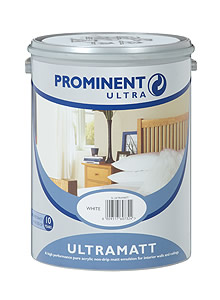
And finally you will need paint - matt paint. We prefer to use Prominent Ultra Matt, but you can use any matt paint to make your own chalk paint.
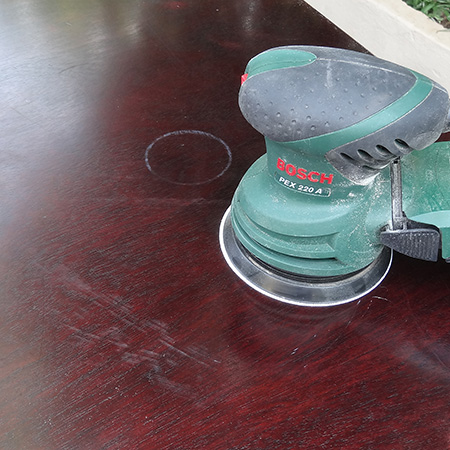
Step 1
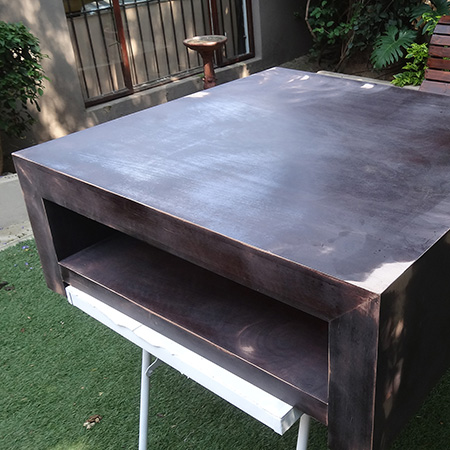
While it isn't absolutely
essential to sand furniture before painting with
chalk paint, a light sanding to de-gloss (remove
the shine) ensures a successful project. Use
240-grit sandpaper or sanding to remove the
shiny finish. Wipe clean to remove the dust.
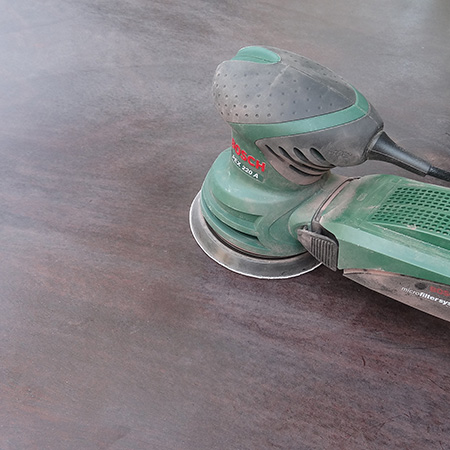
GOOD TO KNOW
At this stage
you can continue to sand away any defects - or
leave as is if you are going for a more rustic
finish.
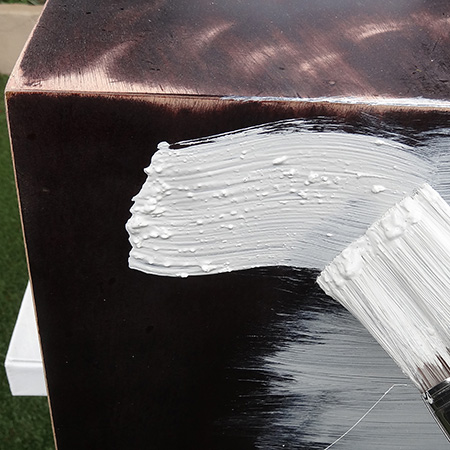
Step 2
Pour one cup of water into
the mixing container and slowly stir in one cup
of interior crack filler. To this, slowly add
two cups of paint. This method will ensure there
are no chalky lumps in the paint that will spoil
the finish.
GOOD TO KNOW
Only mix one batch at a time -
enough paint to apply the first coat. You will
have far more success with your project if you
make a new batch of chalk paint for each coat.
GOOD TO KNOW
If there are any small lumps in
the paint mixture these will smooth away as you
apply the chalk paint over the project.
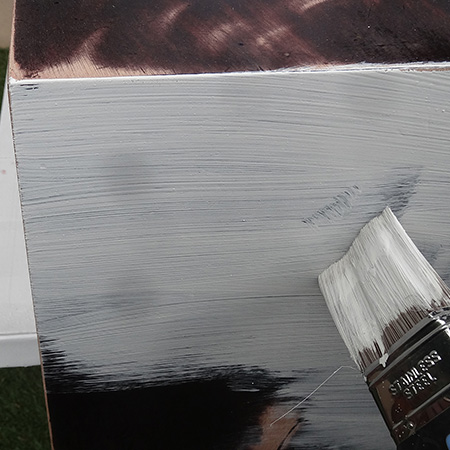
Step 3
You will need to apply 2 to 3 coats of chalk
paint, depending on the final result that you
want for your painting project. Allow each coat
to dry before applying the next coat. What's
nice about using chalk paint is that it dries
fairly quickly.
GOOD TO KNOW
While the mixture should not thicken
as you work if mixed
correctly, you can add a small quantity of water
to the paint mixture should this happen.
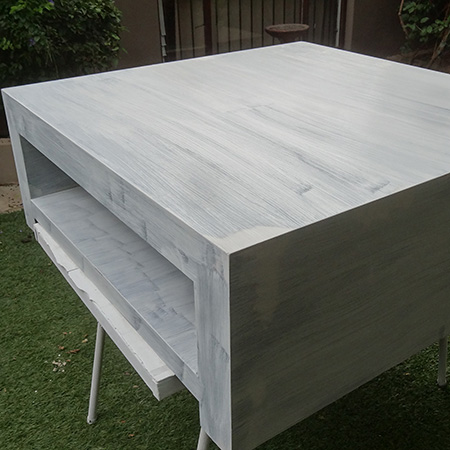
OPTIONAL: If you want a smooth finish, sand the finished project with 240-grit sandpaper before applying Woodoc Antique Wax over the painted finish.
Step 4
Apply a coat of
Woodoc Antique
Wax and buff to a satin
finish.