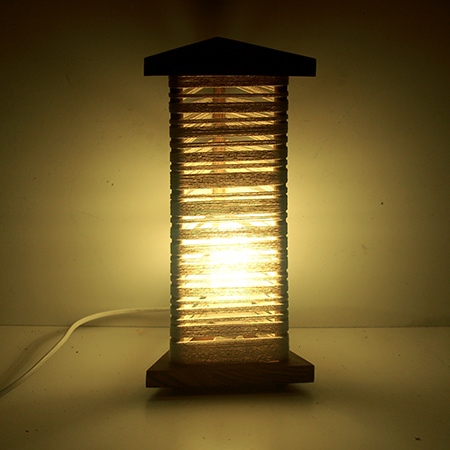
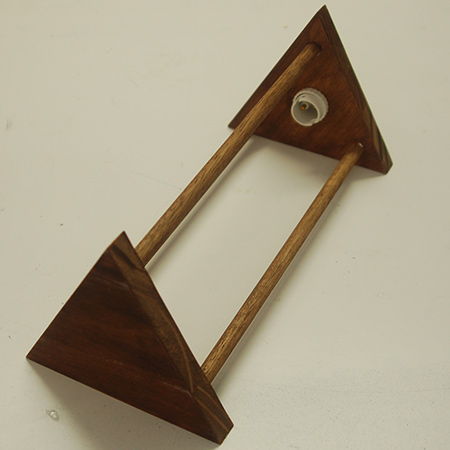
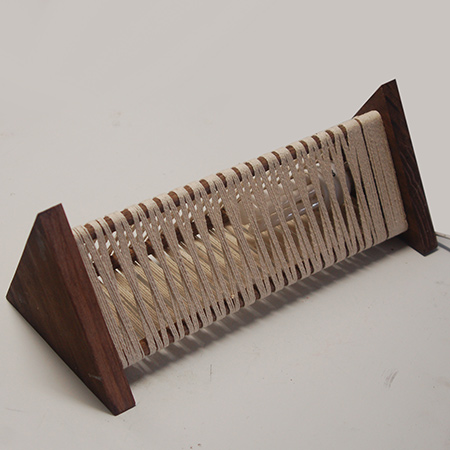
Lamp made using string and wood
This wood and string lamp is fun to make, and you can arrange the string into so many different variations for a lamp that is truly unique.
I was inspired to make this lamp by an image I saw on a Russian or Chinese website, but wanted a design that was easy for anyone to make using string and wood.
My version of the lamp is made using pine scraps and wrapped with string, and is easy enough for anyone to make if you have the right tools.
YOU WILL NEED:
Pine offcuts for the top and base
Pine dowel, 12mm
Roll of string
Lamp holder and ripcord or 2-core electrical wire
Plug
Wood glue
Woodoc Gel Stain, antique oak
Plastic feet [3] and hammer
TOOLS:
Jigsaw or mitre saw
Drill / Driver plus assorted bits
12mm spade bit
30mm hole saw
35mm hole saw or Forstner bit
Quick clamps
Tape measure and pencil
Find all the supplies you need, including a selection of rope, at your local Builders Warehouse.
HERE'S HOW:
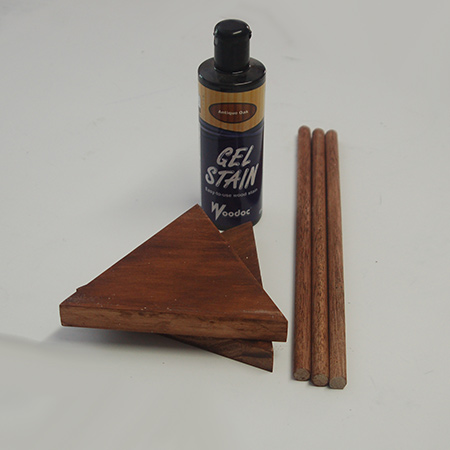
1. Cut all the pieces to size. The triangles for the top and base are 160mm long and cut at a 30-degree angle. The dowels are 250mm long. My dowels were cut 300mm long, but after making the lamp I think it would look better slightly lower.
GOOD TO KNOW: The dowels must be cut to exactly the same length to ensure an even level.
2. I used Woodoc Gel Stain - Antique Oak - on all the pieces. Apply using a sponge or rag and work with the grain for a nice, even finish.
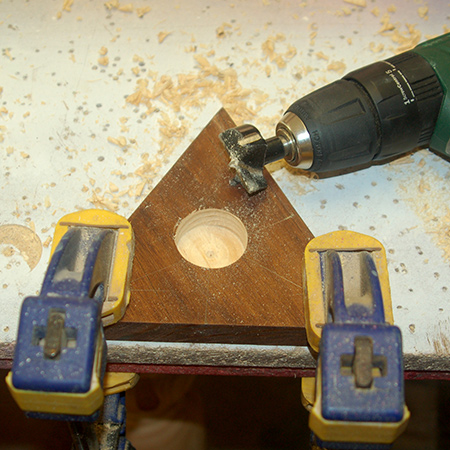
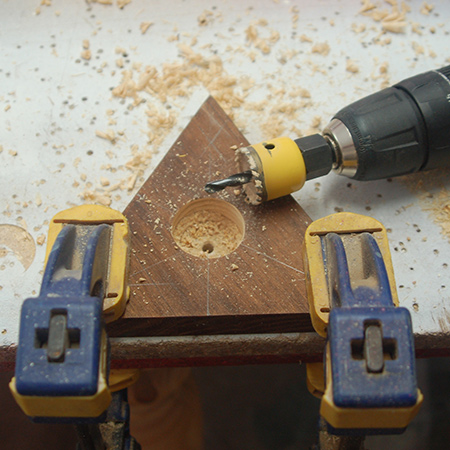
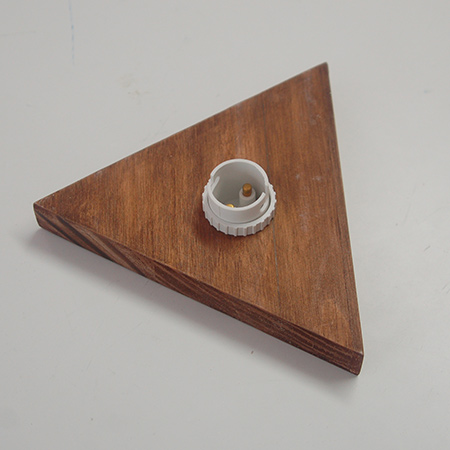
3. In order to mount the lamp holder in the base you need to cut [2] holes. One hole is 35mm in diameter and goes 3/4 of the way through [above], and the second hole is 30mm in diameter and allow the top of the lamp holder to be pushed through the base [below].
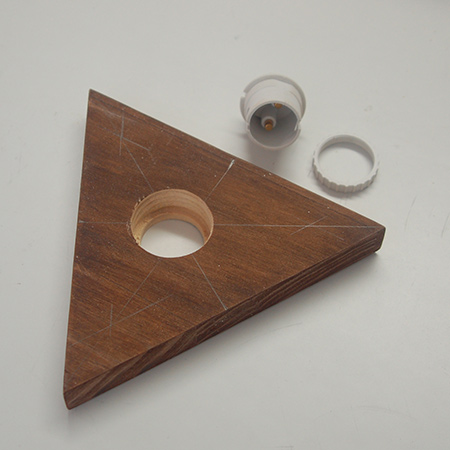
4. As you drill each hole, test fit the lamp holder to make sure it fits snugly. It might be necessary to apply some quick-setting epoxy glue to hold the lamp holder firmly in place after wiring up.
GOOD TO KNOW: I made a boo-boo here! I added the lamp holder after starting to wrap with string, but you should do this now because it is easier.
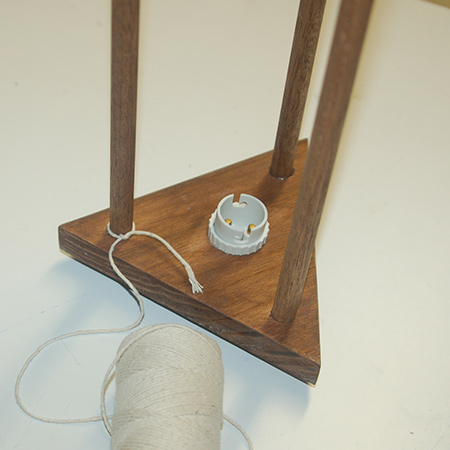
5. Before securing the lamp holder in place, wire up.

6. You can also add the [3] little feet at the same time.
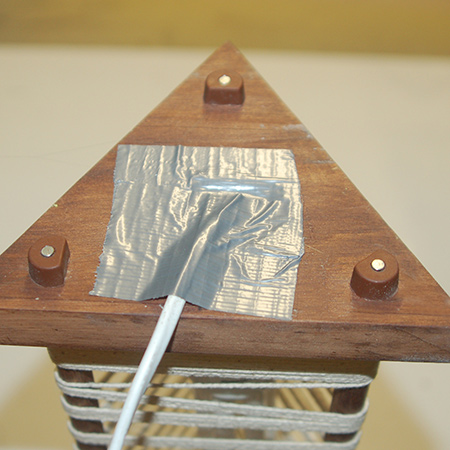
GOOD TO KNOW: Cover the wiring with a couple of strips of duct tape.
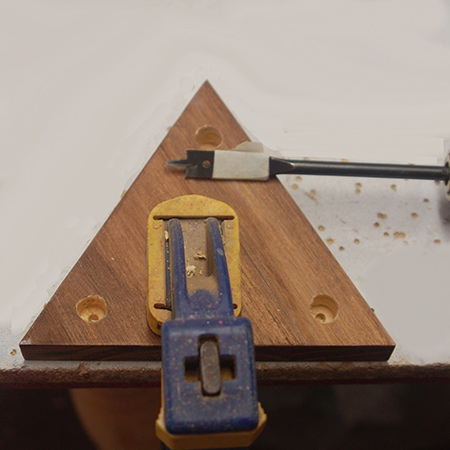
7. Mark a border around both triangles, approx. 18mm in from the edge. This will indicate where to drill the holes for mounting the dowel uprights. The depth for the holes is 10mm and you need to ensure all holes are drilled to exactly the same depth, so use a piece of masking tape so that you know when to stop.
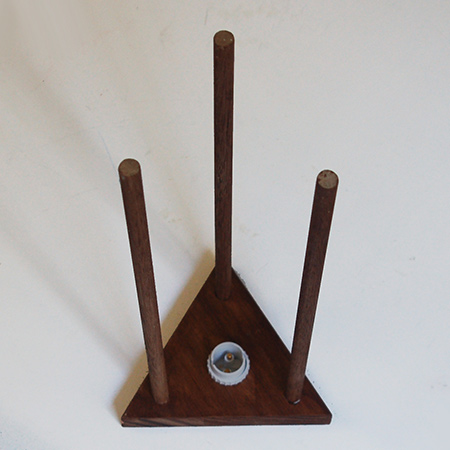
8. Place a small bead of wood glue in each drilled hole and insert the dowels. Push them down firmly so that they are all of even height. If unsure, use a steel ruler to check the height of each. Any mistakes here and your lamp will look skew.
9. Add a bead of wood glue to the top section and push down firmly onto the dowels. Again, make sure it is properly aligned and pushed as far as it will go into the holes.
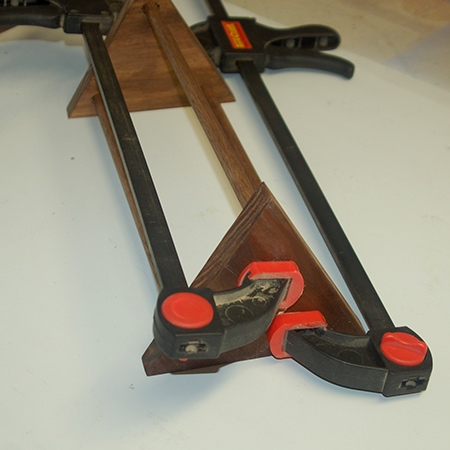
10. Clamp the assembly for a couple of hours for the glue to dry.
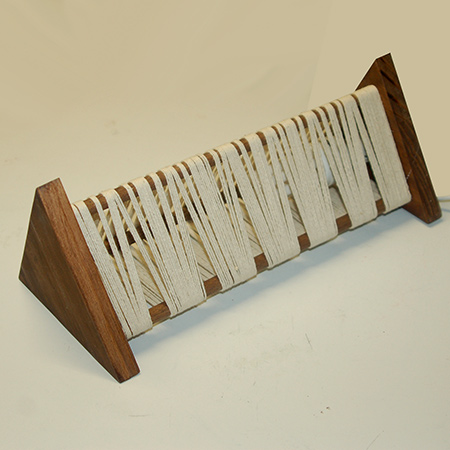
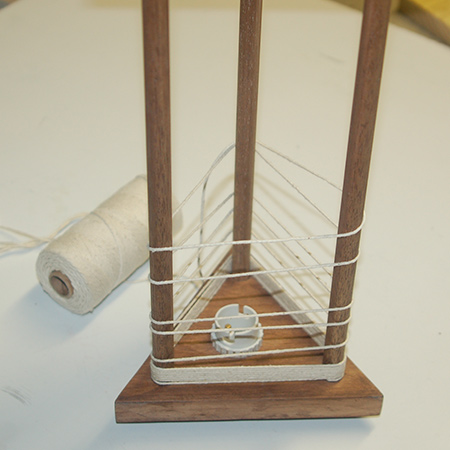
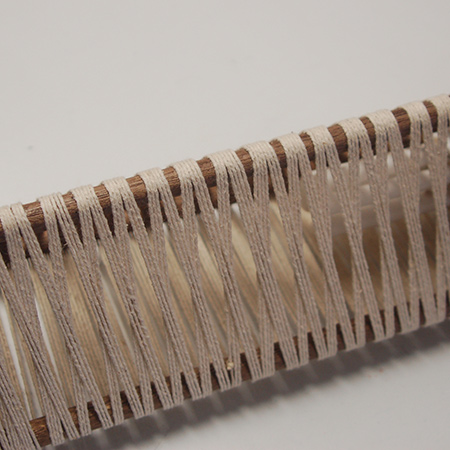
11. Now you can start to wrap the frame with string. Tie the end in a neat knot around one of the dowels that will be at the back of the lamp. Keep wrapping, and keep wrapping. You want quite a bit of string around the frame to give a nice effect and block out light. When you reach the end, add a blob of hot glue or superglue to secure.
Unique design for your string and wood lamp
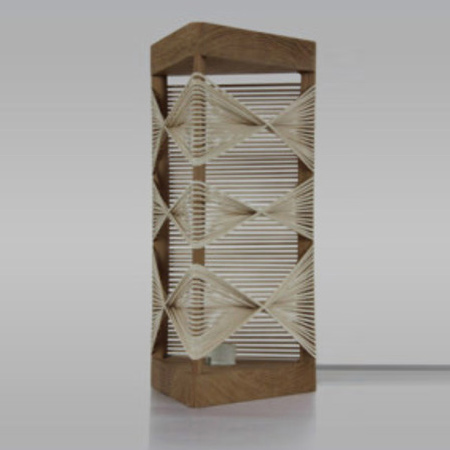
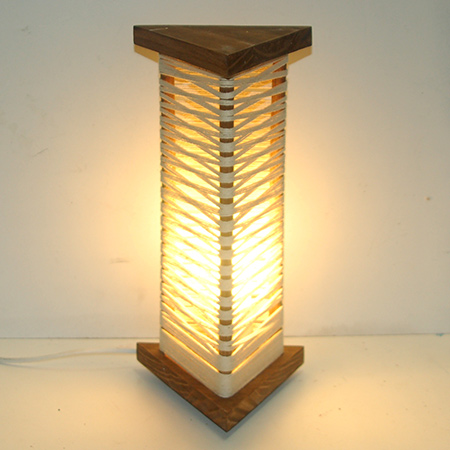
There are so many patterns that you can create once the string and wood lamp is wrapped.
More design ideas