3 Easy ways to make picture frames
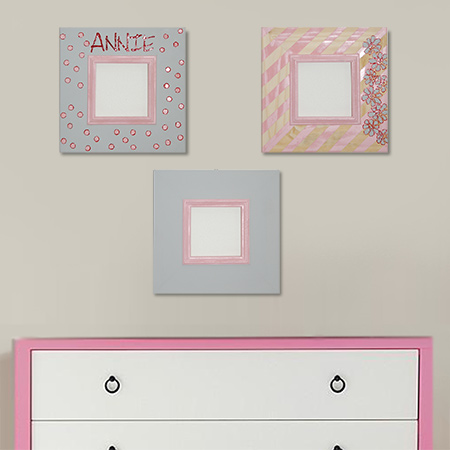
There are many ways to make picture frames, and we look at 3 ways, using three different methods to make a set of picture frames for a nursery, or for any room in the home.
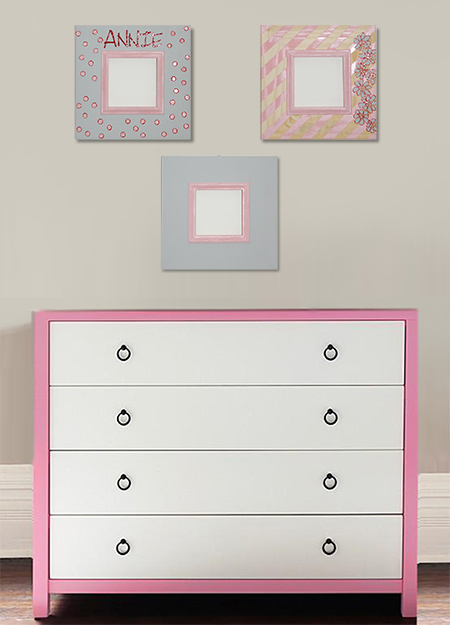
If you know how to make your own picture frames, there are so many ways to finish these off to add interesting detail to a wall, or make your own wall gallery. In this project, with the exception of a mitre saw to cut the corner angles, we include three different (inexpensive) ways to make picture frames.
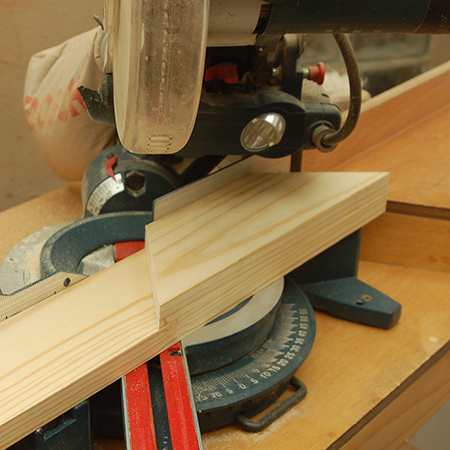
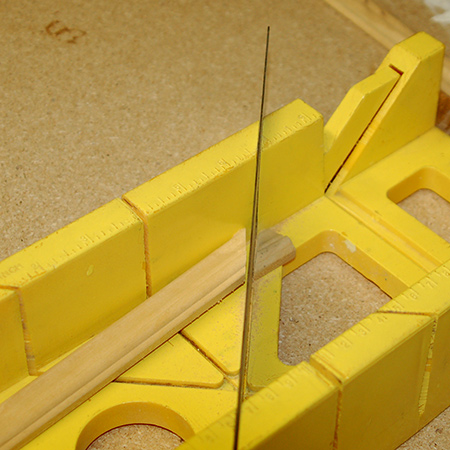
GOOD TO KNOW: When using a mitre saw to cut the 45-degree corners, set the saw at a left or right 45-degree mark and then turn the wood over instead of having to adjust the cutting angle for every cut.
Use V-pin, pliers and a hammer
This method is one of the cheapest ways to make your own picture frames, and uses tools you probably already have. You can purchase a Picture Framing Kit,, or simply buy V-pins on their own to make your frames.
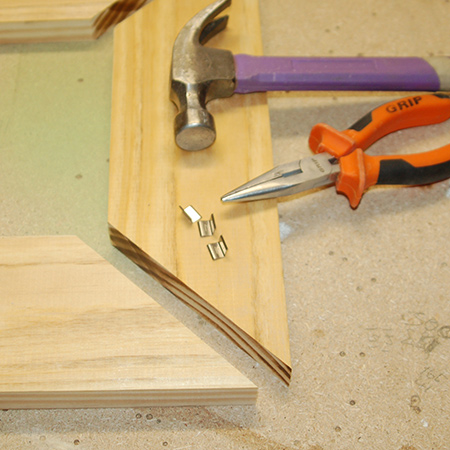
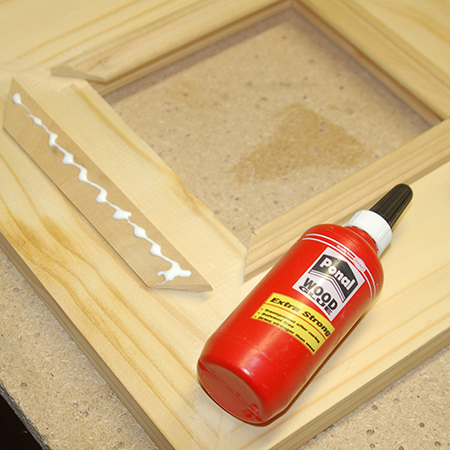
To secure the frames using V-pin, apply wood glue to the corner faces, place the corners together and hold in place with a clamp (as shown below). Hold a V-pin with the pliers and gently tap into the wood.
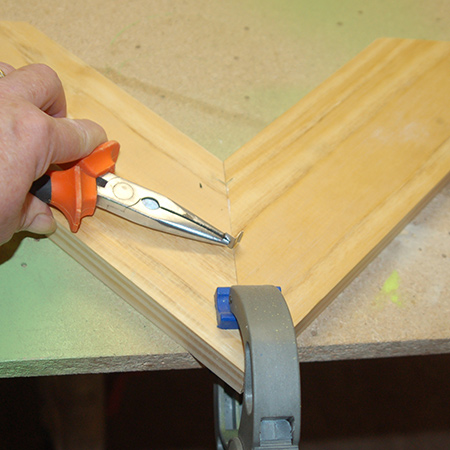
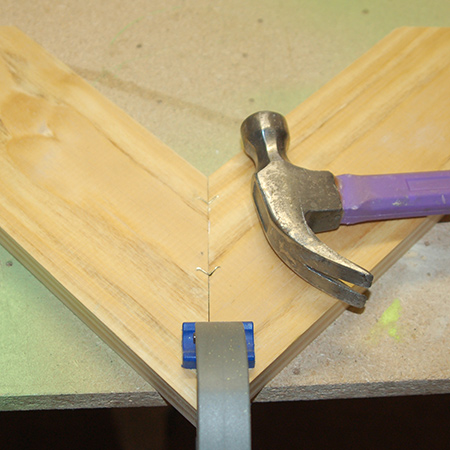
Remove the pliers and hammer in the pin. The trick is to make sure that the corner faces are firmly placed together and do not move as you work.
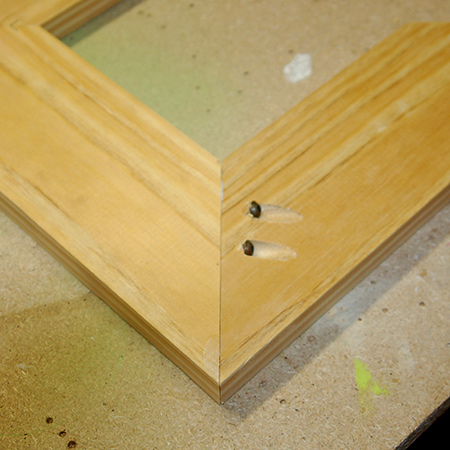
Kreg pockethole jig and screws
There are various ways to use a Kreg Pockethole Jig for DIY projects, and picture frames are easy to join together using a jig and screws.
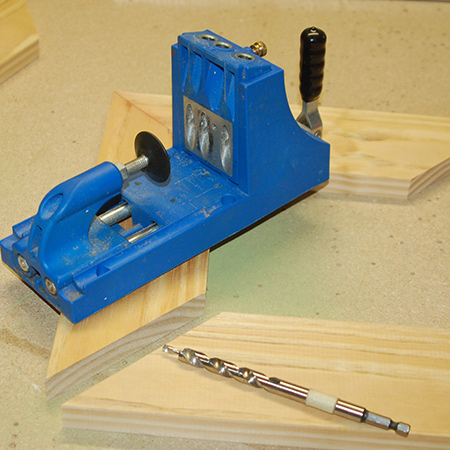
Use the jig to make holes on one side of each corner and then screw these together. It is also a good idea to apply a bead of wood glue to the corner faces.
Biscuit joiner and biscuits
This is my favourite method for making picture frames, and if you plan on making lots of frames for yourself, family or friends, or even for profit, you may want to consider investing in a Tork Craft Biscuit Joiner. I like this method because it's quick and easy - no messing around.
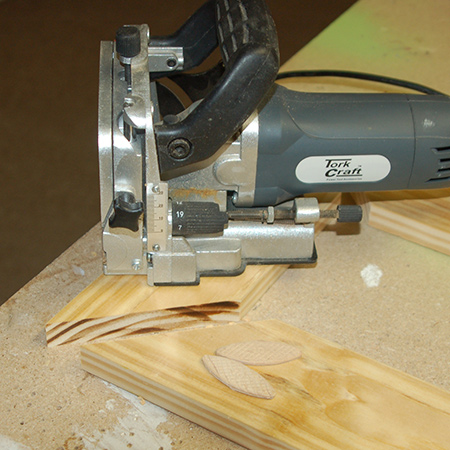
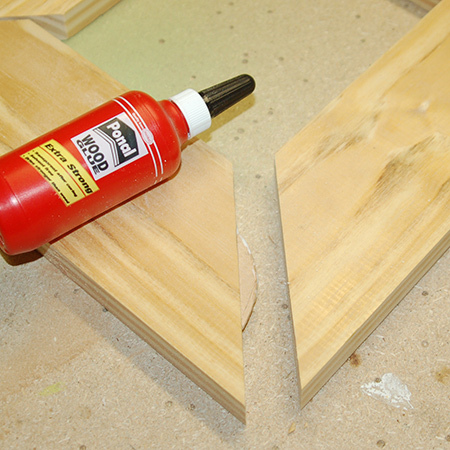
Cut the slots, pour in some glue and insert the biscuits, place the corners together and leave to dry overnight. It couldn't be easier. And when you make as many picture frames as we do - that's great.
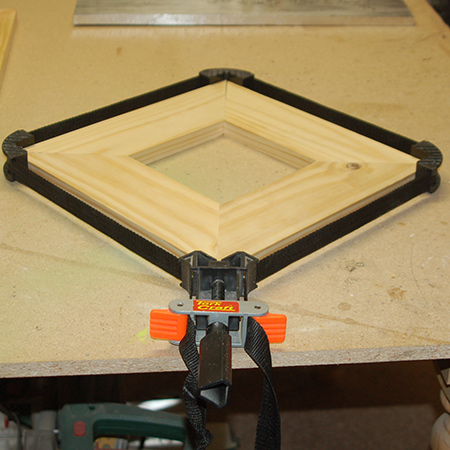
GOOD TO KNOW: If you do make lots of frames, the Tork Craft Strap Clamp is definitely an item you will want on your 'wish list'. The adjustable strap holds the frame together while you use your preferred choice for making the frame. Buy at your local Builders Warehouse, or check out at online tool suppliers.
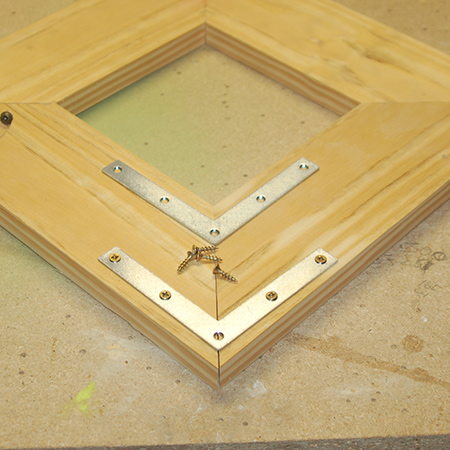
Steel braces and screws
Definitely easy and inexpensive... use wood glue, steel braces and 16mm screws to secure the corners on your picture frames.
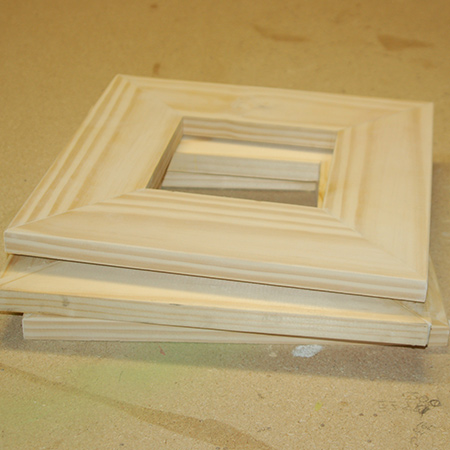
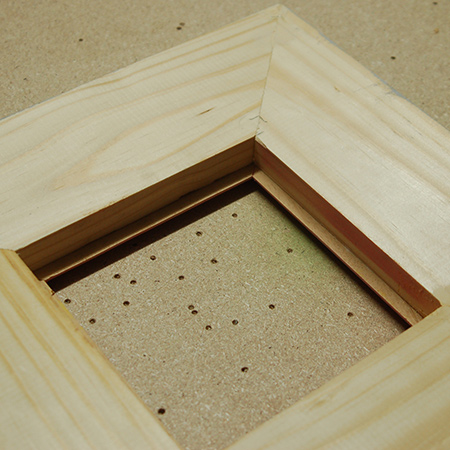
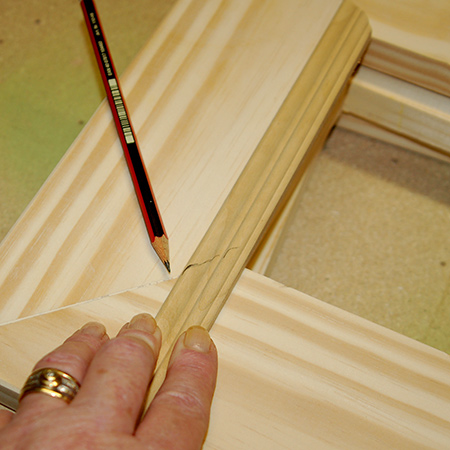
Use a mitre saw or mitre box to cut the moulding that fits on top of the frame around the centre opening.
Place the moulding so that it overhangs by about 5mm and mark the cutting line with a pencil.
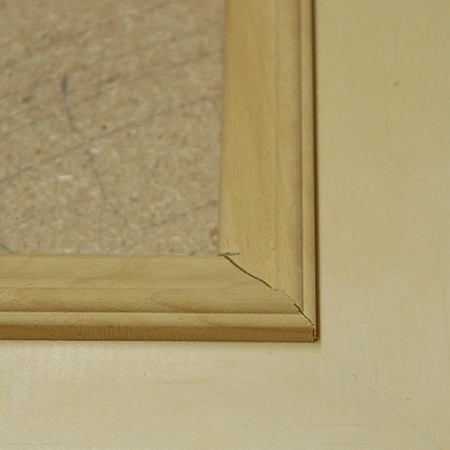
Use wood glue to secure the moulding onto the frames. Any gaps in the joins can be filled with wood filler and sanded smooth.
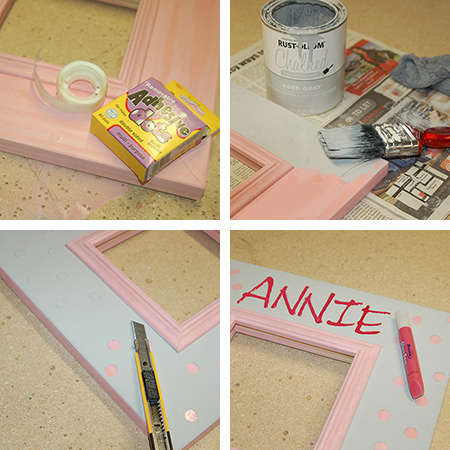
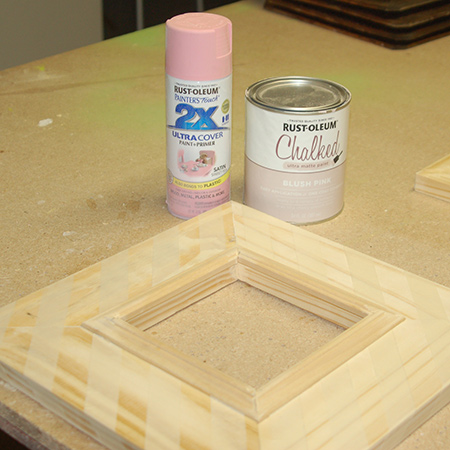
For this project we finished the three frames in different ways. We used a can of Rust-Oleum 2X spray paint in satin sweet pea and a can of Rust-Oleum Chalked chalk paint in light grey.
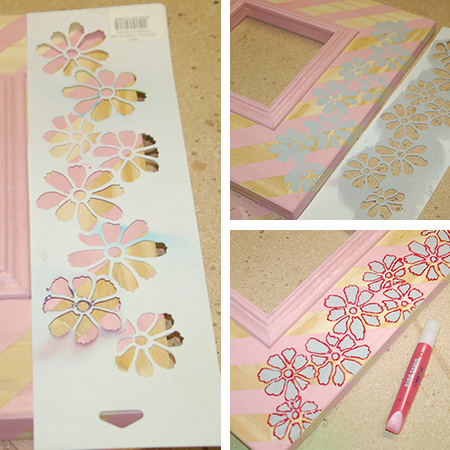
For the first frame we applied masking tape in a diagonal pattern over the top and edges of the frame. This was then sprayed with Rust-Oleum 2X sweet pea and the masking tape removed. We then used a stencil, stencil brush and Chalked paint to apply a floral design over the stripes, on one side of the frame. Once dry, we outlined the floral design with a puffy /glass decor paint pen.
The second frame was sprayed with Rust-Oleum 2X sweet pea. We stuck on some removable sticky dots and painted over the surface with our grey Chalked paint. Once dry we peeled off the sticky dots.
To finish, we added an outline around the dots and stencilled a name onto the frame, filled in with a puffy / glass decor paint pen.