
DIY arched window mirror
I finally managed to get to grips with making an arched window mirror. A client of Shabby-Chic asked us to make this mirror for her bedroom and I have been mulling over the best way to do it. Here's an easy way to make your own arched window mirror.
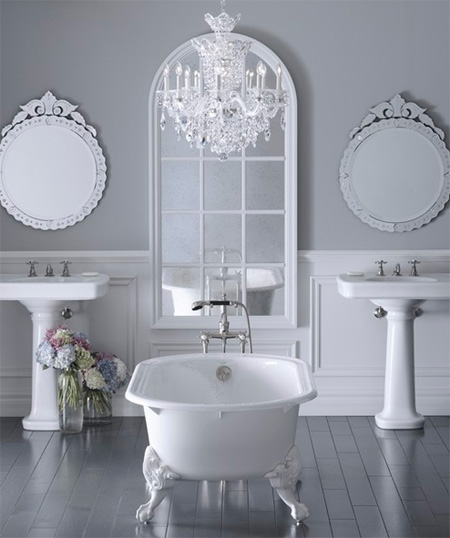
houzz.com
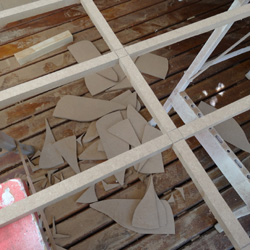
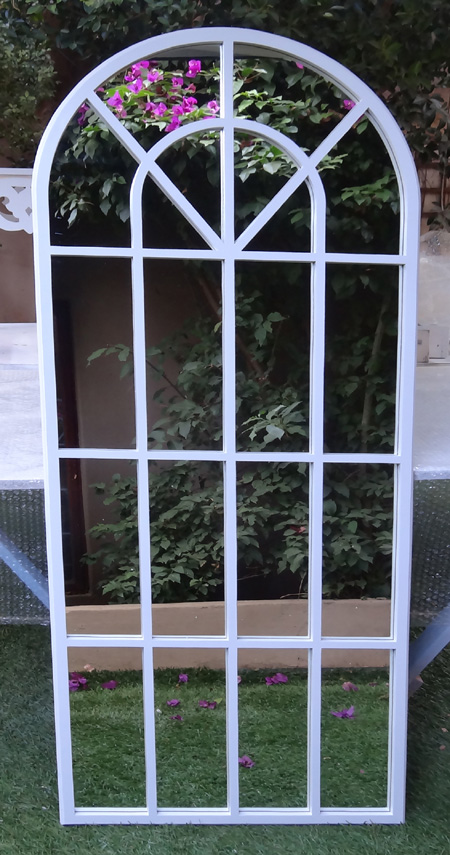
To make the mirror frame I had a piece of 16mm SupaWood cut to 600 x 1800mm, which will be the finished size of the mirror. After a fair bit of measuring and marking to get the design right, the sections were cut out using my jigsaw.
Here you can see the frame after cutting out all the sections. Try to make the inside segments of the frame no less than 20mm wide, so that it still has strength. The outside of the frame should be no less than 50mm wide - to allow for fitting the mirror to the back. Sand all the cut edges with 240-grit sandpaper for a nice, smooth finish.
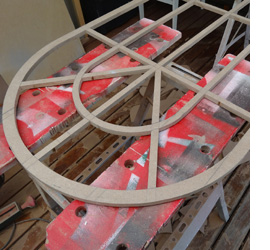
If you own a router, use a decorative bit to rout around the outside of the frame for a nice finish. There are a selection of router bits available and each routs a different edge. Once the frame is complete you can take it along to your nearest glass and mirror supplier to have them cut the mirror to fit. Make sure that they allow enough space around the edge of the mirror for mounting the mirror clips. After edging and sanding smooth I painted the entire frame with Rust-Oleum 2X satin blossom white. Three coats were applied, with drying time between each coat.
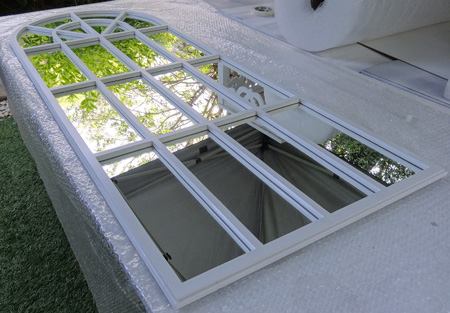
The mirror is attached to the back of the frame using plastic mirror clips - at your local Builders Warehouse or Gelmar. Drill 1.5mm pilot holes in the frame before screwing the mirror clips in place around the mirror. The pilot holes prevent the wood from splitting. Also, make sure that the screws aren't too long - you don't want them poking through the front of the frame!
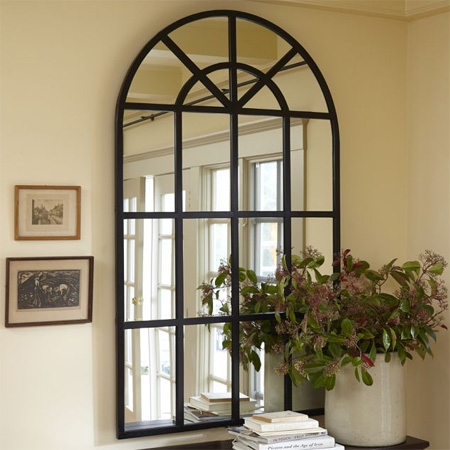
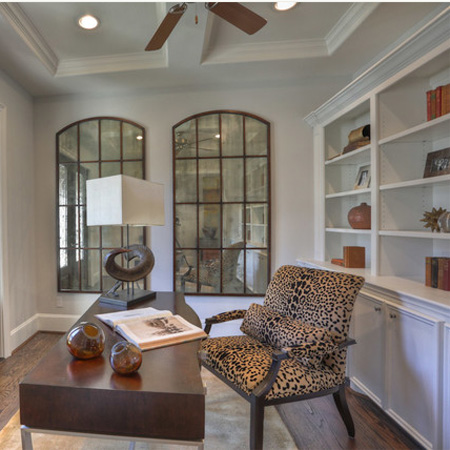
Making your own arched mirror means that you can design the arched mirror to fit in with your decor. Here are some examples of arched mirrors.
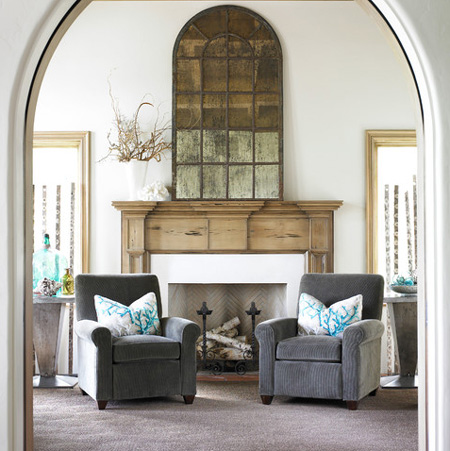
houzz.com
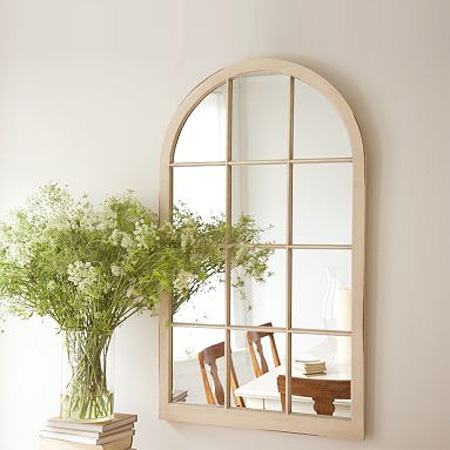
houzz.com