
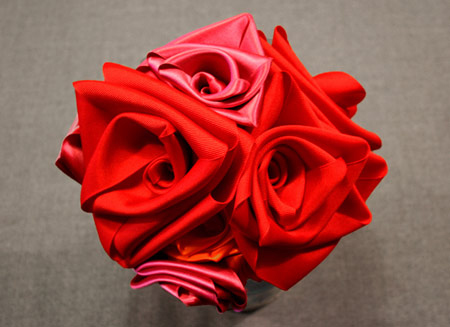
Everlasting bouquet
Learn how to make beautiful and simple ribbon or fabric flowers! Make a bunch and have lovely flowers that bloom on and on! This is a perfect project for Valentine's Day or a wedding in need of some handmade touches.
sewingpatterns.com
YOU WILL NEED:
ribbon or fabric strips
embroidery needle
thread
optional:
wire and floral tape
CONTINUES BELOW
HERE'S HOW:
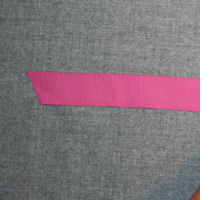
1. First, cut a piece of ribbon to about 1 metre in length and then cut diagonally on either end to have two sharp points. If you don’t have ribbon, you can use a strip of your favorite fabric; we recommend top-stitching or overlocking the edges to check fray.
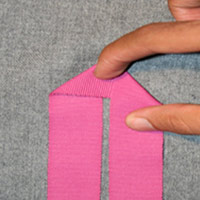
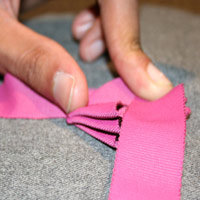
2. Pre-thread a large embroidery needle and set aside. Now, using your thumb and index finger hold your ribbon down, with your thumb about 8" away from the ribbon’s end. The longer end of the ribbon should be in front your index finger.

3. With the long end, fold to create an upside-down L-shape. The roses are created from a series of these folds.
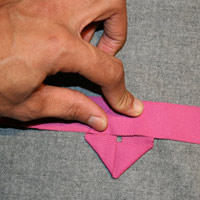
4. With the longer end to your right, fold it down so it is parallel with the shorter end, creating an arrow shape. Make sure you leave a gap a little over 1/8” wide between the two ends.
5. Next, bring the longer end over the short end to create a square. And repeat…
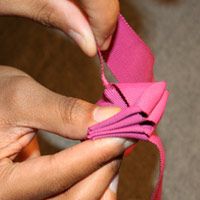
6. Repeat these series of folds until you have at least three layers of ribbon.
7. Once three layers are completed, carefully lift up the ribbon from the bottom using your index finger, while keeping the folds in place with your thumb.
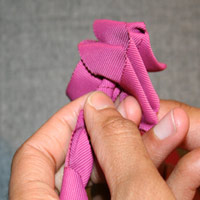
8. Insert the remaining end of the longer piece into the square gap in the center of the folds. Gently pull it down through the hole, leaving a little bit at the top.
9. While holding the folds with your left hand, take the long piece of the ribbon at the bottom and twist near the fold until the top begins to curl. Let each layer curl as you twist, lifting your finger and placing it on the next layer, until you begin to see the flower take shape.
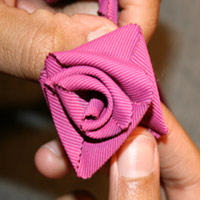
10. Once the flower is completed, tightly hold the bottom to prevent it from coming undone. Take your pre-threaded needle and tightly stitch directly underneath the bottom of the flower, keeping the folds in place.