
Plastic ceiling tile becomes vintage clock
Although these aren't tin ceiling tiles, you can easily paint modern plastic or faux tin ceiling tiles to look vintage, and then transform into an antique finish clock. In this project we show you how to paint plastic or faux tin ceiling tiles to look like vintage tiles, and then make your ceiling tile into a clock.
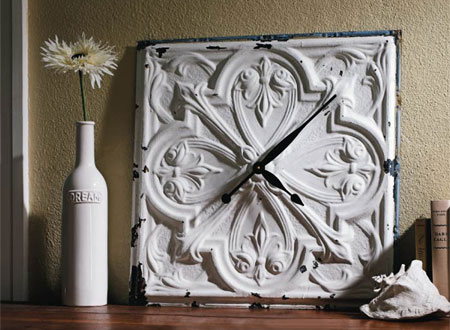
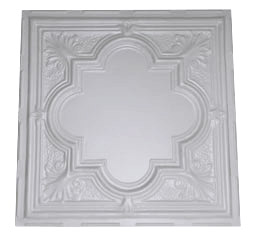
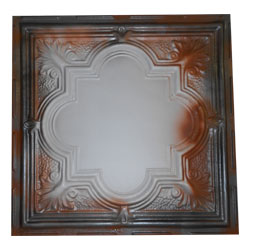
I recently came across this gorgeous clock mounted onto an old tin ceiling tile. I love this design, but ceiling tiles are hard to come by and cost quite a bit if they are vintage. The cheaper alternative is to use plastic or faux tin ceiling tiles and use a paint technique to make the plastic look rusty and old! I got my plastic ceiling tiles from Park Lane Decor.
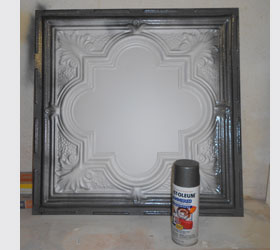
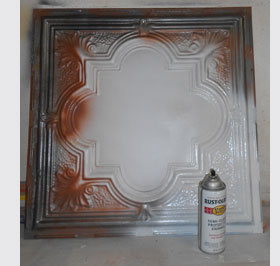
So, how do you make a brand new plastic ceiling tile look like an vintage, tin ceiling tile? These days you can do almost anything with paint and I'm going to show you how easy it is. The first step is to rub a wax candle haphazardly around the outside edge and on some of the raised bits of the tile. The next step is to spray on a dull grey, flat or mat paint. Rust-Oleum is best as this stuff really sticks to plastic, and I am using Rust-Oleum grey hammered.
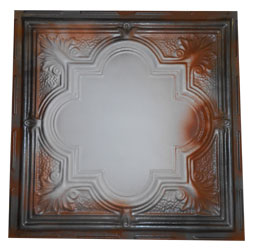
Once the grey is dry, I spray on a flat medium brown - almost orange - colour. Spray this on randomly around the outside of the tile. Flat paint is the best for this project because you want it to look old, not new and glossy.

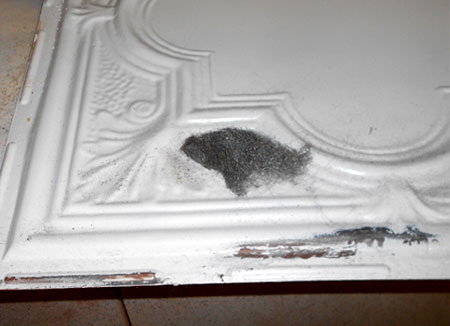
You have to work quickly now. As you are spraying on the random splotches of orange-brown, grind peppercorns onto the wet paint. What !! The ground peppercorns give the surface a rusted texture that looks more realistic than just paint. I have previously tried sand, but it doesn't give the right effect. Below is a close up of the ground peppercorns on the surface of the paint. Once the paint is dry, use a soft paintbrush to remove any loose bits before you carry on.

CONTINUES BELOW
Now you need to spray on a blotch of flat black here and there. You only need a couple of light spots on the outer perimeter of the tile.
For this last step you spray on two coats of Rust-Oleum gloss enamel spray. Allow drying time for each coat and spray from a distance of no less than 30 cm away from the surface to avoid runs. Let all this paint dry overnight before continuing with the next step. Almost done. All that's left is to rub down the surface with steel wool. You are obviously going to rub the areas where you applied wax and sprinkled ground peppercorns.
As you rub the paint underneath will start to show through, and because you applied random spots, you get the different colours in different areas. Pay particular attention to rubbing around the edges, so that you get most of the orange-brown and black coming out, with the grey as well.
Now you can mount the clock movement and hands to finish off your vintage ceiling tile clock.