
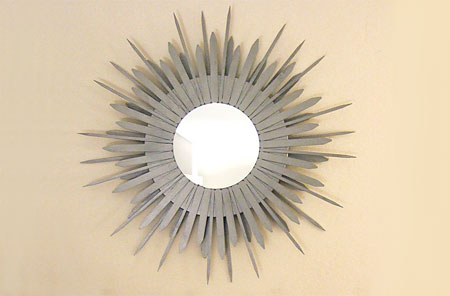
Make a starburst mirror
Using a few everyday kitchen accessories and a round mirror you can easily create a stunning starburst mirror for your bedroom or bathroom.
craftynest.com
YOU WILL NEED:
Pine cut to 500mm diameter (sanded on all sides and edges)
Assorted lengths of wooden stakes (you can use plant markers, ice-lolly sticks, or tongue depressors, kebab
skewers, and even toothpicks)
300mm diameter mirror
Rust-Oleum Metallic - silver
Alcolin wood glue & No More Nails
Picture hanger
Self-adhesive paper
Newspaper or drop cloth
Paper towels
Hammer & nails
Small sponge paint applicator
Scissors
Cutting pliers
Pencil & ruler
Sanding block & 180-grit sandpaper
Clean cloth
CONTINUES BELOW
HERE'S HOW:
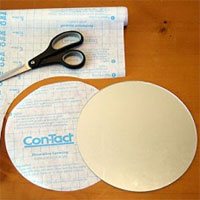
1.Trace the size of the mirror onto the self-adhesive paper. Cut out the circle, peel off the backing, and adhere to the front of the mirror. This will protect the mirror from spray paint later on.
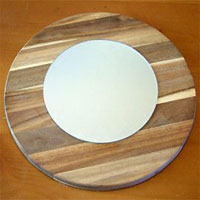
2. Glue the mirror onto the cut pine circle with No More Nails, making sure it’s centred. Set aside to let the glue dry.
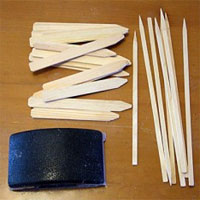
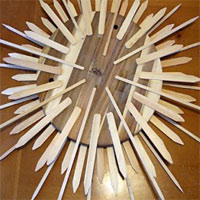
3. Using the cutting pliers, cut all your sticks and skewers to length as shown in the finished image (top). Vary the lengths for a balanced display, with the thinner sticks longer.
4.Lightly sand the rough edges of all the sticks and skewers. Wipe off the dust with a clean cloth.
5. Arrange your pattern around the mirror. Have some books handy to prop up the sticks and skewers whilst they dry.
6. Remove a stick or skewer one at a time and apply wood glue to the end of it. Spread the glue with a sponge paint applicator. Adhere the piece back in place, then move on to the next one. Make sure the starbursts point directly away from the mirror.
7. After all the sticks and skewers are glued on, remove any excess glue from between the pieces by scraping with a toothpick.
8. When the glue is dry, flip the mirror over and arrange your pattern on the back. Evenly space out the sticks and skewers as you go along. Apply the glue the same as you did in step 6.
9. When all the pieces are glued down, let dry about an hour. Notice my pieces are not perfectly symmetrical with the front. I did this to give the pattern a more random feel.
10. Attach a picture hanger on the back of the mirror.
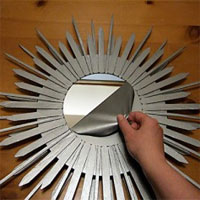
11. Spray the mirror with two coats of Rust-Oleum Metallic - Silver - to make sure the entire surface is covered. Let dry 15 minutes after each coat. When the paint is completely dry, peel off the self-adhesive paper and hang your starburst mirror on the wall.