
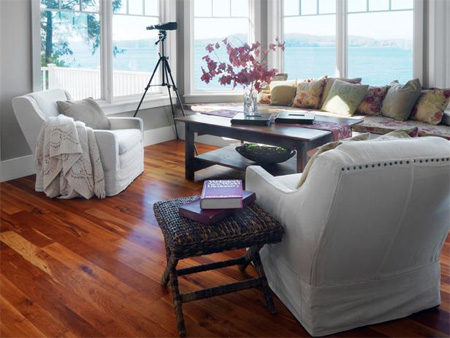
How to recover an armchair - without a sewing machine!
I stumbled across this post that shows how you can recover a really grubby armchair without using a sewing machine. The project uses sprayable adhesive that you will find at your local Builders Warehouse, where you will also find extremely affordable canvas dropcloths that you can use as the fabric.
diynetwork.com
I have taken the liberty of adding a few comments here and there on the original post to allow for differences in product and availability of materials.
YOU WILL NEED:
Large canvas dropcloth
Pinking shears
Long upholstery needle and matching thread
Hammer
2 cans sprayable adhesive
Upholstery pins or strip
CONTINUES BELOW
HERE'S HOW:
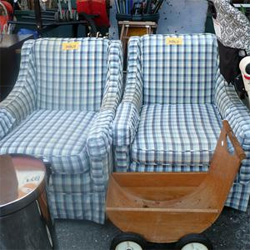
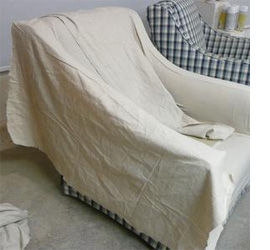
Whether you discover your old armchair at a secondhand store, already own them, or they are handed down, this project shows a really easy way to recover your armchairs if you don't own a sewing machine.
Cut the canvas dropcloth into big pieces to cover each large section of the chair. We tucked and folded at the seams to get a finished look. In some areas we just glued down the fabric to the chair, but in other spots we had to hand stitch some of the pieces together.
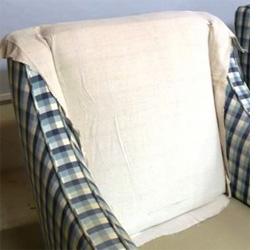
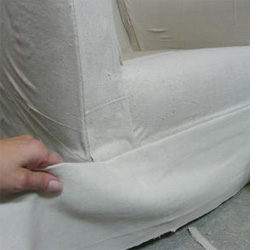
We used the finished edges of the canvas in the most visible spots - along the arms and back. The arms are two separate pieces - the inner piece folds over the outer piece. If necessary, cut each piece down further to the approximate size - make sure you cut extra to allow for curves and padding. Slowly place each piece down with the adhesive spray, pressing along the way to take out folds or wrinkles.
The sprayable adhesive is forgiving and allows you to remove and replace fabric as you work, and also smooth out the fabric. Use the pinking shears to cut one piece at a time and make sure the edges are finished edges. You can tuck in or fold over the fabric to give each seam a finished edge.
Measure up for the back section and cut the fabric to size.
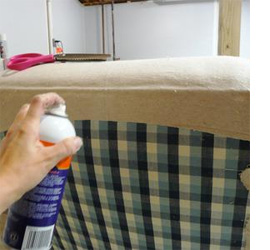
Spray adhesive along the top, bottom and side edges and press the fabric in place.
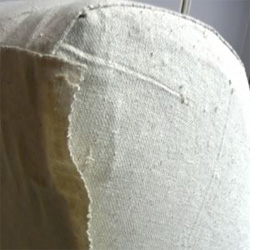
For a more professional finish, leave some fabric at the edges so that you can sew this down with a needle and matching thread.
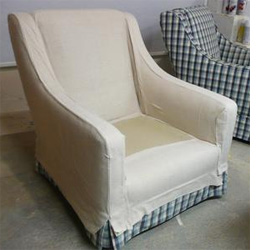
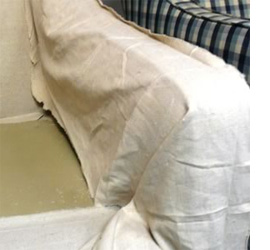
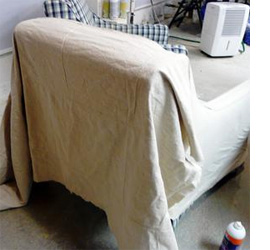
Here is what the chair should look like at this stage. The sprayable adhesive keeps the fabric nice and flat and in place while you add more pieces.
We did the chair skirt last - to cover the bottom edges of all the other pieces. You can do the skirt as one long piece wrapped all the way around, or do separate pieces on each side of the chair.
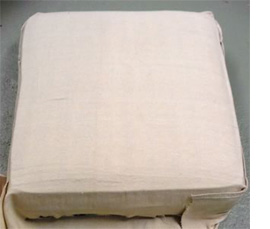
To cover the cushion, glue fabric to the top and bottom and then wrap the sides with a single piece of fabric - with the ends at the back of the cushion.
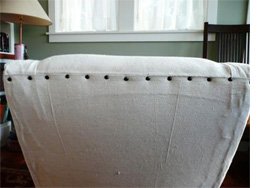
Once all the pieces are in position and glued in place you can use a hammer to attach upholstery pins along the top edge of the chair and into the chair frame. Check first to see where the frame is, as not all chairs are the same.
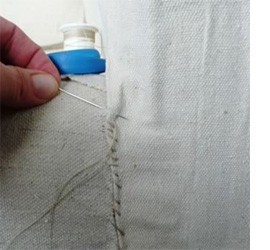
Now that all of the pieces are stuck down with sprayable adhesive, you still need to add some hand stitching at the many of the seams to hold fabric in place. The sprayable adhesive is only a temporary solution to hold the pieces in their exact spots and make it easier. The stitching will give it a rustic chic look. But take your time and have the stitches not showing for a more traditional finish.