
How to... silk screening
Silk screen printing is a fairly simple printing technique that - with a few essential materials - is easy to master.

You can use this technique on fabric for tablecloths, serviettes, cushion covers, and even items of clothing.
YOU WILL NEED:
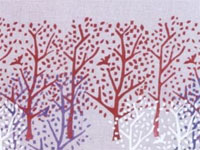
Tree design template –
download PDF here
Pencil
Silk-screen
Blockout medium (at art and craft stores)
Paintbrush
Fabric paint
Squeegee
Pre-stretched blank canvas
Fabric (pre-wash without fabric softener)
Staple gun
DIY Tip:
Allow screen to dry horizontally and wash it in between colours with water (don’t use harsh abrasives or scrubbing brushes).
CONTINUES BELOW
HERE'S HOW:
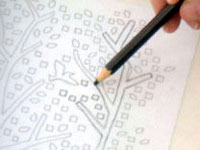
1. Place design underneath silk-screen and use a pencil to trace the outline on to the gauze.
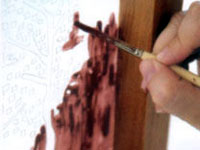
2. Thickly paint the negative area (the area you don't want to be printed) of the design on the silk-screen with blockout medium. (Blockout medium dries to form a plastic-like coating, preventing paint from penetrating through those parts of the screen.)
3. Work out on paper how you want to apply the design to your fabric - where you want it to be repeated and the colours to use. Iron your chosen fabric and lay it out on a flat work surface. Work out where you want your design to be then position the screen on top.
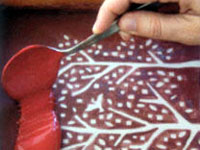
4. Put a generous dollop of paint at the top if the screen, allowing enough room for the squeegee.
5. With a firm grip, holding the squeegee at a 45-degree angle, drag it towards you - it will leave a thin film of paint on the screen. Remove the squeegee from the bottom of the screen, taking the remaining paint with it. Don't repeat or your print may bleed (tip: try a test on a scrap piece of fabric to get the hang of the printing.)
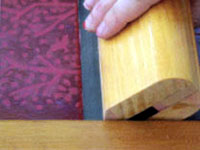
6. Gently remove screen from fabric and allow to dry. Don't place the screen over wet paint, and allow one colour to dry fully before printing over with another. Iron the fabric when finished. We then stretched our fabric over a canvas, and used a staple gun to attach it.