Make a colourful rope rag bowl
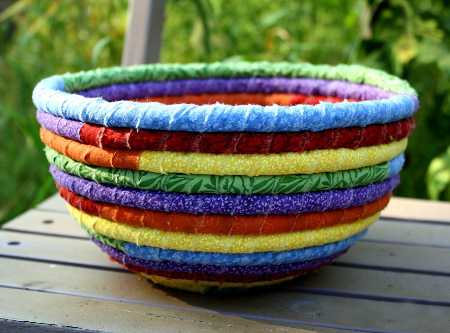
This colourful rope rag bowl is easy to make using scraps of fabric that you have lying around, old clothes, or pick up in the bargain bin at your local fabric store. Use your own made rope rag bowl on a patio table to add a splash of colour, in a children's bedroom for storing small toys, or just to add a splash of colour to a room setting.
weefolkart.com
YOU WILL NEED:
Bowl as form - you can use any size of bowl
Scrap or bought light- or medium-weight cotton
Soft cording - sash cord
is perfect
Embroidery floss (2 strands)
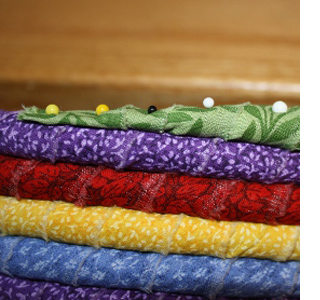
Dressmakers pins
Long upholstery needle
HERE'S HOW:
Tear the fabric into 2cm wide strips. You will also need a 5cm square of the first fabric that you use. Wrap the 5cm square around the end of the cord and secure with a couple of through-and-through stitches. Using the first colour, place the end of the strip near the tip of the covered end of the cording. Pin in place.
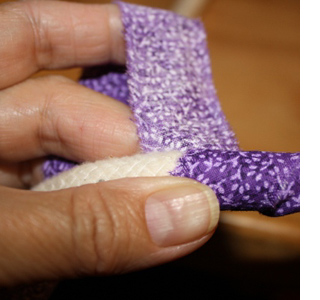
Wrap the cord tightly with fabric, holding at an angle and giving a 1cm overlap all the way along. Stop when you are about 10cm from the end of the fabric and pin in place so it does not come undone.
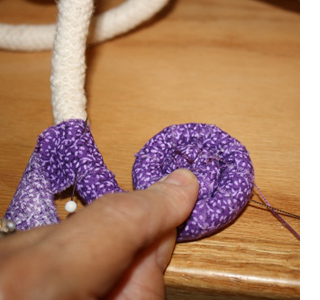
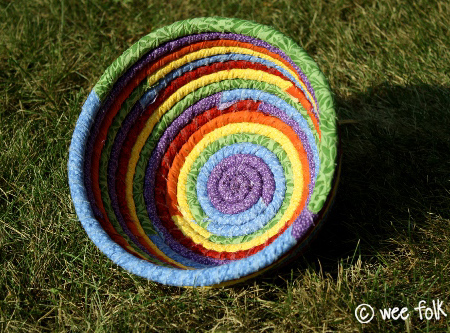
To start forming the shape, push the needle through the cord at an angle, so it comes up through the centre of the coil. Pull the thread tight to hold the coil together, but not so tight that it pulls the cord out of shape. Push the needle back through the coil so that the thread is now on the outside of the coil. The idea is to keep the outside of the bowl stitch-free. Try to keep all your stitches so that they will be hidden by the next row of cording.
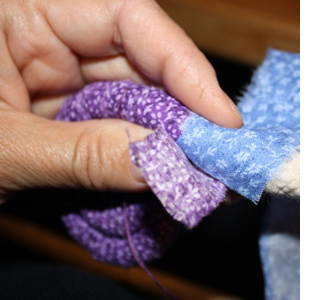
To add a new colour fabric strip you can either sew the pieces together with an overlap, or tuck the new colour under the old one and continue wrapping. The tacking and wrapping you do will hold them together, and since this is a rag bowl, some unfinished ends showing are acceptable. Make sure that any loose ends are on the inside of the bowl.
You will find it easier to work on a flat surface when starting out, but place the piece on the base of the bowl as you work, until the coil is as big as the base.
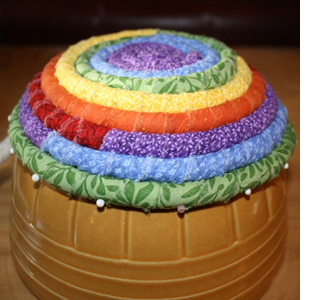
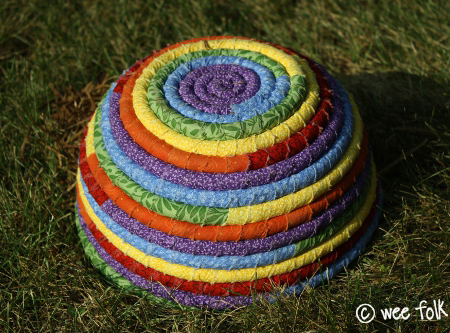
Wrap the cord around the bowl, pinning the cording to the previous coils to form the bowl shape. Continue to coil and tack as you build up the shape of your bowl.
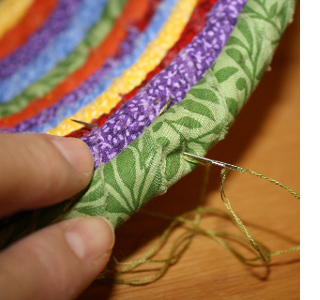
When you reach the top of your bowl, cut the cording. Taper the last 12cm of the cording before wrapping it in the same way. The cording will diminish in height, but you should keep the width the same. Pin in place, and tack to secure, adding a couple of extra tacks in at the very end.