
Learn how to do quilting
I have always wanted to learn how to do quilting but I'm just not sure that I have the patience and order required to undertake a lengthy project, such as a quilted bedspread or something similar. So, for those of you who want to get started in quilting, here's a nice and simple project from In Color Order that provides a good beginning for anyone wanting to start.
Jeni has plenty of quilting projects on her website and I would recommend a visit to her site if you are serious about starting quilting. The only snag is that all projects are in Imperial measurements, but you can use a Conversion Calculator to convert to metric measurements.
NOTE: There are very few quilted products available locally in South Africa - and this would be a golden opportunity for anyone wanting to bring in some extra cash or launch their own business - to import Insul Bright as a distributor / supplier in South Africa.
YOU WILL NEED:
(16) 64mm print squares
(2) 64mm background squares
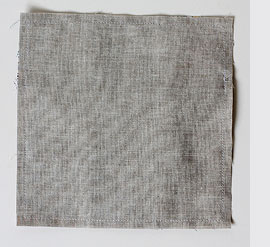
(2) 165mm background squares
(2) 240mm backing squares
(2) 240mm batting squares
(2) 64mm x 1 metre binding strips
*Seam Allowance: 6mm unless noted
HERE'S HOW:
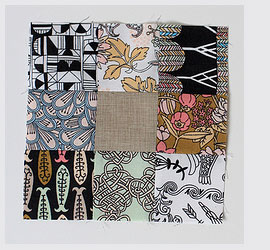
1. Lay out your print squares into two nine-patches, both with the background 64mm square in the centre.
2. Stitch together nine-patches and press seams open.
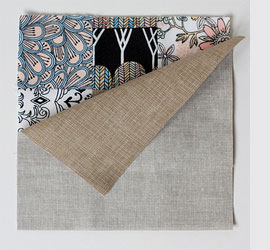
3. Place nine-patch and background square right sides together.
4. Sew a 6mm around all four sides. Lightly press.
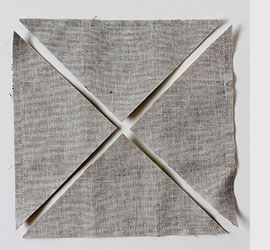
5. Using a ruler and rotary cutter, cut along both diagonals.
Note: You are cutting along the bias, so if you're nervous about stretching, I'd recommend using a little starch!
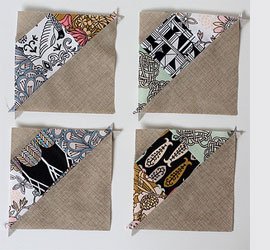
6. Press all four half-square triangle units, seams open. Repeat with remaining nine-patch and background square.
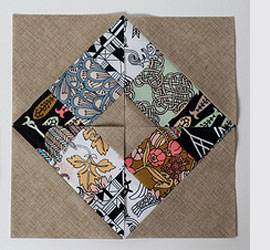
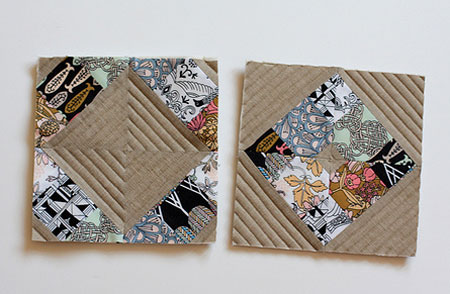
7. Trim half-square triangles to 100mm. Arrange your half-square triangles as shown above.
8. Piece together and press seams open. Trim to 190mm square.
9. Layer your pieces with the backing square right sides facing down, then the layer of insul-bright, then the batting, then the pot holder top, right sides up. Baste!
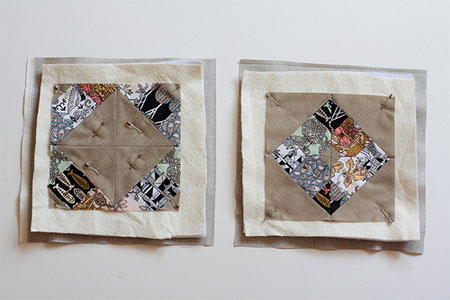
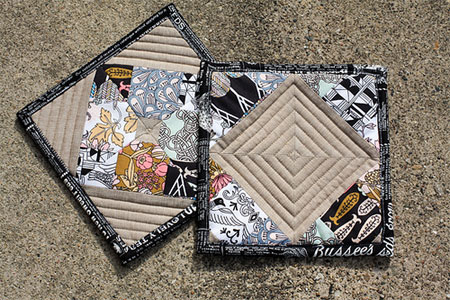
10. Quilt as desired (I machine quilted mine, using a walking foot!) and trim away excess backing, batting. Bind
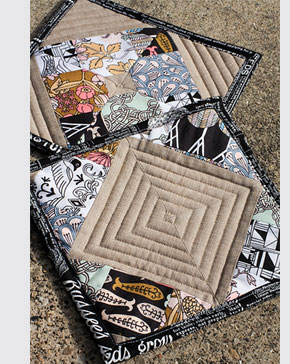
Voila, you're done! Now you are ready to tackle the next quilting project, and as you build up confidence and learn the basics, you will be making your own quilts and bedspreads before you know it! Thanks to Jeni for sharing her wonderful crafts.