
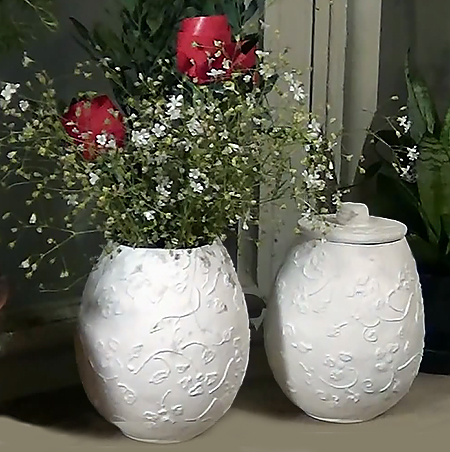
Make these easy paper mache pots
Ever since I was a tiny tot I have enjoyed making paper mache items. Using paper mache to make your home decor is an easy, fun and affordable way to add a few decorative accents to a home. These paper mache pots are super easy to make, and you can even add lids and use them for storage.
Paper mache is the art of using scraps of newspaper, a paste made of flour and water, ModPodge, watered down craft glue or clear acrylic sealer. Using paper mache you can craft bowls, plates, jars, and so many other creative projects - and it costs only what you spend for a few basic supplies.
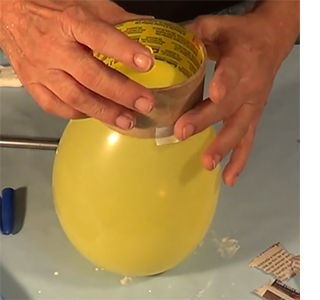
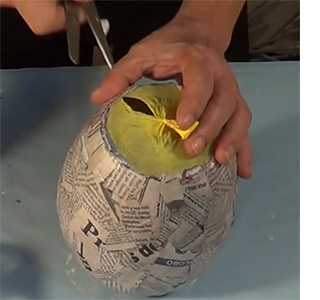
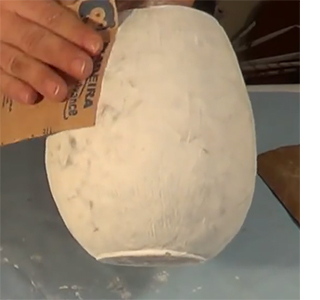
Blow up a pear-shaped balloon to the size that you want for your vase. Secure a cardboard ring (what's left from a roll of sellotape) to the top of the balloon with masking tape. The ring will hold the balloon in place as you work.
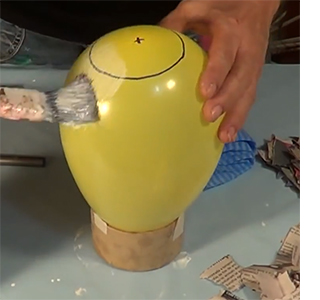
Mark the other side of the balloon with a circle that indicates where the opening of the vase will be. Use a paintbrush to apply watered down craft glue or ModPodge over the surface of the balloon and start adding scraps of newspaper.
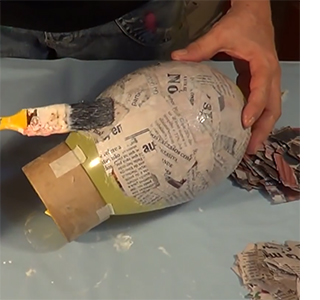
Cover the entire balloon with layers of glue and scraps of newspaper until you have a thickness of about 3 to 4mm. Leave this to dry overnight. Add two more coats of glue or ModPodge over the entire balloon, allowing the first coat to dry before applying a second coat.
Once the glue is dry you can pop the balloon and gently remove from inside the paper mache vase.
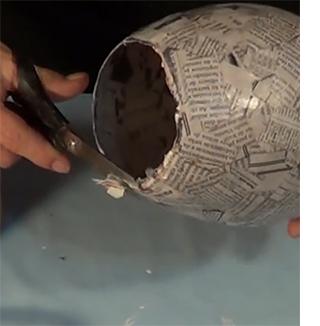
Use sharp scissors to cut a neat edge around the top of the paper mache vase. If you want a neat finish, apply thin layers of glue or ModPodge and newspaper over the rough edge and let this dry.
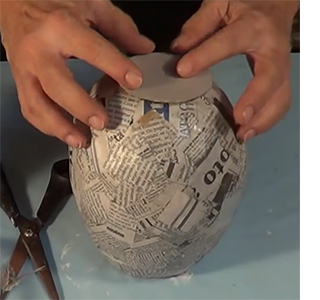
Cut a couple of cardboard circles from an empty cereal box. Glue or ModPodge these together and then glue onto the bottom of the paper mache vase.
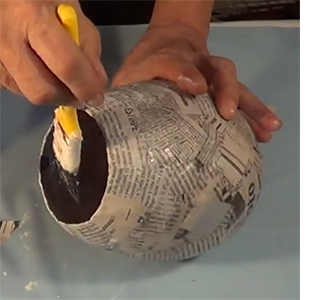
Use a bottle pushed down inside the vase to flatten the base. Apply three coats of glue or ModPodge to the base and let this dry.

Apply craft or matt acrylic paint to the outside of the vase. Apply three coats of paint, letting each coat dry before applying the next coat. Also paint the inside of the vase with acrylic paint.
Once completely dry, lightly sand with 120-grit sandpaper to smooth finish. Apply two more coats of acrylic paint.
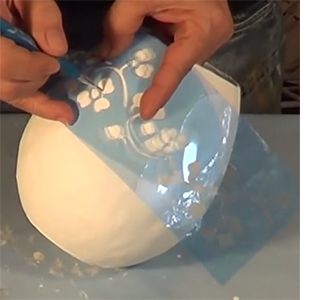
Use a stencil to transfer a design onto the painted finish, or draw a freehand design.
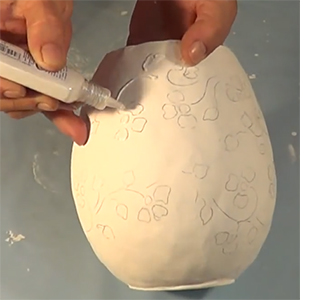
Use puff paint or outlining paint to outline your drawn design. Work in small sections to allow for drying to complete the entire vase.
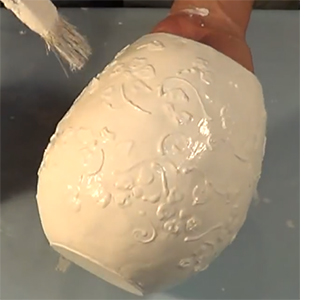
Apply two more coats of glue or ModPodge to seal and finish the paper mache vase.
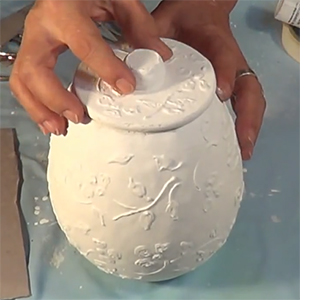
The lid for the base is made using pieces of cardboard cut to shape and glued together before being painted, detailed and finished.
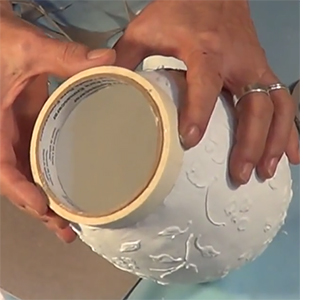
Use an item that is slightly larger than the opening as a template to cut out the sections for the lid.
mariaamoraarts.blogspot.com
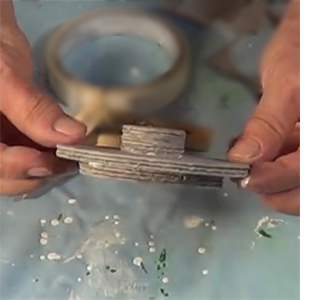
Cut smaller pieces of cardboard to glue underneath and hold the lid in place, and even smaller cardboard pieces to create a knob for the top. All these sections are glued together, coated with three coats of glue or ModPodge and then painted to match.