
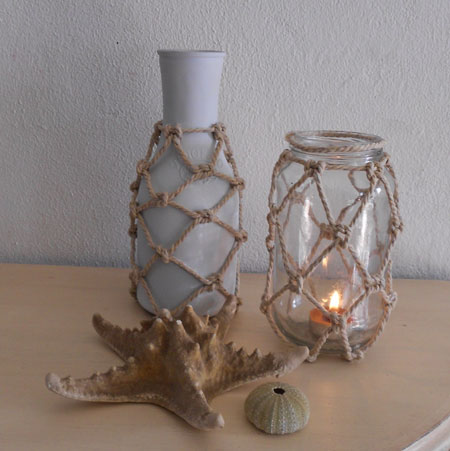
Make netted bottles and jars
After completing my coastal decor project I decided to look at other ways to add coastal style to plastic and glass bottles. Adding netting around bottles and jars is a simple way to give any item a touch of coastal style, and it's so easy to do.
Before wrapping a string net around the bottle, I gave it a coat of Rust-Oleum 2X flat white.
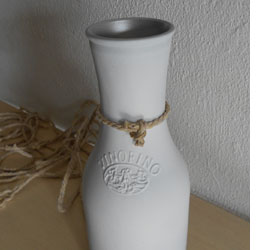
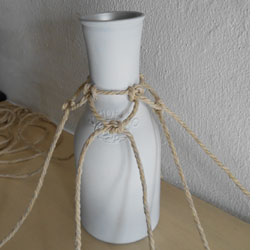
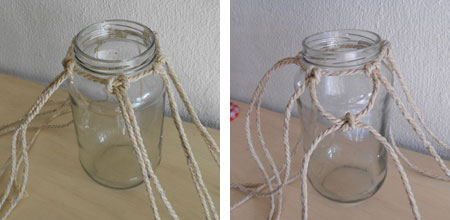
1. Start by knotting a piece of string around the bottle neck. Not too tight at this stage - you can always tighten later. You need it a bit loose to allow you to add more lengths of string.

2. Cut 4 pieces of string to 120cm length and fold these in half. Now we start using some basic macramé stitches to make the net for the bottle. This stitch is called a 'larkshead knot' and you loop one of the cut cords over the neck cord and then pull through the loop. It's not easy to explain but give it a try and you will soon get the idea.
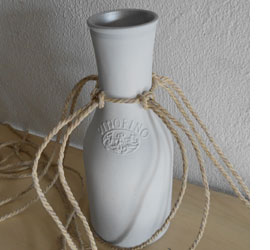
Add the other three cords in the same way. Space the cords evenly around the neck cord. Now you can tie the neck cord tightly and cut off the excess.
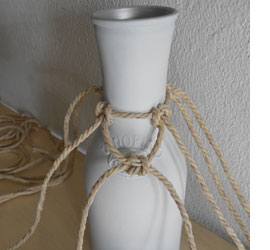
3. Take a cord from each of the adjacent cords. You can see this clearly in the image left. Tie a knot as if you were tying shoelaces.
Repeat this until all 4 cords have been knotted. Be careful to keep the knots evenly spaced as you work around the bottle.
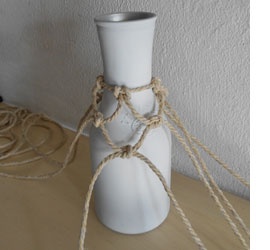
4. Moving down to the next layer of knots, repeat step 3 above and remember to evenly space cords and knots as you move around the bottle. Repeat step 4 until you reach the bottom of the bottle.
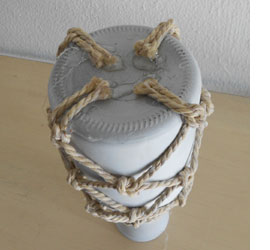
5. Turn the bottle upside down and pull each cord tightly. Apply a blob of hot glue to the knot and secure this on the edge of the bottle. Let the glue cool and then cut off excess string before gluing the cords to the base of the bottle. Repeat this for the remaining cords.
Sometime this year I am planning to make a hammock using macramé stitches, so if this is something you or hubby have been hankering after, start practicing now!