
Learn how to knit - the basics
If you learn how to knit you can be creative in so many wonderful ways. A few basic stitches are really all that you need to know if you want to knit blankets and cushion covers, and as you become more confident you can move onto more difficult stitches and start making your own fashion accessories.
The very first basic thing you need to know when you learn to knit is CASTING ON. This is adding the first row of stitches onto one of your knitting needles. If you’re doing a project that is twenty stitches wide, you would cast on 20 stitches. However, before you cast on, you need to make a slipknot.
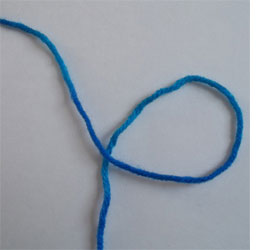
Make a loop in your yarn. From the 'tail' end, pull up a loop of yarn through the loop you just made.
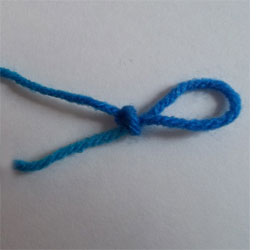
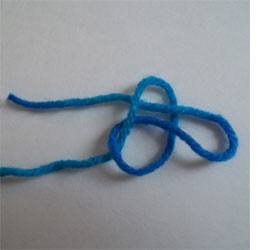
Pull tight and create the knot and leave a nice-sized loop. The beauty of the slipknot is that by pulling on an end, you can adjust the size of the loop. Now that we have a slipknot made, slip it onto your knitting needle and let’s try casting on, shall we? This is by far the easiest method that I found out there.
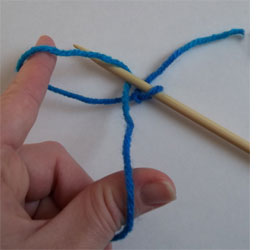
With your right hand, hold knot on needle taut with right index finger. With left hand, make a 'V' shape using your left thumb and index finger, as shown.
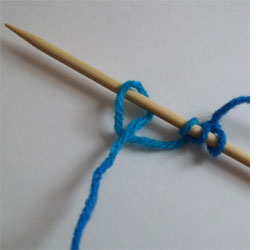
With right hand, push needle up and to the right, scooping up a loop of yarn created by your finger formation as you go. Let’s see that again: Make a V with your left thumb and index finger. Push needle up and through. Pull yarn semi-taut. You don’t want to make it too loose OR too tight! This could cause problems once you try to knit the second row. Really, it’s all about practicing and getting the hang of it. Once I caught on, I was able to do this pretty quickly.
A small row of these looks like this.
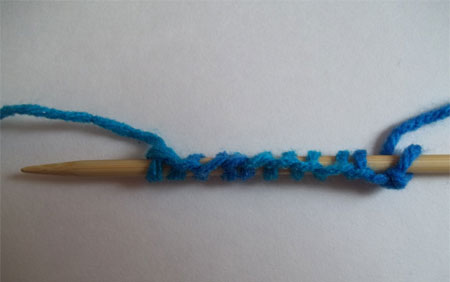
Now, let's try a basic KNIT stitch...
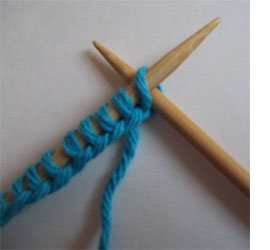
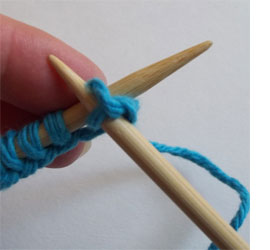
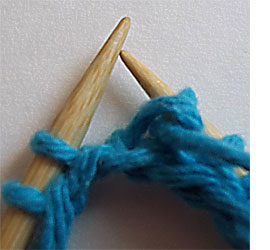
Using your row of cast-on stitches, have needle with cast-on stitches to the left, the blank needle on the right. Form an 'X' with the 2 needles, driving the point of the right needle from front to back through the first stitch on the left needle.
The right needle should be behind the left one.
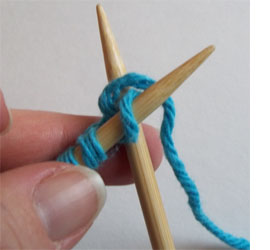
Holding the needles in this position with the left hand, grab yarn with right hand and wrap a loop counter-clockwise under and around the back needle.
Guide the right needle toward you and through the first stitch on the left needle. Slide it up and to the right so that the first stitch slides off of the left needle and onto the right.
Repeat this process for all of the stitches until they are all onto the right needle. To start another row, simply switch the full needle to your left hand, the empty one to your right, and knit them the same way.
Now we follow on with a PURL stitch...
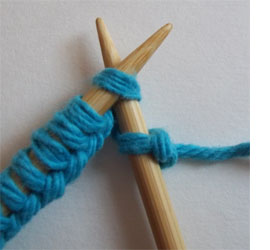
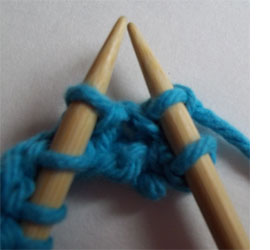
Start with your two knitting needles facing one another. Notice I’m starting from a row of just cast-on stitches. Poke your empty right needle up and through the front of the first stitch on the left needle. Your needles should now be criss-crossed with the right one in front of the left.

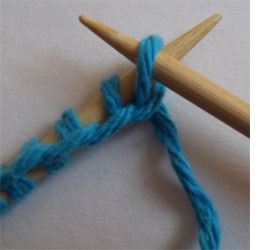
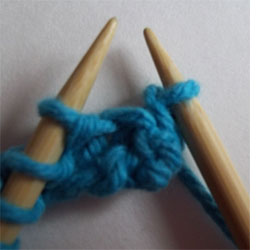
Wrap the yarn up and around that front needle, going in a counter-clockwise direction.
With that new loop of yarn in place, slide the tip of your right needle down, to the right, and slip the first stitch off of the left needle.
You’re now ready to purl another stitch. You may notice that this is very similar to the knit stitch, you’re just working at everything from the front instead of the back. Oh, and now that you’ve learned to knit and purl, you can combine them do the stockinette stitch. The stockinette is very popular and is formed by knitting one row and purling one row, keeping up that pattern.
The final stitch is CASTING OFF...
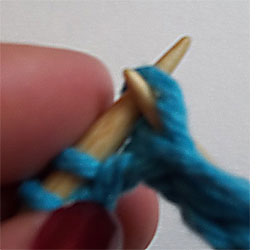
Knit two stitches onto your right needle. If you’ve been purling, the method is pretty much the same, just purl the stitches instead.
Slide the tip of the left needle under the bottom stitch on the right one, lifting it over the top stitch and off the needle. You will now have one stitch on the right needle. Knit another stitch onto the right needle. Again, as before, slip the bottom stitch up and over the top one, sliding it off the right needle completely. Repeat over and over until you reach the end.
quiverfullofblessings.com