Dremel carved clock
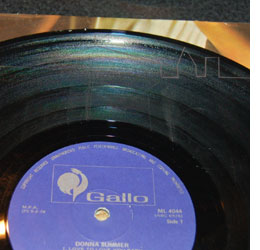
I saw this idea on the Internet some time ago and thought that it was a great way to recycle all my old LP's stacked in huge piles at the bottom of a cupboard. OK, so LP's might not be what they are called these days... so let's recycle old vinyls!
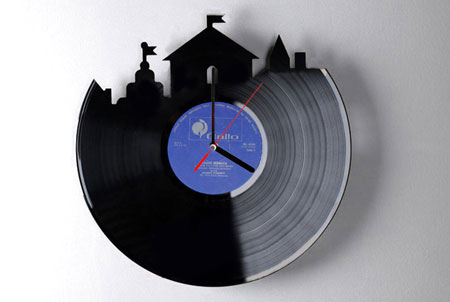
While my design didn't turn out exactly the same as the one I saw, I'm sure I pretty much got it as close as possible.
1. Transfer the design
I know it's a bit difficult to see, but I used a pencil to transfer the design that I wanted to cut out onto the vinyl. You have to be careful because any mistakes will scratch the record and be difficult to hide.
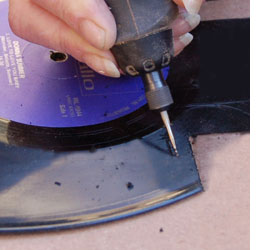
2. Cut out the design
Using my Dremel MultiTool and a high speed cutting bit, I slowly started to carve out the shape. The trick is to cut and quickly pull
away melted bits before they cool down and stick again, which means that you have to carve the same spot twice! After cutting out I used an emery board (padded nail file) to clean off and neaten up the edges.
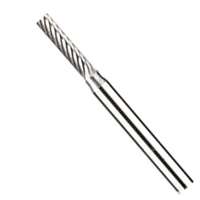
DIY TIP:
There is no specific cutting tool that you need to use - they all work well to cut vinyl.
If you have a select few, give them a try and see which one works best for you.
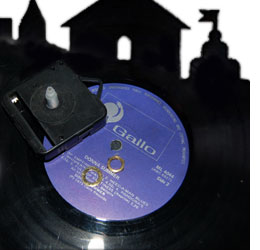
3. Add clock mechanism
The shaft of the clock mechanism is pushed through the hole in the vinyl from back to front. Use the supplied nut to fasten the shaft on the front and lock tightly and then clip on the hands. Most clock movements have a hook on them, which means your new clock is now ready to hang.
