
Upholster a dining chair
Reupholstering your dated dining chairs is an easy and affordable way to have new chairs done in a fabric you love - without the expense of buying new chairs.
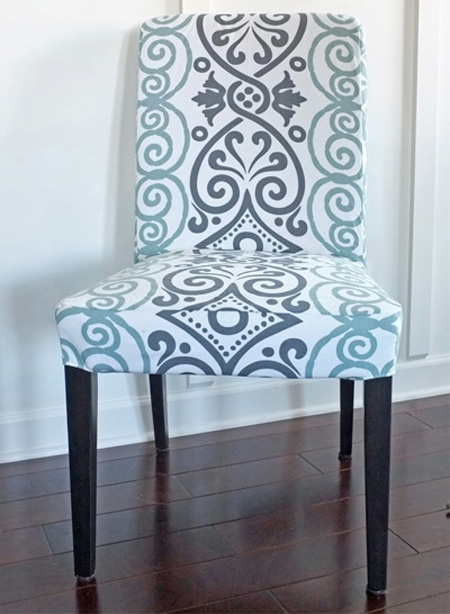

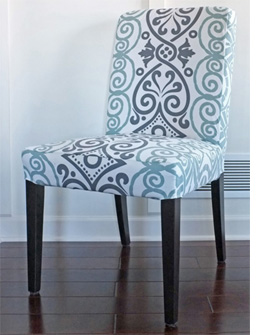
Jackie of Teal and Lime shows us how she covered her dining chairs for a new look that is trendy and modern.
Jackie: I decided the best way to make my own slipcovers, was to dissect the old slipcover to create a pattern. This took a lot of patience and learning about my own strength for ripping seams. I do not think there is any right way or pretty way to do this.
I grabbed a seam ripper and started slicing at the threads. My mom would tell you it is easiest to start in the middle of a seam, instead of the ends where there is usually backstitching or reinforcement. These slipcovers are professionally sewn with at least 4 threads…meaning there is a lot of seam ripping to do. I think it took me about an hour to get all the seams apart. As I got the first fabric piece loose from the slipcover, I worried I would not remember how to put it back together. There was different stitching at the hems than at the side seams. Once all the pieces were apart it was difficult to tell the difference from the front apron to the side apron.
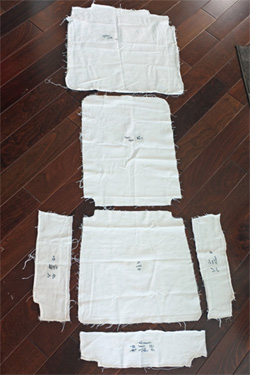
Part way through I decided to take some notes. I put a piece of tape on each fabric piece to serve as a label. In "they-only-make-sense-to-me" terms, I took notes about how to reassemble the pattern. I labelled each piece with the part of the chair it covered. Hopefully this will make reassembly easier since I will have these “pattern pieces” to refer too.
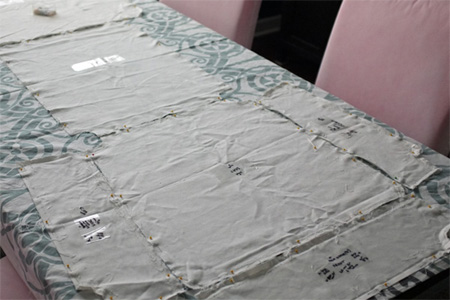
1. Use pattern to cut out pieces from my fabric (totally nervous about this)
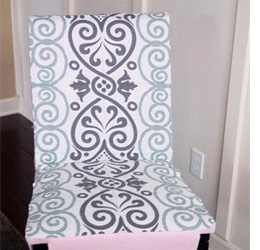
2. I assembled the top half off the slipcover first, to get my feet wet. This involved pinning the front pattern piece to the back piece. The back piece wraps around to cover the sides and has tight curves at the top corners. I used lots of pins to secure the corners and then basted them together on my sewing machine. I pinned the straight edges about 2 cm in from the edge. I then sewed the entire seam connecting the front and back pieces two rows of stitches.
3. I proceeded by assembling the seat portion of the slipcover. The bottom half of the slipcover included the seat, the front apron, and the two side aprons. I sewed the short sides connecting the apron pieces together in one long strip. Then I pinned the apron to the seat. The sharp curves at the corners required lots of pins and a little basting. Then I sewed the apron to the seat.
Here is where I paused to try the bottom half on the chair. I was fully prepared to cry give up again if this part did not fit. Luckliy, it fit too.
4. Now to connect the top half and bottom half together to create one complete slipcover. This part was easy. I just sewed the appropriate seams together to connect the top half to the seat. Okay…I know I am paraniod, but I just had to try the whole thing on the chair again before I put in anymore effort. There is nothing worse than completing a whole project only to find out it does not fit. Luckily, it fit really well.
5. The last step was to hem the bottom edges around the apron and attach velcro to secure it around the frame of the chair. Then I folded them up 6 mm and hemmed with my sewing machine. I attached 4 strips of velcro to each side. The slipcover pulls tightly around the bottom of the chair frame and attaches with velcro. They don’t even look like slipovers at all.