
Make cement planters
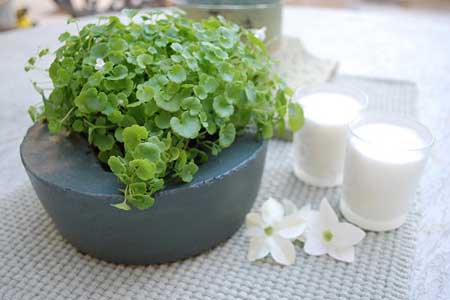
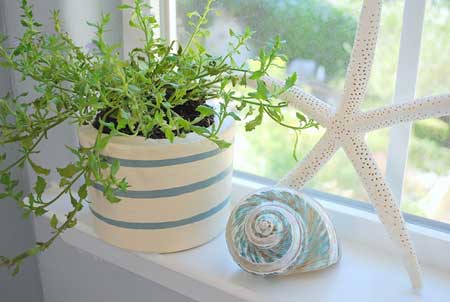
Here are a selection of planters that you can make using regular plastics for the outer mould and the plastic container that houses the plant from the nursery.
centsationalgirl.com
YOU WILL NEED:
Plastics containers in various sizes for outside mould
Plastic containers for the inside mould (smaller than outer mould)
Non-stick cooking spray
Plastic straws
Plastic sheeting
Quick set cement mix
Plastic bucket for mixing
Stir stick
Measuring cup
120-grit sandpaper or sanding pad
Disposable gloves
Rust-Oleum Painter's Touch spray paint
HERE'S HOW:
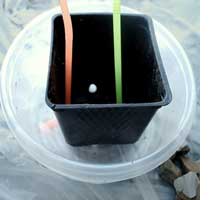
1. Clean and dry your plastic moulds. Spray the inside with a thin coat of cooking spray. The cooking spray isn’t absolutely essential, but it does help ease your plastic away from the cement when you pop it out of the moulds. To allow for drainage, use a knife to make small holes in the bottom of your outside mould and slide your straws up through the mould and through the drainage holes in your inside mould.
2. Lay down plastic sheeting on your workspace, and put on your disposable gloves – cement is irritating and very drying to your hands.
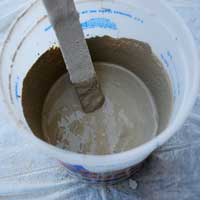
3. Mix your cement as directed on the bag. It should be similar to the consistency of cake mix.
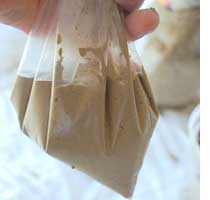
4. Working quickly, pour your cement into your plastic mould, and set the inside mould on top, over your straws. Use some pebbles or small rocks to weigh your inside plastic mould down, because it tends to want to rise up out of the cement. The easiest way to get into small crevices between your moulds is by stealing a baker’s trick and clipping the corner off of your own ‘pastry bag’:
Note: A small amount of your cement will creep up through the other drainage holes. You could use plastic wrap to cover the holes. I just scooped it out with my gloved hands and put it back into the outside mould. If you leave it in the bottom of the inside of your planter, it will solidify and make the removal of your inside mould very difficult. Be sure to twist your straws every five minutes.
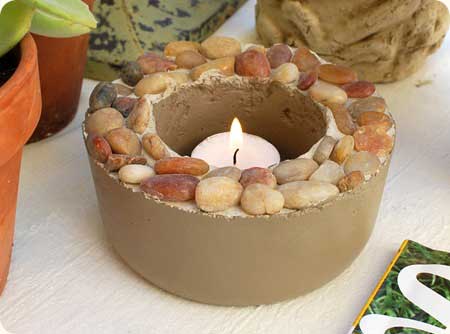
Make sure your plastic mould is on a level surface. Gently tap your planter mould about a dozen times to bring any bubbles to the surface. At this point, you can also add pebbles, marbles, shells or other decorative items to the top of your planter mould.
5. If your rapid set mix will solidify in 15 minutes, then let your mould sit for approximately 10 minutes, and gently pull your inside mould out. After the full 15 minutes, when you can feel the outside cement is very warm inside its plastic mould, and when it starts to form some condensation, remove the straws and pop it out of the mould. Do this just before it is permanently set. It’s about a 2 minute window, so stay by your project.
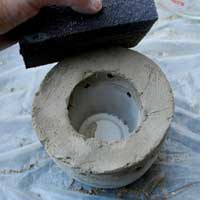
6. Take your sanding pad or sandpaper and gently rub away any rough edges on the surface and sides.
7. Let your finished planters cure for 12 to 24 hours. For a painted surface, add your choice of colour with Rust-Oleum Painter's Touch - available at your local Builders Warehouse.
Now I hope you’ll look twice at the next plastic container in your kitchen. It could become something lovely, with your own creative and personal touch.