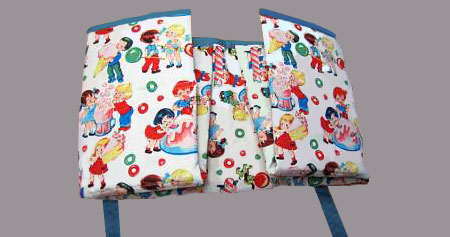
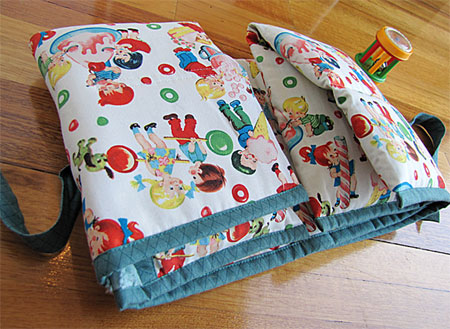
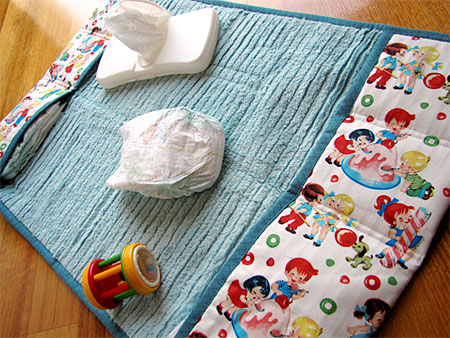
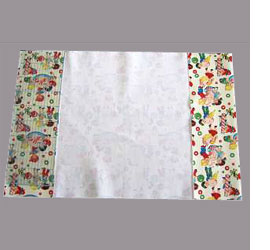
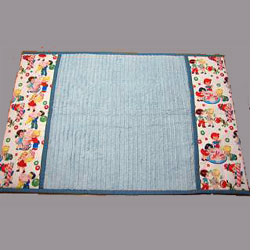
Fabric baby changing bag
Home-Dzine - Sew up a portable baby changing bag that offers a ready-made soft surface to lay baby on, and can carry spare nappies and wipes. Plus this changing station is machine washable. Shop around for colourful fabrics to make your own portable baby changing bag.
Designer and pattern maker, Nicole Mallalieu designs sewing patterns and specialises in the patterns and supplies to make purses, handbags and hats. Nicole is dedicated to teaching people to become better and more confident with their sewing skills, while they make fun, fashionable things they’ll want to wear and use. You will find her book You Sew, Girl! on Amazon.com.
YOU WILL NEED:
50cm fabric (full width of the fabric, with selvedges cut off)
50cm towelling or chenille fabric (same width as main fabric)
50cm medium-heavy fusible interfacing (same width as main fabric)
50cm medium weight fusible wadding (fleece)
25cm contrast fabric (for binding and strap)
Matching threads
25mm bias tape maker
Quilt basting spray
Tailors Awl
Fabric marking chalk or pen
HERE'S HOW:
1. Fuse the interfacing to the back of the main fabric.
2. At each end of the fabric, fold the last 15cm toward the wrong side and press creases along each fold. These ends will become pockets.

3. Fold the fabric in half (along its length) and press a crease along the fold, as shown at left.
4. At each end of the mat, on one side of the half-way crease only, fold the pocket fabric in half again to mark another pocket division. Press creases along the folds without pressing the outer fabric, as shown at right.
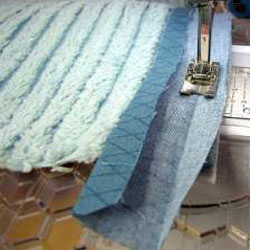
5. Cut wadding to the size of the folded mat. Fuse the wadding to the back of the outer fabric, centred between the two pocket fold lines, as shown at right.
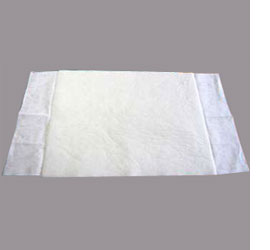
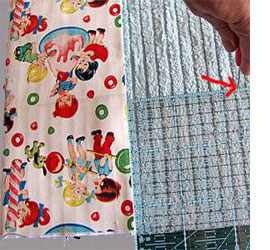
6. Using quilt basting spray to hold the fabrics together, lay the outer fabric and chenille/towelling fabrics wrong sides facing and align all the outer edges. You might choose to stay stitch the edges together. Trim back any overhanging fabric with a rotary cutter and ruler.
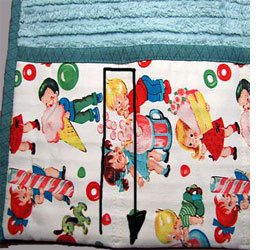
7. To mark the placement of the tie, fold the pockets back into place, align a ruler with the first pocket division fold line (1/4 of the width of the mat) and measure 12cm from the pocket edge, onto the chenille, from both ends of the mat. Using a pin or tailors awl, mark these points on the main fabric side of the mat. Rule a line between the points on the right side of the outer fabric (with fabric marker or chalk mark) to indicate where to sew the tie.
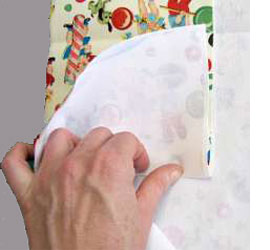
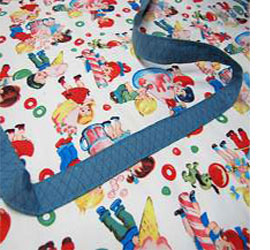
8. Cut 3 x strips of the contrast fabric – 5cm x the full width of the fabric. Trim one end to a point and thread it through a 25mm (1”) bias tape maker to make binding. Cut one length of binding tape into two shorter pieces.
9. Starting on the chenille side of the fabric, stitch the shorter bindings to the pocket edges of the mat, following the fold line in the binding.
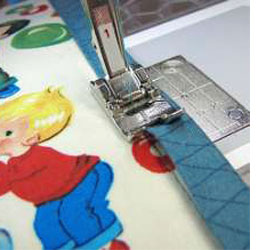
10. Fold the binding over to the right side of the main fabric and stitch it into place, covering the raw edges and all the stitching.
11. Fold the pocket ends along the original fold-line and stay stitch them into place, 6mm from the edge.
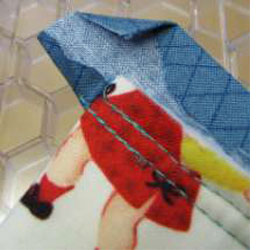
12. From the chenille side of the mat, stitch one of the longer bindings along the whole length of the mat. At each end, let the binding overhang the mat by about 2cm.
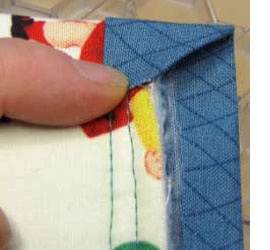
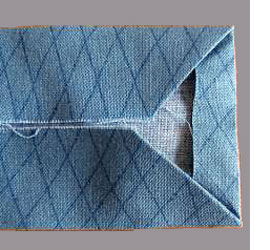
13. Turn the binding to the main fabric side and press it over the raw edge and stitches. o neaten the ends of the binding, press the raw ends 1cm inward from the end. Trim off the corners to reduce a little bulk and then fold the outer corner in at an angle. Turn the folded edge of the binding over to hide the stitches and all the raw ends and press it into place.
14. Stitch the binding into place along the edges of the mat.
TIP: Use a tailor’s awl to hold the binding into place as you sew and – if you have one - use a walking foot on your machine.
15. Following the folds that mark the pocket divisions, topstitch through all layers of the mat. 'U-turn' and top stitch a second row 3-6mm from the first.
16. To make the tie for the mat, cut a strip of contrast fabric, 10cm x the width of the fabric (112cm). Fold and press the strip in the same way as the binding (outside edges turned in to the centre). At both ends of the tie, turn in the ends, clipping away bulk and tucking in corners. Fold the tie along the centre – with all the raw edges in the middle - and press. Stitch all the way around the edges of the tie to hold all the layers together.
17. Centre the tie over the chalk line (see step 7) and pin it at each end of the line. Topstitch the tie into place (through all layers of the mat) between the pins, leaving both ends of the tie free.
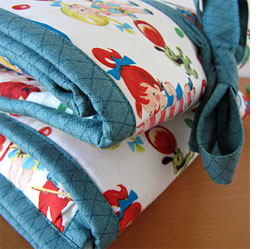
18. To fold and tie the mat, fold the mat in half along its length and then fold each of the pocket ends in to the centre. Fold the mat in half again and tie the ties in a nice bow.