
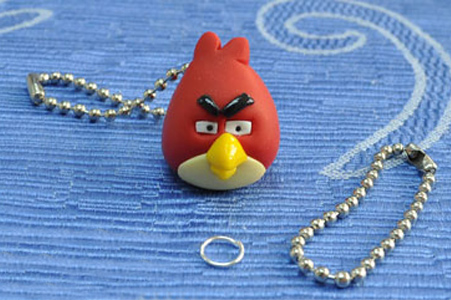
Angry birds key ring with modelling clay
The kids will enjoy making this angry birds key ring using modelling clay and it's a great craft idea for a Father's Day gift. You will find various types of modelling clay at craft and hobby shops. You can also use air-dry clay for this project, and add a few drops of food colouring to tint the clay to the colours you need.
clayus.com
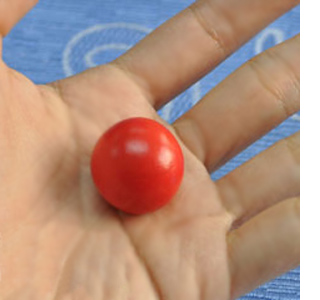
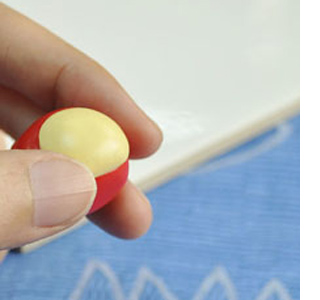
Start off by rolling a small ball that is approximately 5 centimetres in diameter. It doesn't need to be exact in size, but if it is smaller it will be difficult to work with.

Press one end of the ball between your index finger and thumb. This will be the top section of the angry bird.
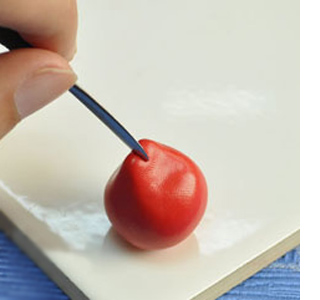
Use a steel nail file, or similar sharp but blunt item, to make a dent in the top squashed section to make two separate sections.
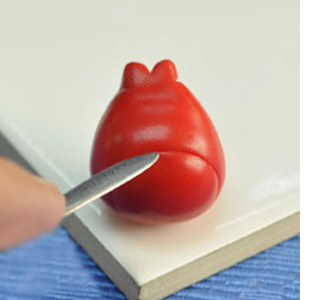
You can also use the nail file to shape the lower section of the bird's face.
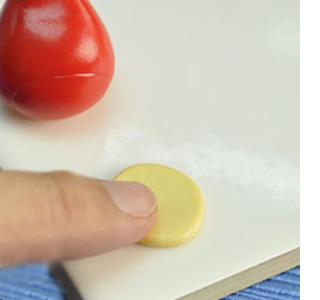
Take another piece of clay and add a small drop of yellow food colouring. Roll this into a ball and then press flat. It should only be about 2 to 3mm thick.
Press the yellow piece onto the bottom of the bird's face, following the drawn mark that you made with the nail file.
Gently press this down so that it sticks in place.
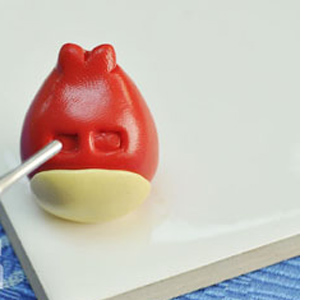
Now you are ready to make a small dent for the eyes. Use a blunt item to gently press into the clay to make a squarish shape.
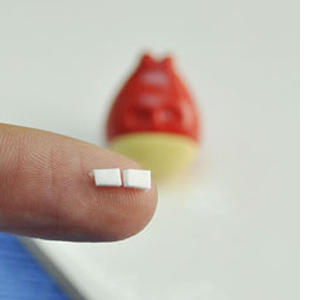
Shape two small, square pieces of modelling clay for the eyes.
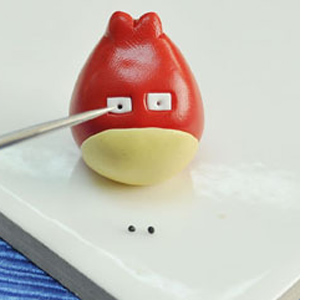
Push the pieces into the dents in the face. Use a toothpick to make a hole in the centre of each eye. Roll two small balls of black modelling clay and gently push these into the holes to finish the eyes.
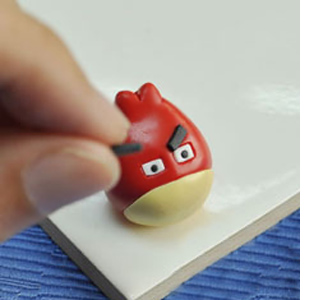
Make two small, black rectangles for eyebrows and press these gently in place above the eyes. Remember these need to be angled to show an angry bird!
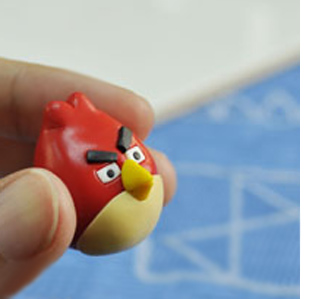
Mould a small piece of clay into a yellow beak and gently press onto the bird's face. To finish, press a small circlip or metal ring deeply into the back of the bird that will allow you to attach the key ring chain.