Valentine gift idea for someone you love
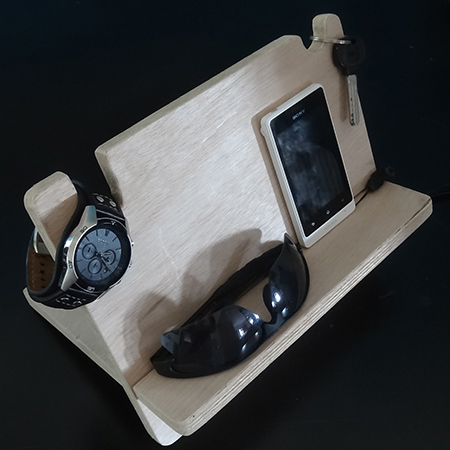
I stumbled across this amazing DIY project idea on etsy and thought it might be a great DIY idea for a Valentine gift. This handy stand is perfect for a bedside table to store all personal and essential electronic items conveniently.
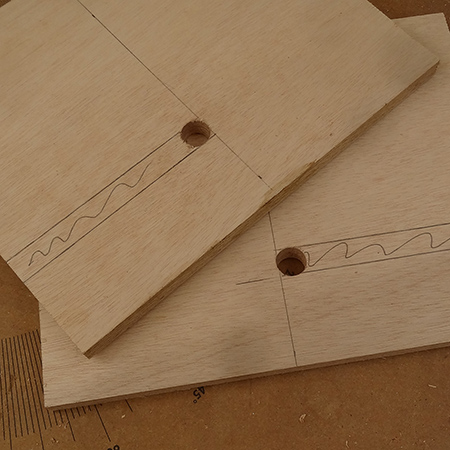
Made using an offcut of 16mm marine plywood that I had left over, the stand consists of two piece measuring 210mm x 270mm.
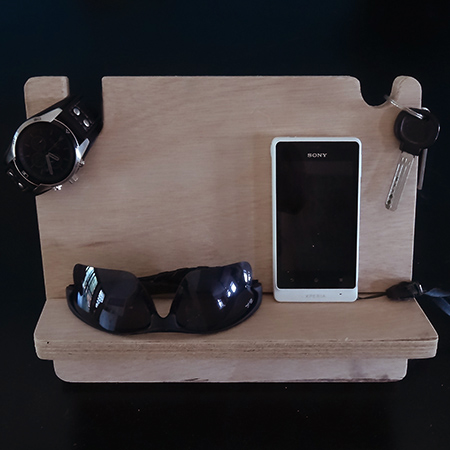
Put the stand on a bedside or dressing table and it conveniently becomes a handy location for a cellphone, pair or sunglasses, watch and wallet.
YOU WILL NEED:
2 piece of board approximately 210 x 274mm
80- and 240-grit sandpaper or sanding pads if using a sander
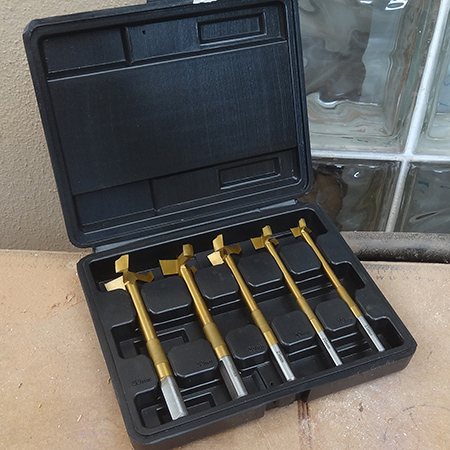
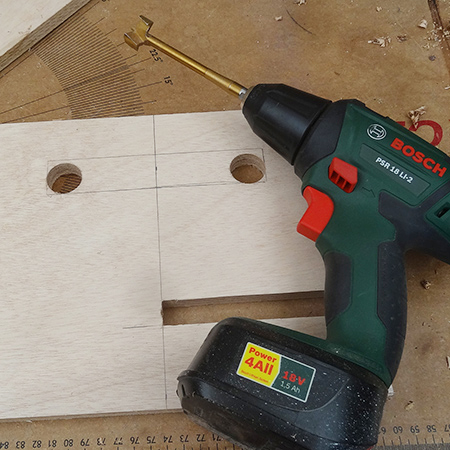
16mm spade bit + 25mmm MAD bit
Drill / Driver
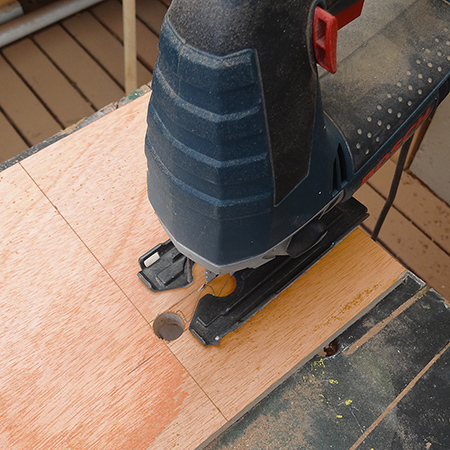
Jigsaw
Sander
Workbench
Tape measure and pencil
HERE'S HOW:
1. We used a Tork Craft professional spade bit and MAD bit to make the holes in the board. If you are buying spade bits, the black ones last longer, while you can buy a set of MAD bits in various sizes.
We use Tork Craft accessories for all our projects on Home-Dzine and at our DIY-Divas workshops. You will find a wide range of accessories and attachments for power tools at your local Builders store.
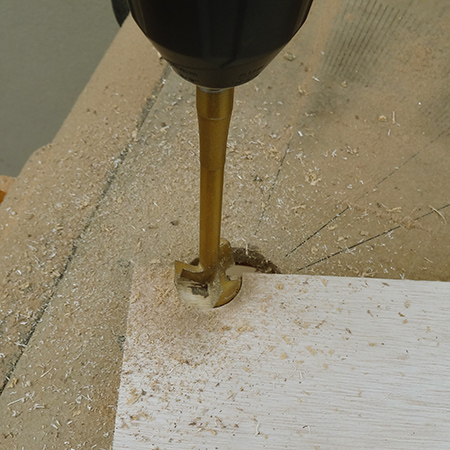
2. Use a MAD bit to drill a hole in the top left-hand corner. Place the bit close to the edge, but far away that you won't slip when cutting out.
GOOD TO KNOW
It's always better to drill holes with another board underneath the one you are cutting, as this reduces chipping on the back of the board.
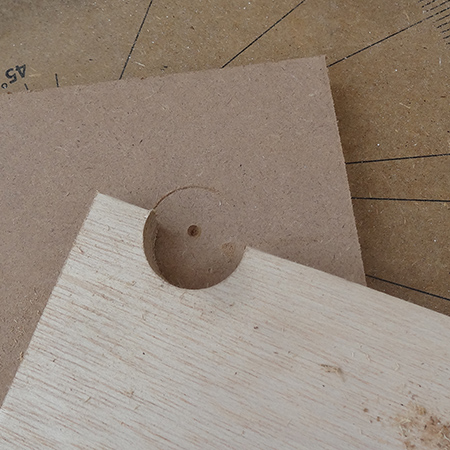
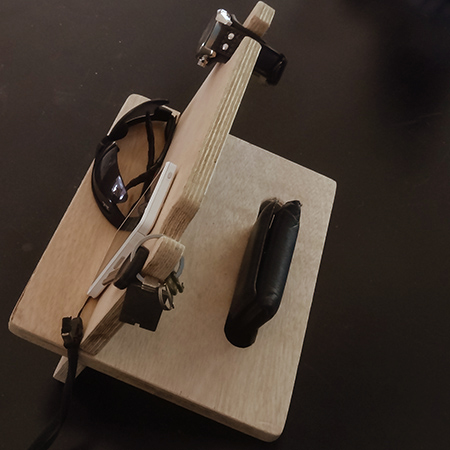
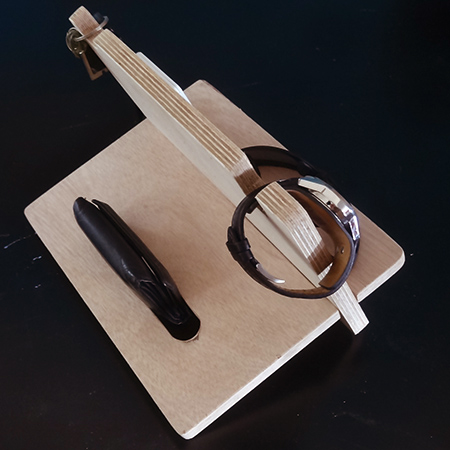
3. On both sections measure and mark the centre of each board and also mark a 16mm line 50mm up from the bottom.
4. Use the 16mm spade bit to drill a hole at opposite ends of the 16mm line on both boards.
5. Now you can use a jigsaw to cut out the slots. Also use the jigsaw to make the circular drilled holes square.
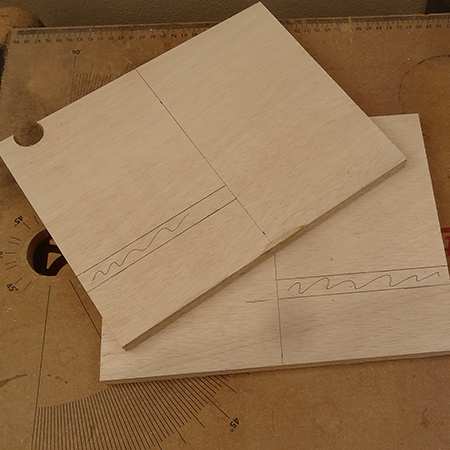
6. On one board drill holes and cut out a slot for holding a wallet at the back of the stand. This is also approximately 50mm up from the edge.
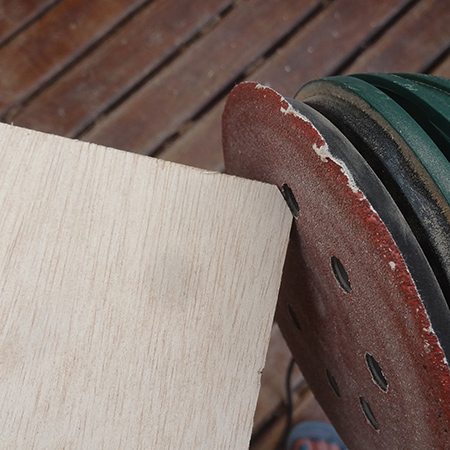
7. With 80-grit sandpaper use a sander to sand the corner away and then smooth into a round corner. Sand all the remaining edges with 240-grit until nice and smooth.
I decided not to apply any stain to finish the stand - it looks so much nicer when left as is, but you have the option to stain, seal or varnish as desired.