
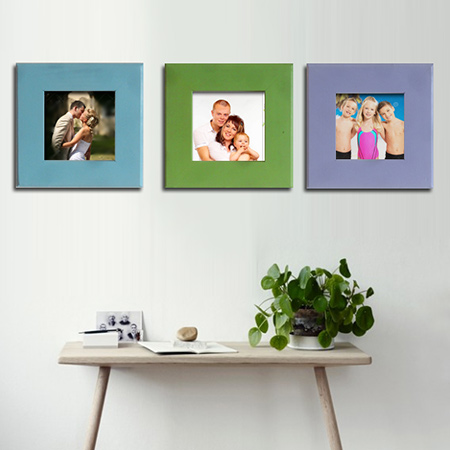
Trio of colourful 1-hour picture frames
With the arrival of my new router table I have been making plenty of picture frames. These colourful frames are sprayed with Rust-Oleum 2X in fresh hues.
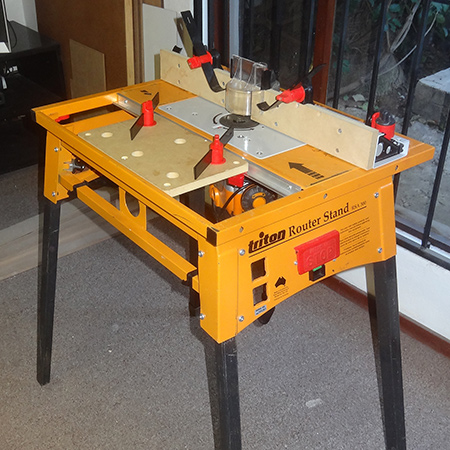
I have been having a lot of fun getting to know my new Triton router table. Once you understand the basic procedures for using a router in a table, you discover how easy it is to do tasks that where otherwise a lot of work. One project that I love doing on the table is making my own profiles for projects, and making picture frames.
At a recent DIY Divas workshop on methods for making picture frames, those attending were given a demo of the router table. I have also discussed the router table in a previous article. For this project I used the router table to make 1-hour picture frames. But if you don't have a router table you can use a router or Dremel Trio to manually replicate what is shown below.
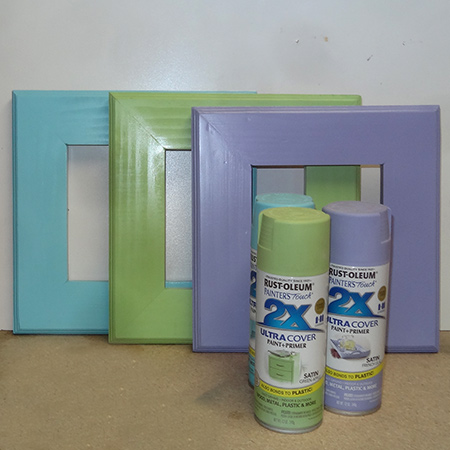
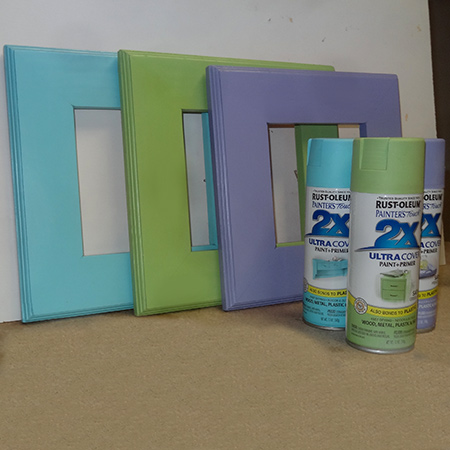
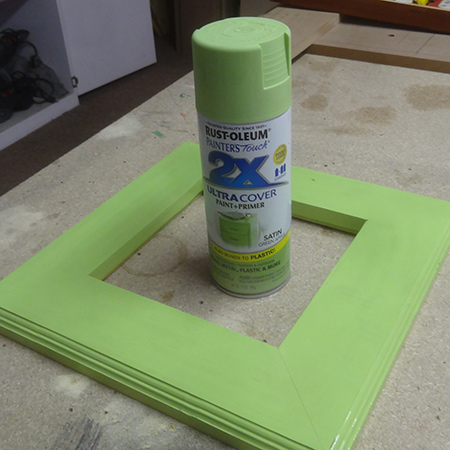
This trio of colourful picture frames actually took under 1-hour each to make, and I used Rust-Oleum 2X spray paint in satin aqua, satin apple green and satin French lilac to finish. You will find the full range of Rust-Oleum 2X colours at your local Builders.
For these picture frames I decided on a 300 x 300mm frame that would give me an opening in the centre of approximately 180 x 180mm - more than enough for a standard photo or picture.
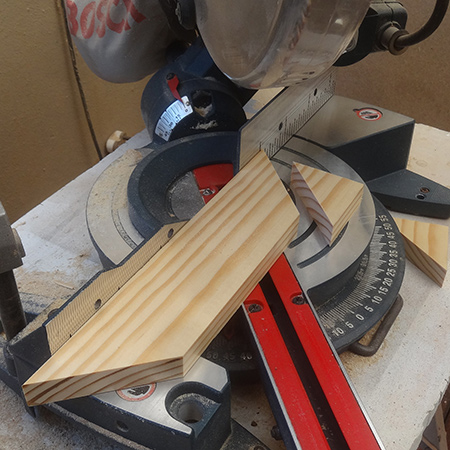
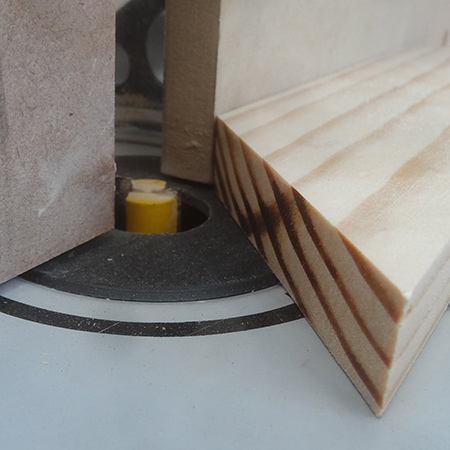
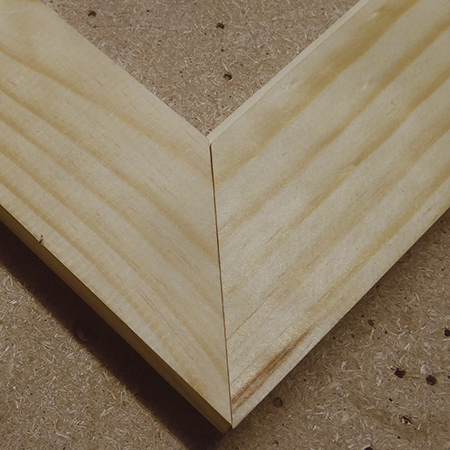
The 45-degree angles were cut on a mitre saw, and I cut one strip and used this as my template for the remaining three sections. This allows you to ensure that each sections is exactly the same size as the rest. Any difference here and your frame will not be square.
The Bosch PCM7 mitre saw is due to be re-launched shortly and offers excellent cutting accuracy for mitres and bevels, and the Skil mitre saw offers great value for money. However, if you are looking at going a more professional route and making frames to bring in extra cash, the Bosch blue sliding mitre saw is more expensive but offers greater accuracy and is also a sliding mitre saw.
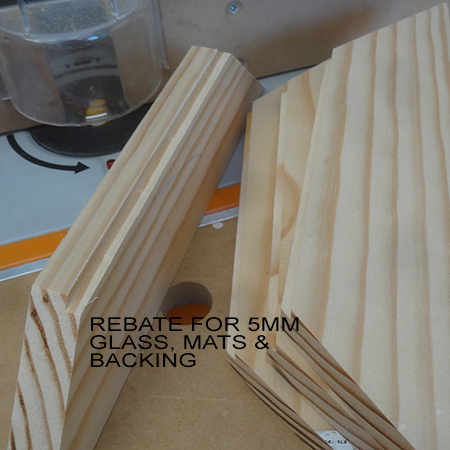
Now for the fun part... at the back of each section I used a straight bit to cut a 10mm deep by 6mm wide rebate to hold the glass.
This also leaves 1mm spare after fitting the 5mm glass, so if you are mounting mats that will increase the thickness, be sure to allow for this in the depth.
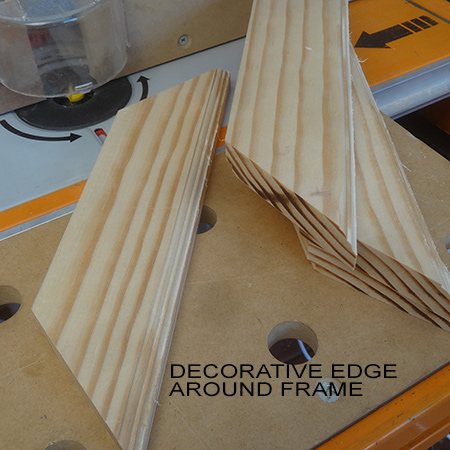
The next step was the flip over the sections to cut a decorative edge. If you have a router bit kit you get to pick and choose which one you want to use, but otherwise browse the various router bit profiles available and select one that you like.
The corner sections should join together neatly if you cut the 45-degree angles correctly. If there is a slight gap or difference, you can sort this out further on. Sand the cut sections before assembly.
If you plan on making your own picture frames you might want to invest in a Tork Craft strap clamp. This clamp fits around any size of frame and has a ratchet handle that allows you to tighten up even more while you glue the frame together.
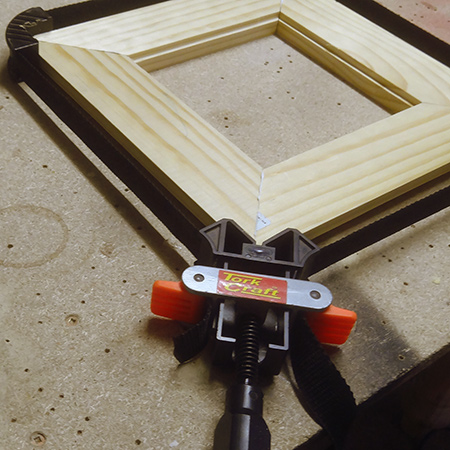
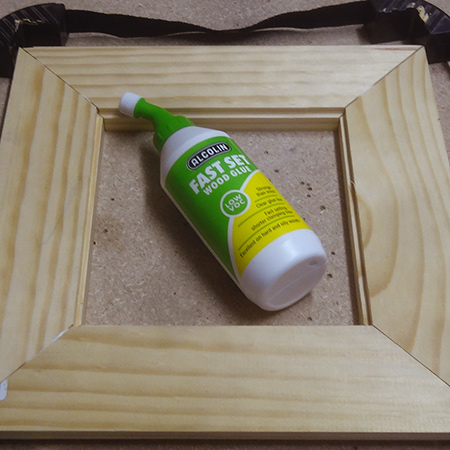
For my frames I placed the sections inside the loose strap clamp, added some wood glue to the joints and then tightened the clamp while I fastened everything together.
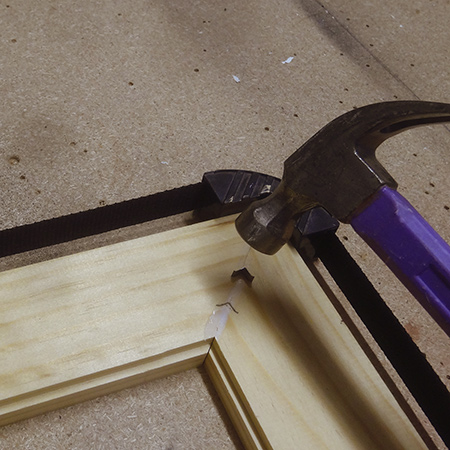
Using a pair of pliers allows you to hold the small pins in place to secure the frame sections. At the framing workshop we also used a heavy-duty stapler to pin the sections together at the back.
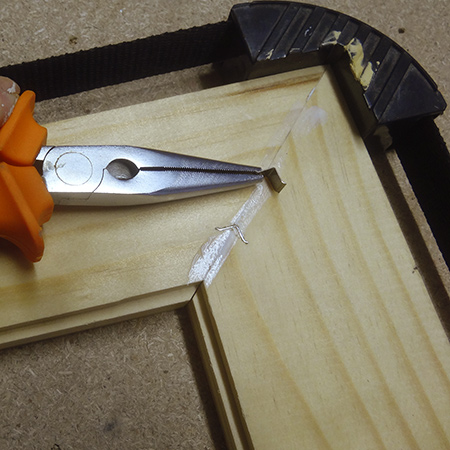
The pins are hammered in along the centre join of each corner section. You can buy these pins at specialist craft stores or suppliers of framing tools. As an alternative you can use a biscuit joiner or dowel joints. We show you how to make picture frames using a biscuit joiner here.
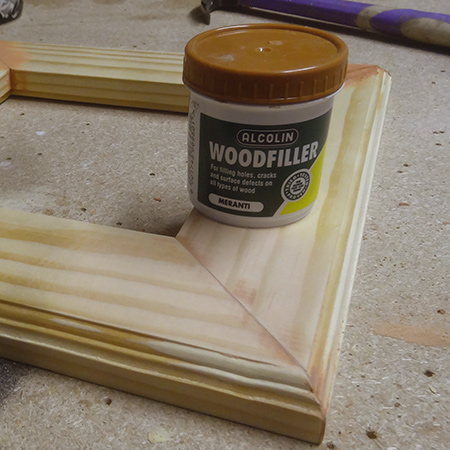
Once the frames are joined you can release the frame clamp and fill any minor gaps with wood filler. Let the wood filler dry and then sand smooth.
GOOD TO KNOW
Don't apply a lot of wood filler - just enough to cover gaps. This way it will dry faster and be easier to sand.
Make sure the frame is free from dust and then apply your choice of Rust-Oleum 2X spray paint. I am using spray paint because it's easy, comes in beautiful colours, and still allows some of the wood grain to show through if you only apply two coats. Spray on two light, even coats - letting the first coat dry before applying the second coat.
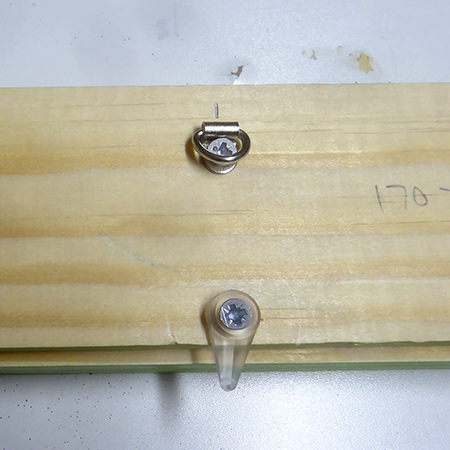
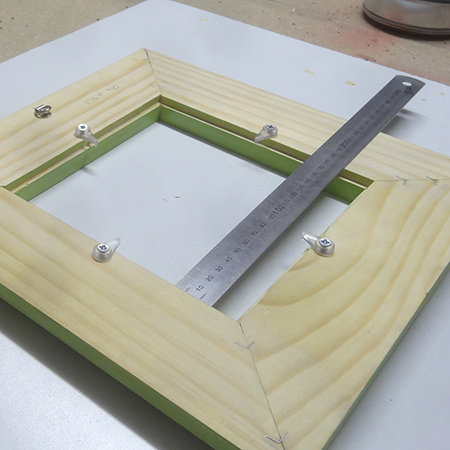
At the back of the frame you need to mount glass clips to hold your glass, photo and any mats in place. You will find these at your local Builders. Use 16mm screws to secure the clips to the four inside sections at the back.
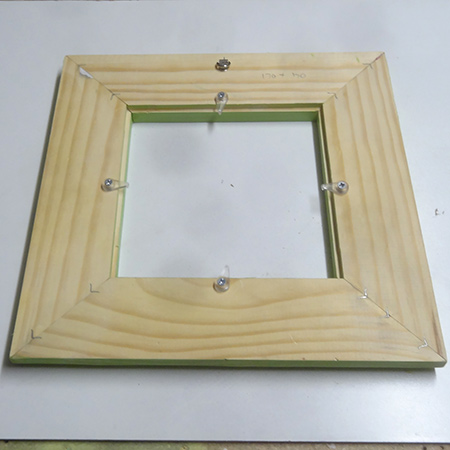
You also need to mount a picture hanger at the centre point - close to the top edge.
And finally, you can use a tape measure or steel ruler to measure up to have your glass cut. I always prefer to leave the glass cutting until the frames are complete. If you have a 10mm rebate you have plenty of space to play with, because glass cutters don't always get the size perfect!
GOOD TO KNOW
We have seen plenty of DIY enthusiasts at our DIY Divas workshops that make projects to bring in cash to invest in power tools to add to their collection. Picture frames are quick and easy to make and you can sell these to family and friends and put the cash towards new tools for your workshop.