Make a practical shopping list holder
I normally have shopping lists all over the place and when it comes to buying what is needed something is always forgotten. I made this practical shopping list holder to hang on a wall in the kitchen using a few inexpensive supplies.

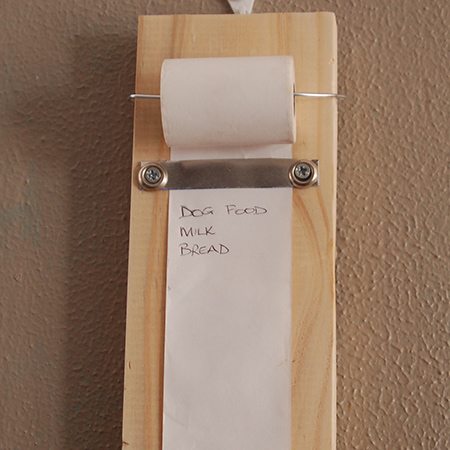
You can mount the shopping list holder on a wall close to or in the kitchen, or have it flat on a counter. The till roll you can buy at stationary stores, or at Makro. The simple design allows you to write down what you need from the supermarket and then simply rip off the slip.

YOU WILL NEED:
Till rolls
Scrap piece of pine or board approximately 200mm long and 20-30mm wider than the till roll
Aluminium can
16mm screws [4] and optional screw rings
Picture hanger and a 16mm screw
Piece of wire
TOOLS:
Cordless screwdriver, PSR Select or Drill / Driver and assorted bits
Dremel MultiTool and cutting disk, multi-purpose scissors, or tin snips
Needle-nose pliers
Tape measure and pencil
Buy all the supplies for this project at your local Builders Warehouse. The till rolls you can buy at stationary stores or at Makro.
HERE'S HOW:
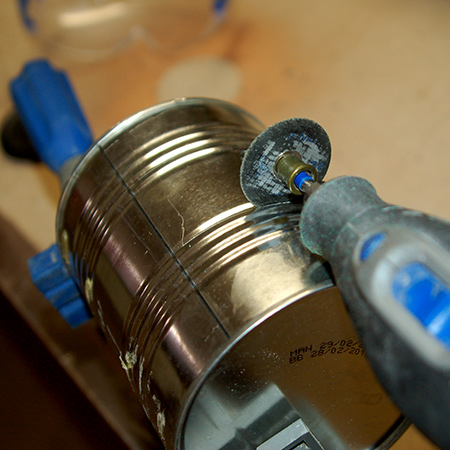
1. For the aluminium strips that hold the till paper in place I recycled a can. This was clamped firmly in place. DO wear safety glasses when cutting any metal, as the sparks can easily get in your eyes.
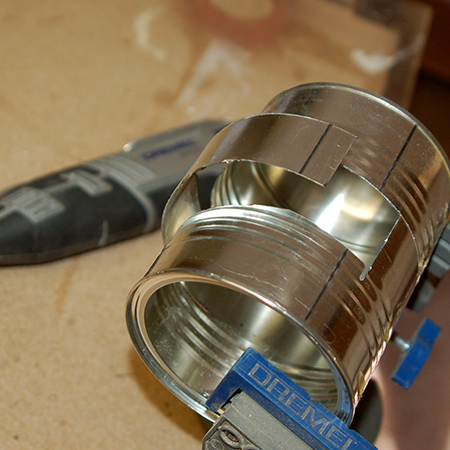
2. Most cans have ridges on them, and you can follow these to cut out a strip of aluminium.
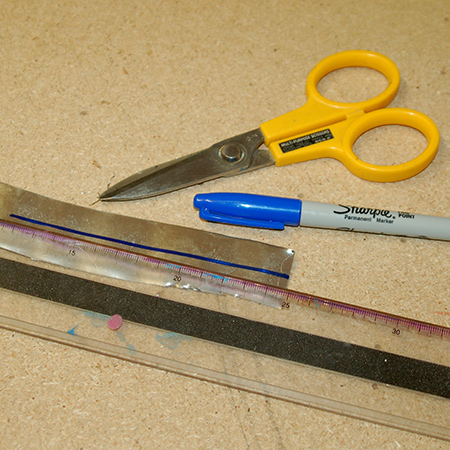
3. Use multi-purpose scissors or tin snips to cut [2] straight pieces that will fit across the width of your pine or board.

GOOD TO KNOW: Use a hammer and nail to make a hole in the edge of the strips to make it easier to screw these onto your board.

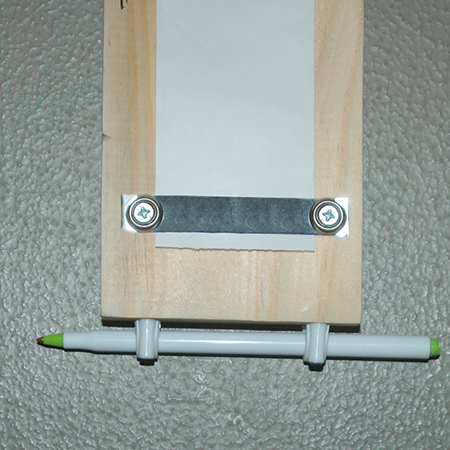
4. Screw the strips onto the board. Leave enough space at the top to mount the till roll, and at the bottom to rip off your shopping list.
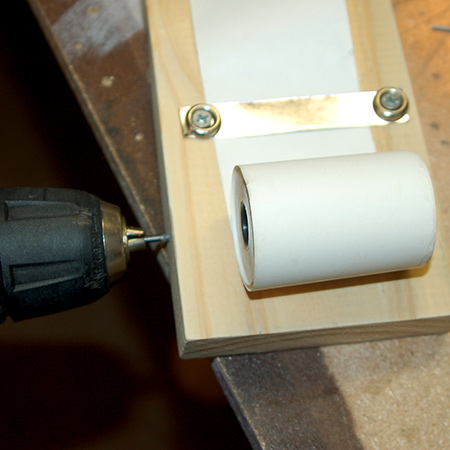
5. Where the hole for the till roll will sit, drill a 2mm hole in both sides of the board. The depth of the hole should be about 40mm.
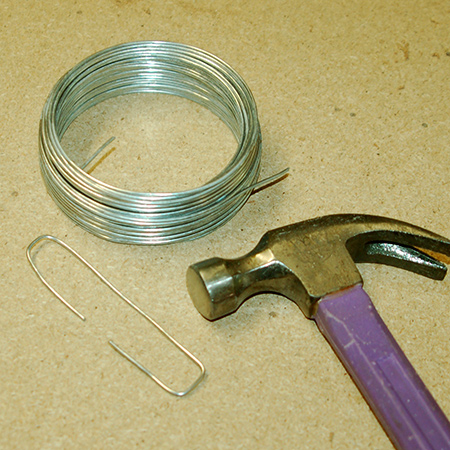
6. Cut a piece of wire that is long enough to thread through the till roll, fit over the sides of the board, and also be inserted into the holes drilled in the sides.
7. Place one end of the wire in the side and then bend over and thread through the till roll. Bend over again and force into the drilled hole on the other side. Tap with a hammer to flatten at the sides and make sure that the till roll have space to move.
8. Attach a picture hanger at the centre back and your new shopping list can be hung up ready for use.
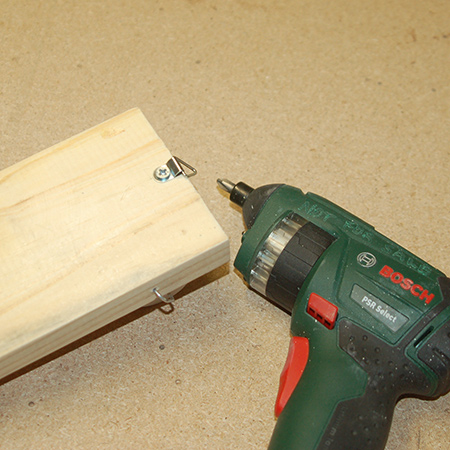
After making the shopping list I realised that it was missing a holder for a pen or pencil, so I added a couple of cable clips to the bottom of the board.