
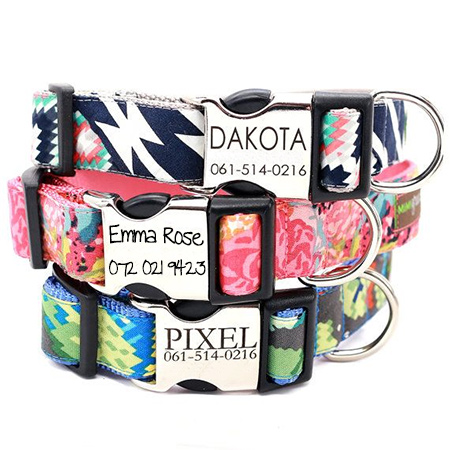
Gift idea... How to make a dog collar
Dog collars can be pretty pricey, but here's a way to make your own unique dog collar at a fraction of the cost.

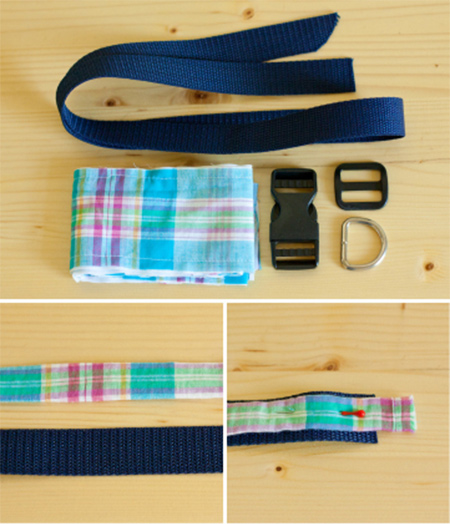
YOU WILL NEED:
Nylon webbing - find are larger fabric stores
Fabric of your choice
Parachute buckle - also at larger fabric stores
Bar slide and D-ring
Scissors
Sewing machine and accessories
Tape measure
HERE'S HOW:
1. Use a tape measure to determine the length of the collar. Both the length of webbing and fabric should measure the circumference of your dog’s neck, plus about 20cm extra for hem and reinforcing. The width of the webbing is dependent on the size of your dog, since you will use a narrower width for a smaller dog.
2. Hem the fabric to create a strip slightly narrower than the width of the webbing. Do this by folding the fabric in half, sewing a running stitch and zig-zag over the frayed edge, and then ironing the piece flat so the seam is on the underside.
3. Pin the fabric to the webbing and stitch both sides all the way down. Don’t worry too much about the ends at this point since you will finish those off later.
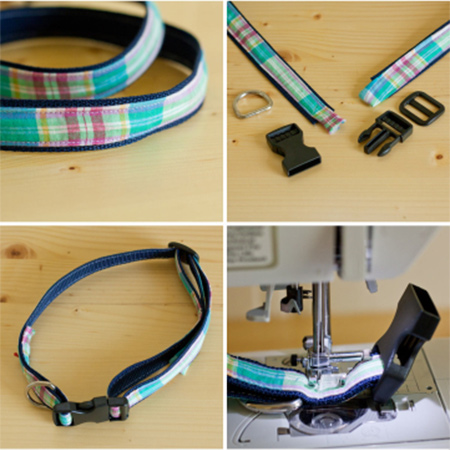
4. With fabric and webbing stitched together, it’s time to start adding the hardware. Place the collar flat on a work surface with both tails facing you - and the face of the collar facing away.
5. Thread the D-ring onto the left tail - before the female end of the buckle - and then thread the buckle on. Your fabric tail will go through the outer most slot first, then the slot closest towards the buckle, then it will fold back on itself.
6. Thread the bar slide onto the right tail before the male end of the buckle - your webbing will go through both slots of the bar slide, then through the slots of the buckle just like the opposite side, and then back through the bar slide, under the first piece. This is what allows the collar to be adjustable.
7. With all the hardware added you can sew everything together. Sew as close as you can to both sides of the ring to sew it into place. Sew a box stitch to reinforce both sides of the D-ring, which will also secure the female end of the buckle in place.
