Air-dry decorative clay bowl
For those that don't have access to a kiln, air-dry clay is a wonderful way to craft pieces. Here's how to make a decorative air-dry clay bowl.
homeyohmy.com
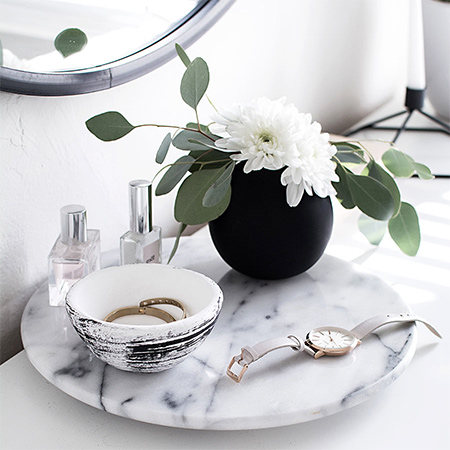
You can use air-dry clay for a variety of projects, but Amy at Homey Oh My used air-dry clay to make a beautiful hand crafted bowl.
YOU WILL NEED:
A-dry clay (available at craft and hobby shops)
Acrylic craft paint, black
Paintbrush
Clay rib or smoothing tool
HERE'S HOW:

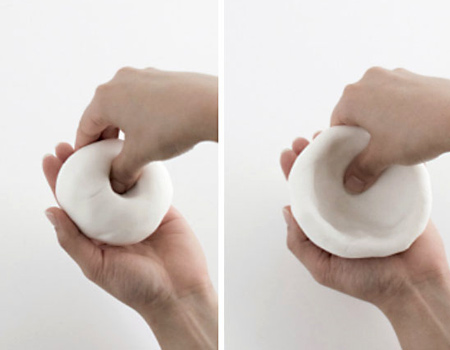
1. Roll an orange-sized ball with both hands and then press you thumb into the centre
2. Wet your hands. Working with your thumb and fingers, pinch the clay as you rotate it with your other hand. Start at the base and work your way up - pinching as you rotate.
GOOD TO KNOW: Use your thumb and fingers to pinch upwards for added height.
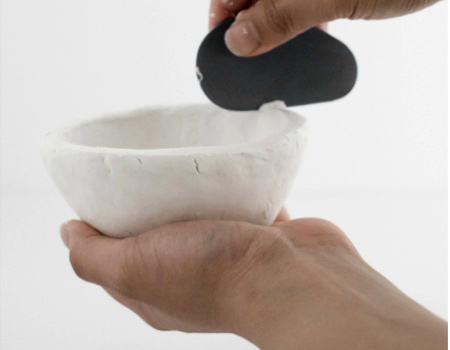
3. Use a clay rib or smoothing tool to smooth inside and around the inside and the edge of the bowl and to remove any excess clay and even out the thickness of the bowl.
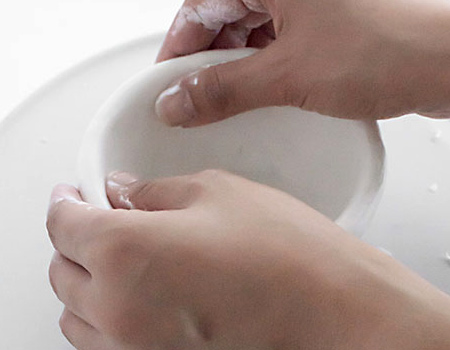
4. Place the bowl on a flat surface to flatten the base and continue smoothing with your fingers, making sure that your hands are wet for easier smoothing. Let the bowl dry completely for at least 24 hours.
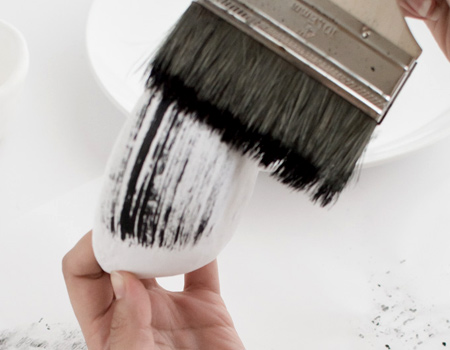
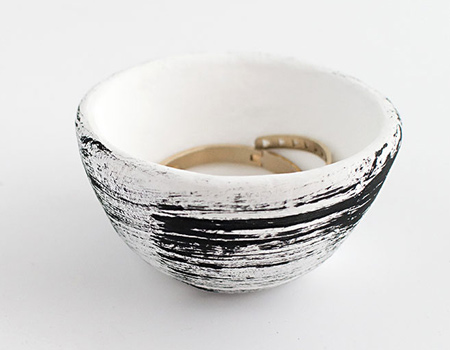
5. The bowl was finished with a dry-brushing technique with horizontal strokes. Dip the brush into the paint pot and dab onto a piece of newspaper to remove excess paint. Then, slowly brush around the bowl with a gentle stroke.
GOOD TO KNOW: As an optional step and for added protection, apply 2 coats of clear sealer onto the bowl.