
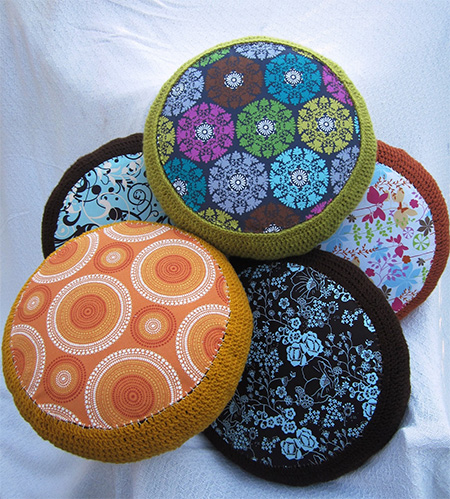
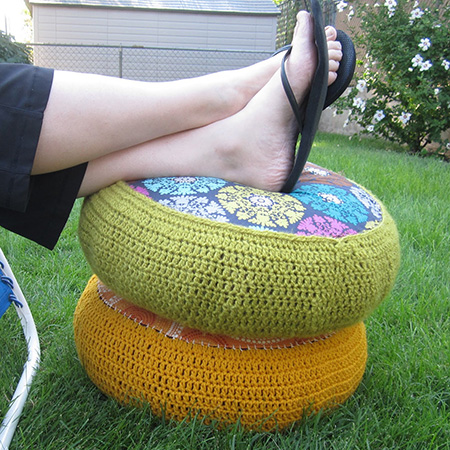
Re-purpose an old beanbag into a comfy pouff
I'm sure there are many of you that have an old beanbag that has split and lost some filling, or is looking the worse for wear. Here's how to re-purpose an old beanbag into a comfy pouff.
celestialscreations.blogspot.com
YOU WILL NEED:
Beanbag (outer covering and stuffing)
1 metre of fabric to cover your new pouff
1 metre of fusible interfacing
Crochet thread and crochet hook
Sewing machine and accessories - or hand sew
Heavy-duty sewing thread
HERE'S HOW:
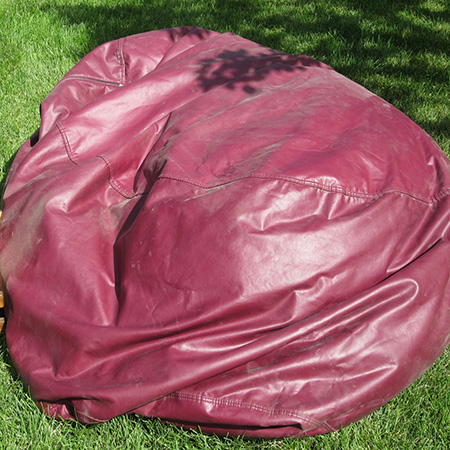
Step 1
You will use the old cover and stuffing of the beanbag to make the pouff, so take the beanbag outdoors and transfer the stuffing into a garbage bag for the time being. If the beanbag does not have a zipper you will need to use a craft knife to carefully open along a seam. The cover you will cut into 2 large circles approximately 640mm in diameter. You want to try and cut both circles out of a section that has no sewn seams, so the circles may be smaller.
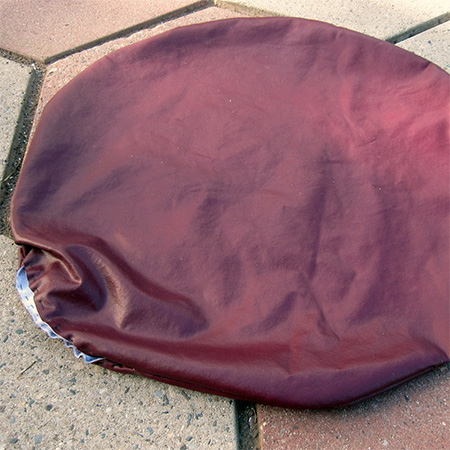
Step 2
With the right sides facing, use a sewing machine to stitch a double row of stitches around the circles - leaving an opening large enough to re-fill the bags with polystyrene beads from the old beanbag.
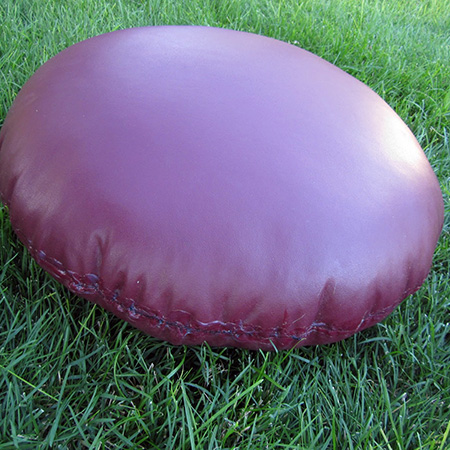
Step 3
Turn inside out to re-stuff the bag with filling. A makeshift funnel will make the job easier and less messy. Roll a large piece of card into a makeshift funnel and pour the filling into the bag, moving the bag every so often to pack it to maximum capacity. Once packed you can hand sew the opening closed.
Step 4
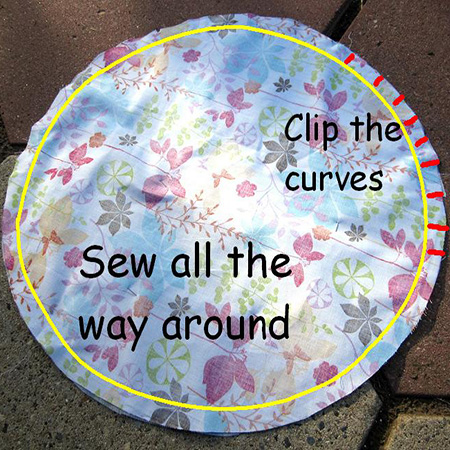
Cut 2 fabric circles and two interfacing circles larger than the size of the pouff. Sew a fabric and interfacing circle together, sewing all the way around your circle without any opening. Snip the seam allowance every few centimetres all the way around, making sure to not cut your seam.
Step 5
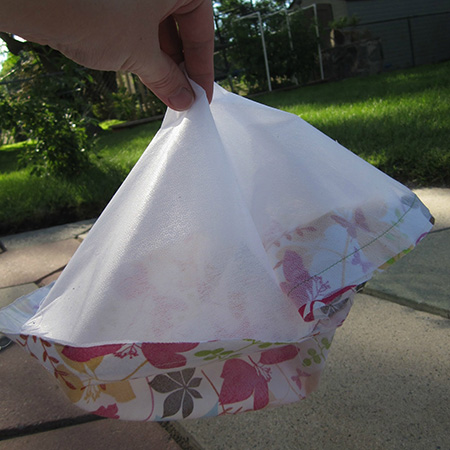
Cut an 'X' shape in the interfacing only, but be sure not to cut your fabric. Turn your circle right side out through the cut opening and iron the fabric and interfacing together. This will fuse the opening shut and serves to give the fabric more support for when adding the crocheted sides.
Step 6
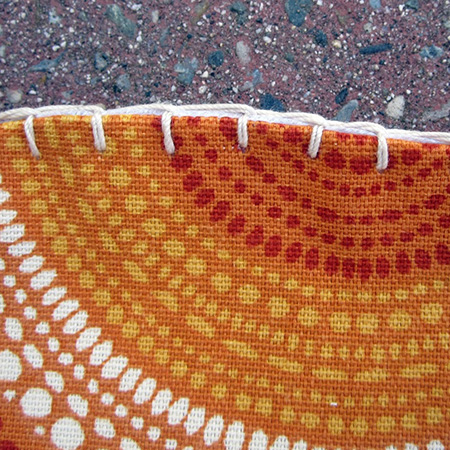
Fold over and hem around the edge of the circles using a blanket-stitch to make it easier to crochet the top and bottom together around the bags. You will find tips and tricks for crochet stitches in our Knitting and Sewing Section.
Step 7
For the sides, crochet into the blanket stitch to start off and crochet rows until you think you're getting close to attaching the other side. You'll want it to be snug. Everything will loosen up after use. To attach the bottom circle the last step of crochet stitches goes through the blanket-stitch on the bottom circle of fabric. Do this all the way around.