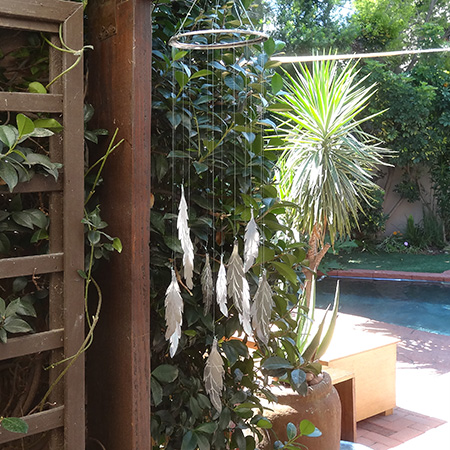
A coffee can becomes a feather wind chime using the Dremel Micro
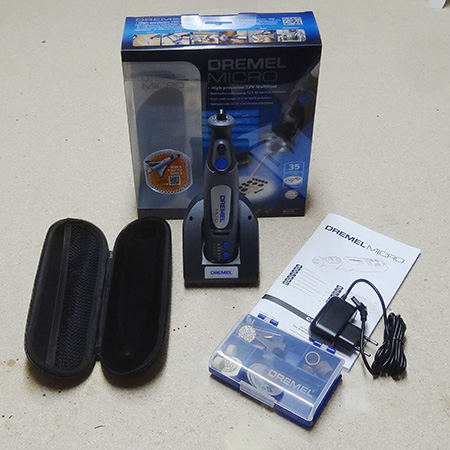
Dremel asked me to come up with a project idea for Mother's Day using the Dremel Micro Multitool. This wind chime has delicate feathers cut from an old aluminium coffee can using the Dremel Micro Multitool and accessories included as part of the complete kit.
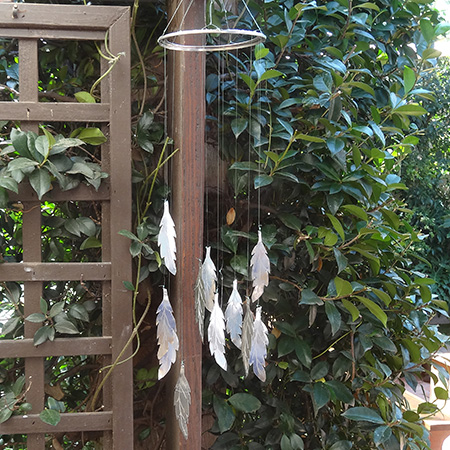
The delicate aluminium feathers on the wind chime won't annoy the neighbours and also won't keep you awake at night.
YOU WILL NEED:
Dremel Micro Multitool (complete with accessories kit)
Panel pins
Hammer
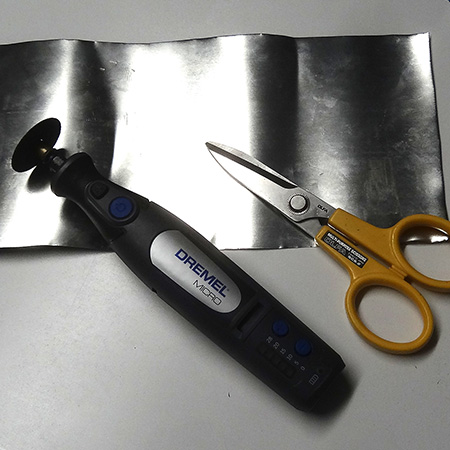
Tin snips or multi-purpose scissors
Offcut of timber or board
Double-sided sellotape
Fineline permanent marker
Nylon fishing line
Long-nose pliers
Quick clamps
Gardening or thick gloves
Safety glasses
HERE'S HOW:
SAFETY FIRST
Wear safety glasses and gloves when doing this project.
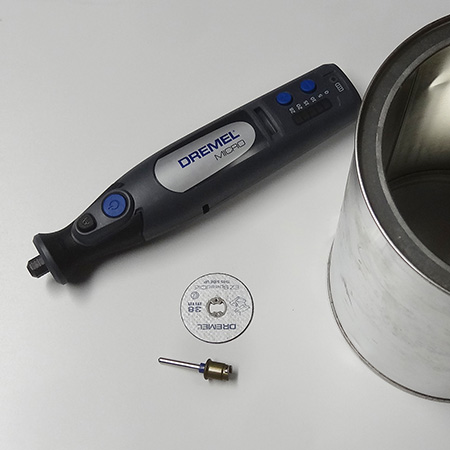
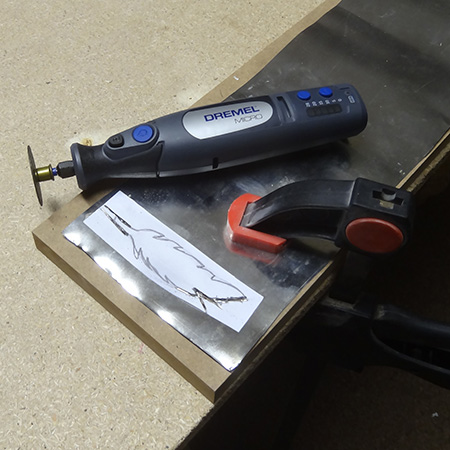
1. Use the Dremel Micro and EZ speedclic grinding wheel to remove the top rim of the coffee can. DO wear safety glasses when cutting the aluminium can and clamp the can to your workbench to prevent it from slipping as you cut.
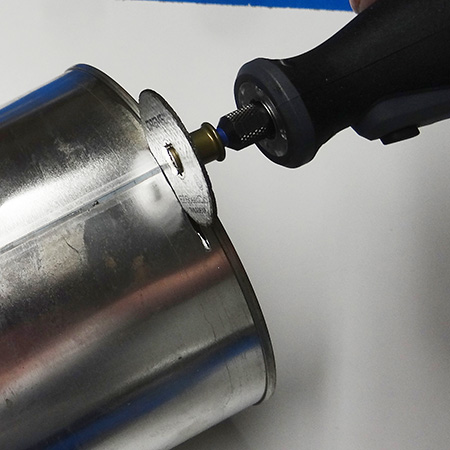
2. With the rim removed you can use tin snips (or the cutting disc) to open up the can and remove the base.
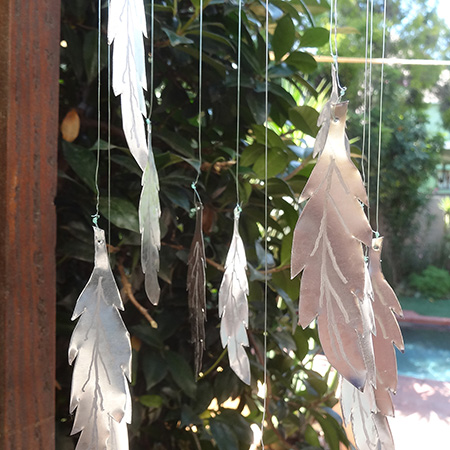
3. Find a suitable feather design on the Internet and print or copy this onto piece of paper. Our feature is approximately 10 centimetres in length. Apply double-sided tape to the back of the design.
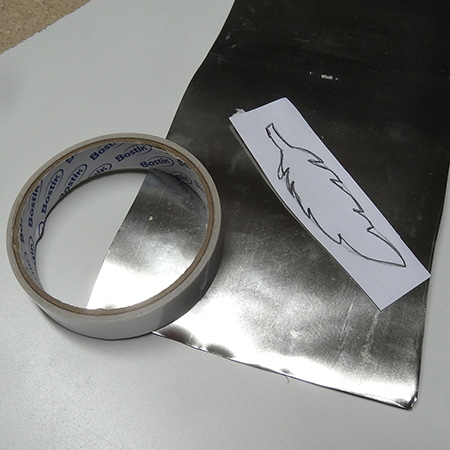
4. Stick the template onto the aluminium sheet. Place the sheet on top of your offcut piece of board and clamp securely. Use the cutting disc to cut out the feather shape.
GOOD TO KNOW
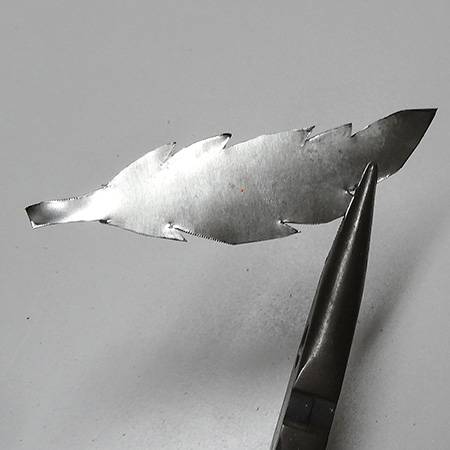
Use the first cut shape as a template for the rest of the feathers and a fineline marker to outline.
5. Use the pliers to flatten out the feather shape after cutting.
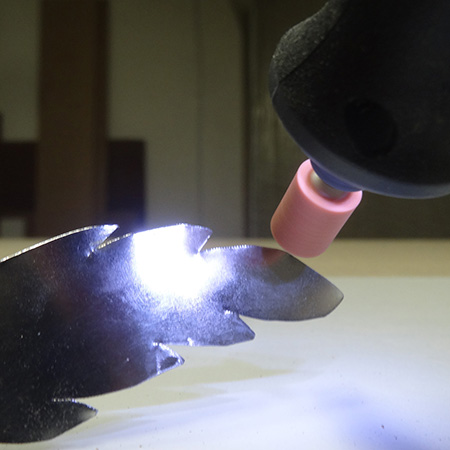
6. Use the aluminium oxide grinding stone (#932) included in the kit to dull the sharp edges of the feathers. Lay the feathers flat on the board and set the multitool on slow speed. Gently work around the cut edges.
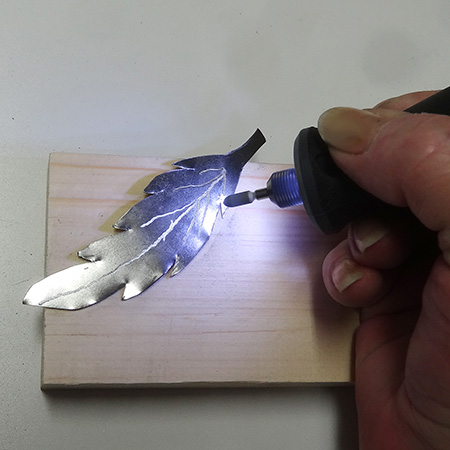
7. Use the silicon carbide grinding stone (#83322) to add detail onto each feather.
8. Use a panel pin and hammer to make a hole at the top of each feather.
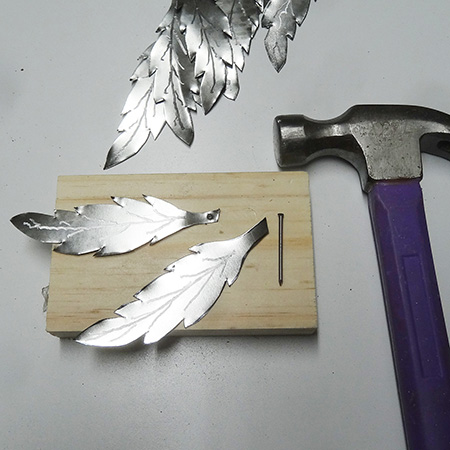
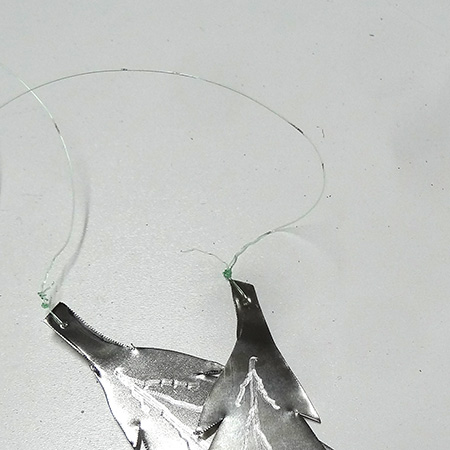
9. Thread the nylon line through the hole and cut a 50 centimetre length of nylon line. Tie a double knot to secure the line at the top.
10. Use a panel pin and hammer to add holes to the rim of the can. We managed to cut 12 feathers from a single can - and need to make 12 holes.
11. Thread the nylon lines for the feathers through the holes in the rim and allow extra length at the top to create the hanger. Join all the nylon lines together and tie off at the top with a double knot, to hang the wind chime.