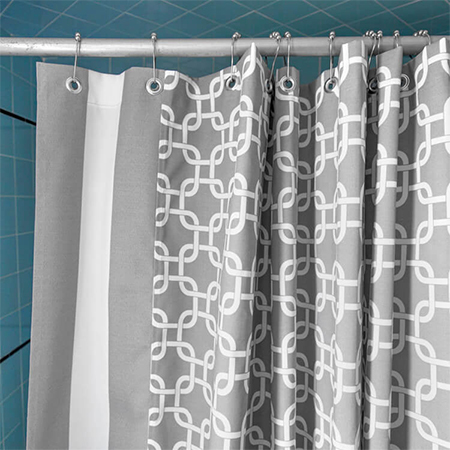
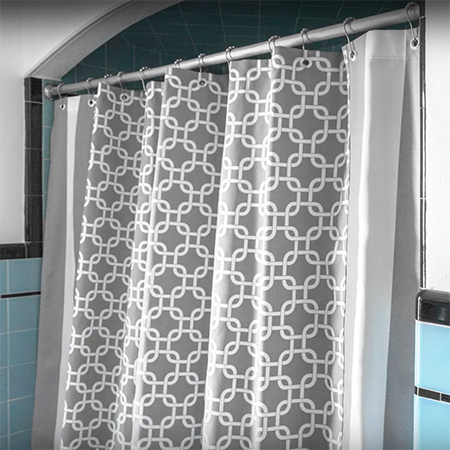
How to Make a Shower Curtain
You won't find many modern shower curtains in home decor stores, but it is easy enough to make a shower curtain that is perfect for any bathroom - simply follow the easy step-by-step instructions below.
03/01/2023
onlinefabricstore.com
Finding a decent shower curtain is like trying to find the Holy Grail - all the ones I have seen in home decor stores are boring, bland, or unbelievably cheesy. Why can't someone design shower curtains that will be perfect for any bathroom - in modern colours, attractive designs, and to fit any space? Finding the local supply lacking and want something special for a bathroom, you can always make your own shower curtain and we show you how easy it is.
What Fabric for a Shower Curtain?
You need to select the right fabric for a shower curtain, one that will stand up to constant water and that will dry quickly. Other than that, you have the freedom to choose both colour and design. Shop for fabric that is a blend of polyester-cotton blend or that is blended with vinyl or any polyester-blend fabric all of which dry fast and the colours will not fade too quickly. Outdoor fabric is ideal, but the choice of colours and designs is very limited. Visit a larger fabric store and the staff will be able to point you in the right direction if you are unsure.
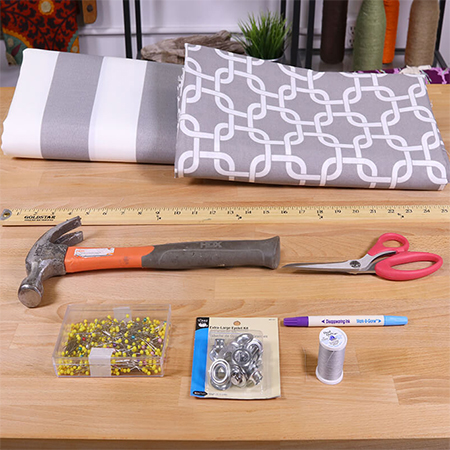
YOU WILL NEED:
Choice of fabric, this project uses 2 different patterns
Matching thread
Eyelet kit and hammer
Marking pen or dressmaker's chalk
Scissors
Pins
Sewing machine
Iron and ironing board
Long ruler or straight-edge
HERE'S HOW:
To make it easier for you, we have included the video instructions for this project at the bottom of the page.
Step 1 - Measuring Up
Measure the width of the opening for the shower curtain as well as the required height. Add 30cm to the height to allow for hemming the top and bottom of the fabric. Add at least 10cm to the width of the fabric for hemming if you are using only a single fabric but allow extra for seams if you are using 2 or more fabric patterns.
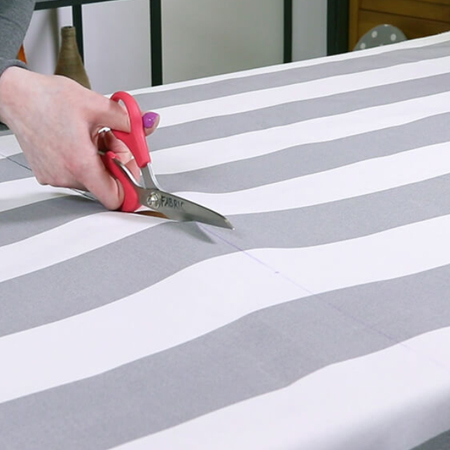
Step 2 - Measuring and Cutting
Cut all the required pieces to length ensuring that all edges are perfectly straight.
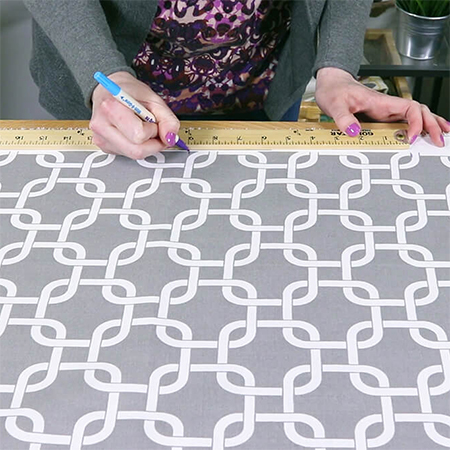
When cutting the fabric, use an extra-long ruler or straight edge to ensure perfectly cut edges.
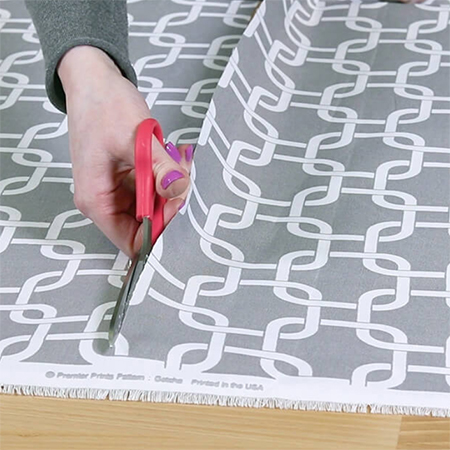
If you are using 2 or more fabrics, make sure to match up the fabric before cutting.
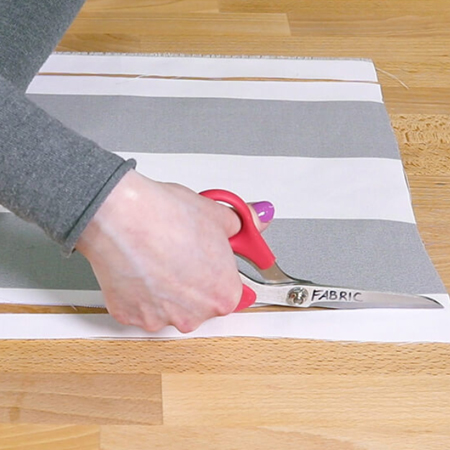
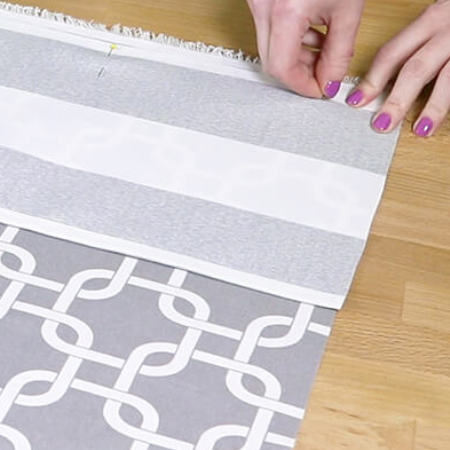
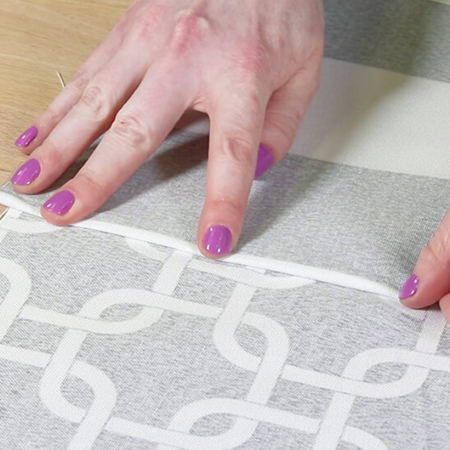
Step 3 - Side Panels
The following steps are for those adding a different fabric panel at the sides of the shower curtain. If you are not adding panels then simply fold, iron, and sew the sides of the main fabric for the shower curtain.
- A. Cut all the required panels to size.
- B. Using a 12mm allowance, fold over the fabric edges and iron these flat.
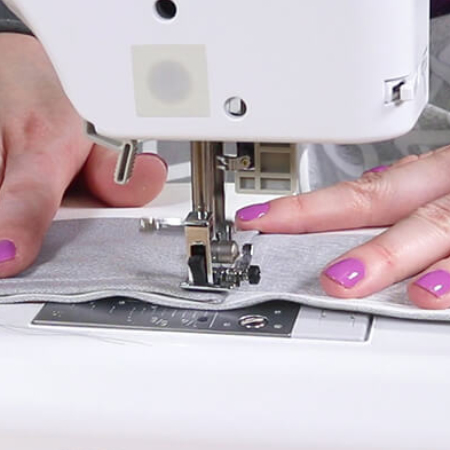
- C. Sew the seam all the way down the side of the fabric and repeat on the other side so that the fabric is sewn on both sides and all panels.
- D. Line up the sewn panels with the edge of the main curtain fabric. Allow a 12mm allowance on the unsewn section, excluding any salvage.
- E. Sew the panel onto the main curtain fabric from top to bottom and on both sides.
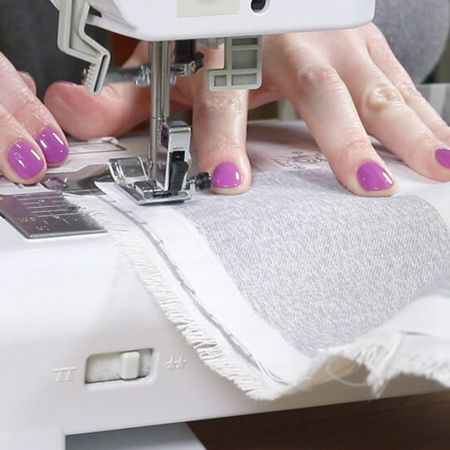
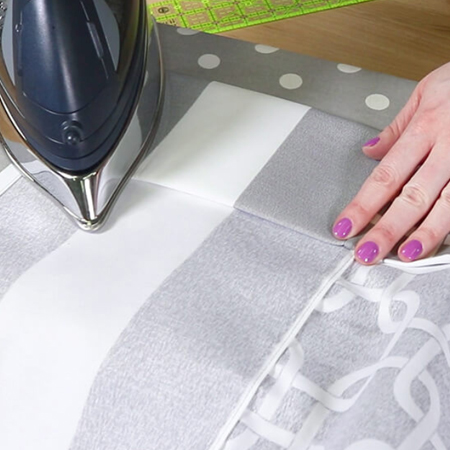
- F. For a neat and professional finish, sew a flat-felled seam to join the panel to the main curtain fabric. If you don't know what this is, find instructions in this video or view the video at the bottom of this page.
A flat-felled seam is done by placing a raw edge inside a folded edge and stitching them down so that the raw edges are encased and hidden inside the sewn fold.
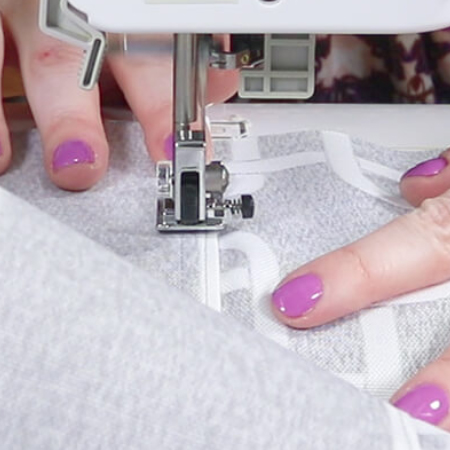
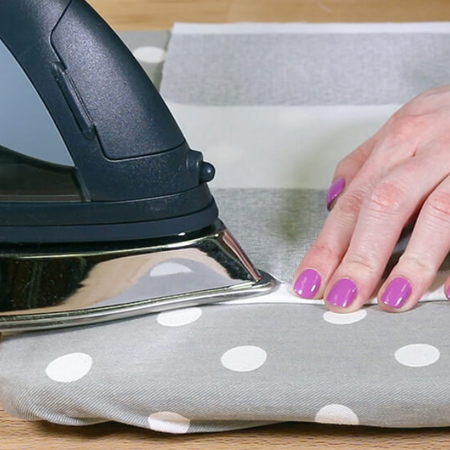
Step 4 - Hemming
Hem the top and bottom of the curtain, keeping in mind the total height/length and folding under the excess for a neat finish. Before sewing, use an iron to press the folds flat.
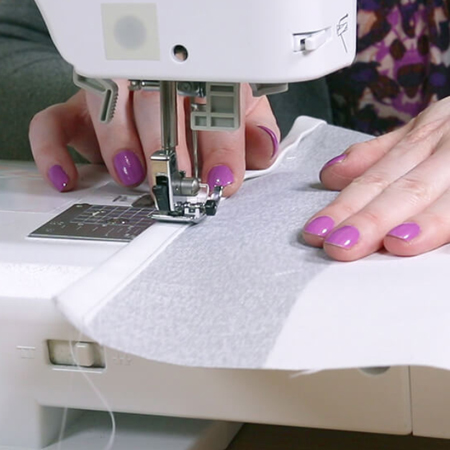
Step 5
Sew along the hem with a neat running stitch placed as close to the fold as possible. Also, sew closed the openings at the side of both the top and bottom of the curtain.
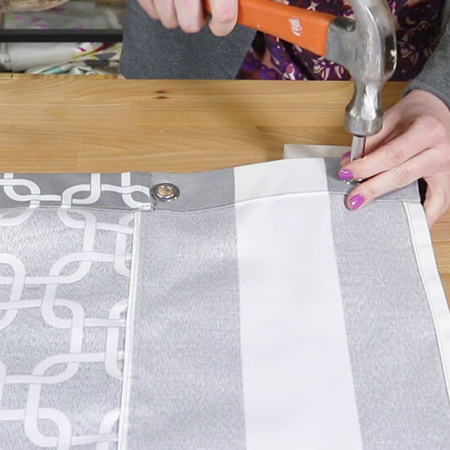
Step 6 - Marking
Measure and mark the location for the grommets for the eyelets. Place these evenly spaced along the top edge of the shower curtain.
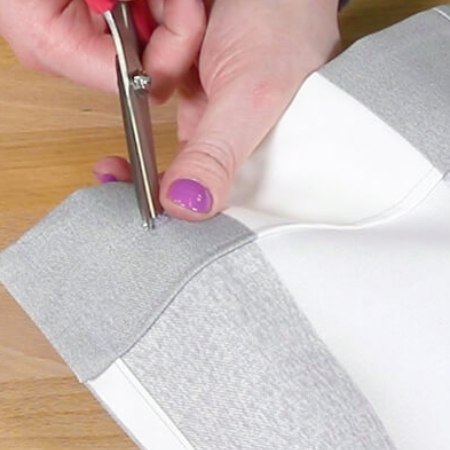
Step 7 - Grommets (eyelets)
Follow the instructions for installing the grommets (eyelets) at the top of the shower curtain. Insert the hangers and your new shower curtain is ready for use.