
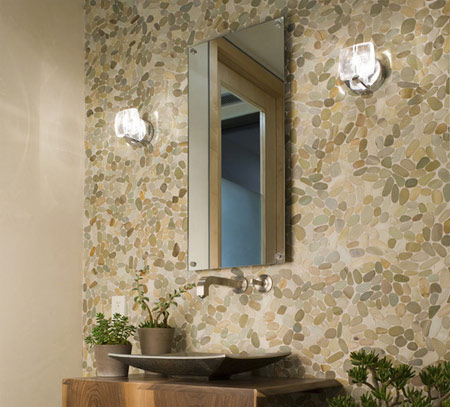
Easy pebbled wall
This is one project that I am definitely going to try in my own bathroom and will be showing you the results once the task gets underway.
On your next annual trek to the seaside, make a day to collect various shapes, sizes and colours of pebbles on the beach.
There are alternatives to look at for attaching the pebbles to the wall:
1a. Ceramic tile adhesive
Use standard ceramic tile adhesive, spread liberally on the wall and push the pebbles into the adhesive. Work in a small area at a time so that you can move the pebbles around until you are satisfied with the arrangement.
1b. No More Nails
Use a tube of No More Nails and a caulking gun to apply waves of adhesive over the surface of the wall, again working on a small section at a time to allow for positioning.
2. Clean up and let dry
Remove any excess adhesive that covers the pebbles. You still need to leave space to apply grout over the entire wall. Let the adhesive cure overnight.
3. Apply the grout
Mix up the grout to a fairly thick consistency and apply over the entire wall with a rubber squeegee for a smooth finish. On this wall a creamy colour was used, and if you are unable to source the right colour you can use oxide pigment powders added to the mix to add colour- use sparingly and add a small amount at a time until you have the right colour.
4. Seal the wall
Once the grout is dry and you have wiped clean, you can apply two coats of acrylic sealer over the wall to protect and seal the grout and bring out the colour of the pebbles.