
Install his and hers vanity basins
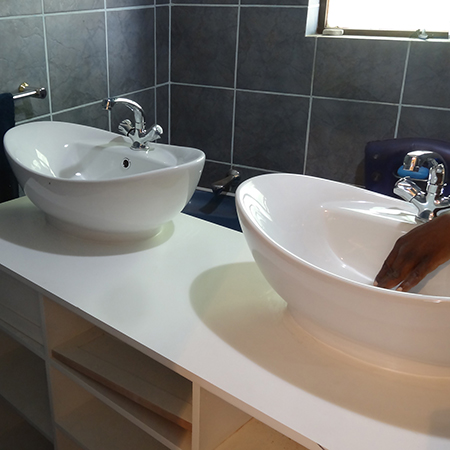
I am slowly going from room to room doing small home improvement projects and this week was modernising the main bathroom. At the moment it has a dusky blue bathtub, toilet and pedestal sink and it's time for the pedestal sink to make way for my new bathroom vanity and 'his and hers' vanity basins.
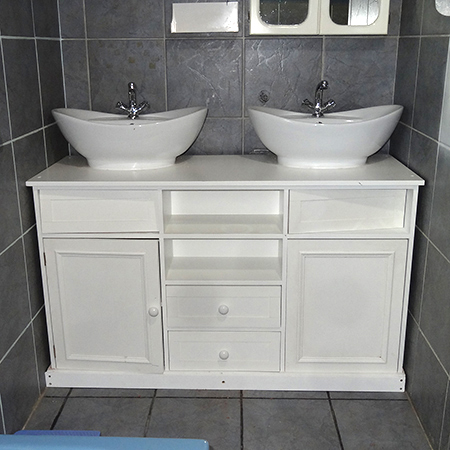
There was a bathroom cabinet in the open space next to the pedestal sink but still far too much space going to waste. The new bathroom vanity is made of 16mm MDF painted with Plascon Velvaglo water based enamel paint. The frame around the base is pine and lifts the MDF cabinet off the floor to prevent the cabinet from absorbing moisture off the floor. I will be sharing this project with you once finished - I still have to attach the doors, add mosaic tile to the top and do some touch ups!
Above the bathroom vanity there will (eventually) be a framed mirror to fill up the entire space, and I will be fitting wall scones on either side. More on this later.
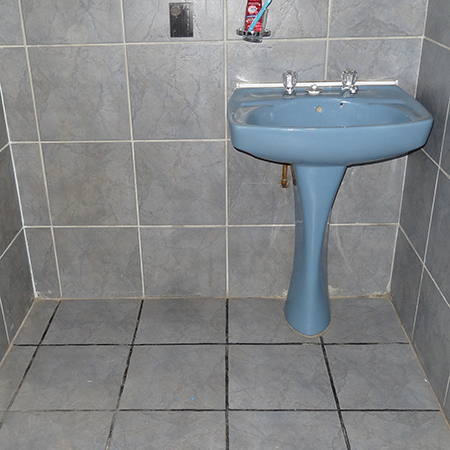
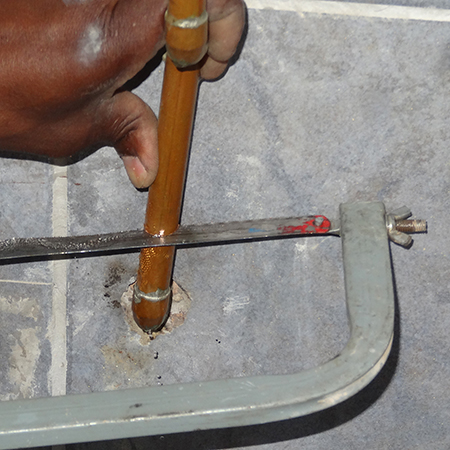
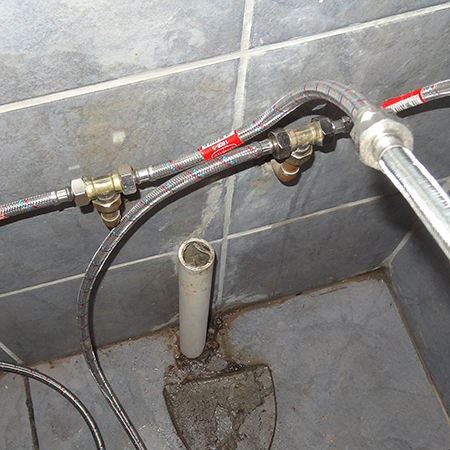
The pedestal sink was installed some 20 years ago, so it still has copper pipe, which will need to be removed and replaced with the new braided connectors.
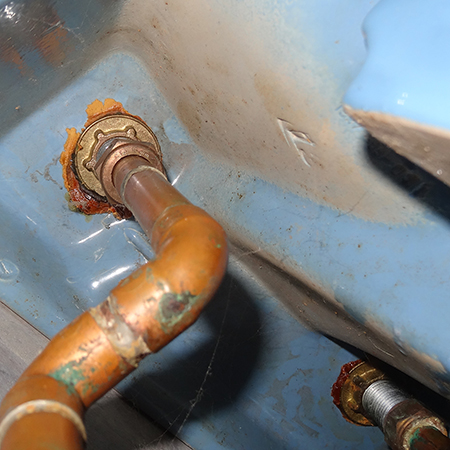
Joseph, my extremely competent plumber, cut away the copper pipes using a hacksaw.
GOOD TO KNOW
Switch off the water supply at the main stopcock before removing any fittings. Switch off the geyser on the distribution board and let the hot and cold water taps run dry.
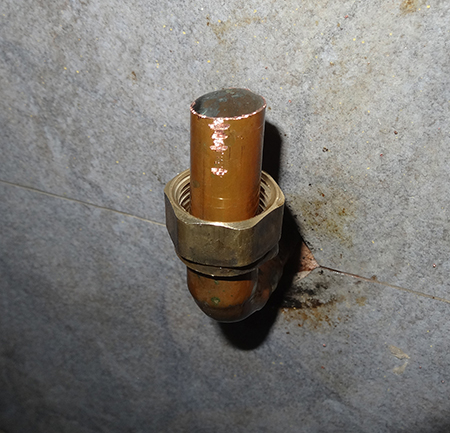
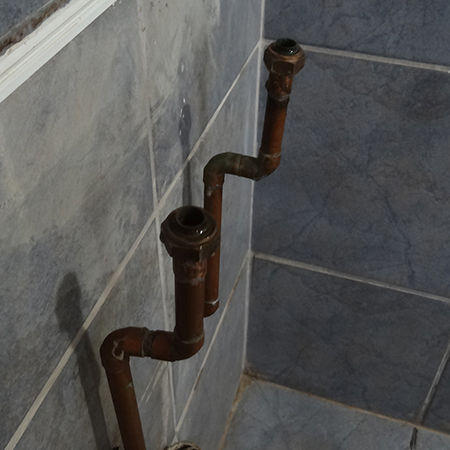
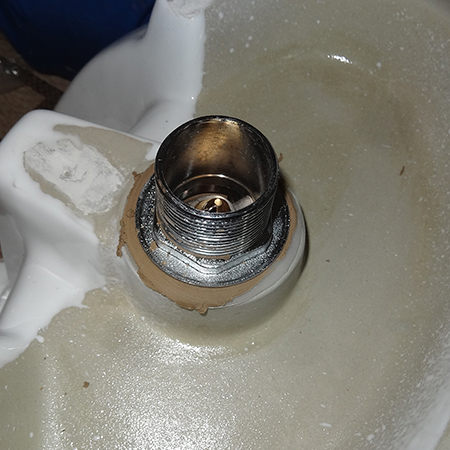
With the pipe cut away a copper connector was added to allow the braided connectors to be attached, and which you will see below. If in any doubt as to the type of connector you need for the braided connections, the guys at my local Builders Warehouse were extremely helpful and pointed me in the right direction.
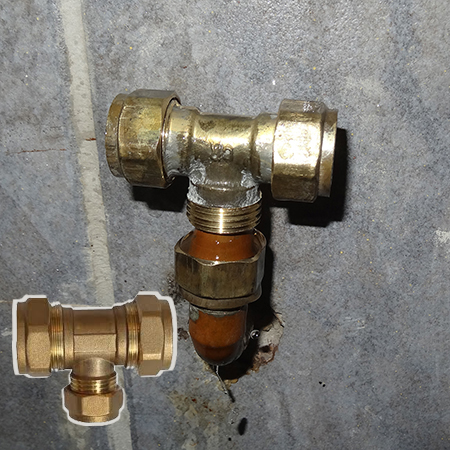
Because the pedestal sink only had single hot and cold supply, a 15mm T-coupler was added to both the hot and cold supply to accommodate the installation of two vanity basins.
Before placing the vanity in position all the individual parts were added onto the basins, such as taps and waste fittings, and the connectors and plumbing pipes mounted, so that the completed unit could simply be moved into place and connected onto the plumbing.
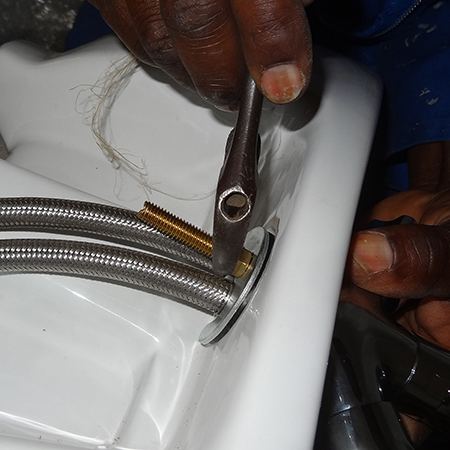
ABOVE: Mounting the new taps onto the basins.
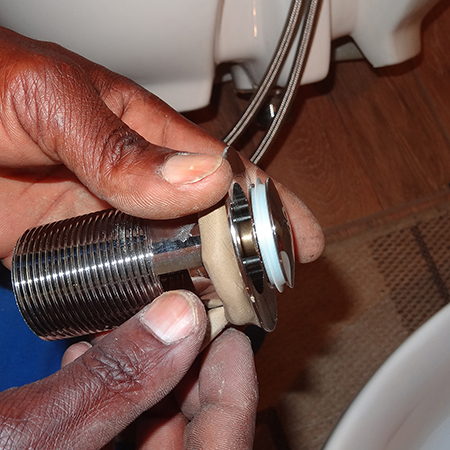
ABOVE: The rubber seals around the waste fitting were replaced with plumber's putty. This reduces the possibility of leaks around the drain due to a faulty seal or the seal degrading over time.
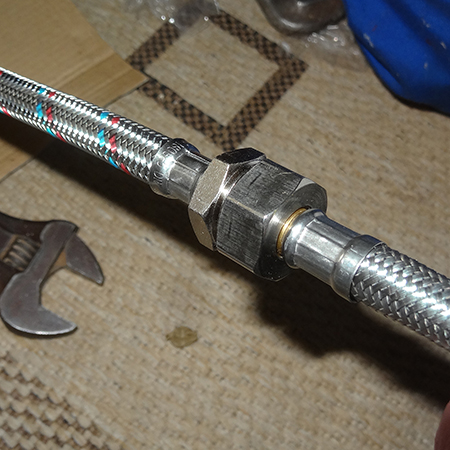
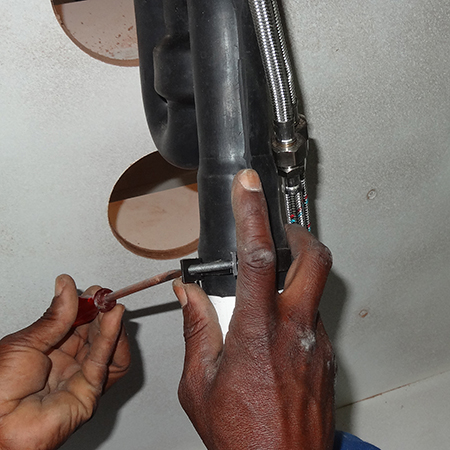
Because the basin on the far left is quite far from the plumbing, an extra length of braided connectors needed to be attached for hot and cold water supply to this basin. The braided connectors are simply screwed together.
Once the bathroom vanity is pushed into place, large holes in the back of the cabinet allow access for fitting everything and tightening connections. The holes were made using a Tork Craft 200mm hole saw and my trusty Bosch Compact Drill.
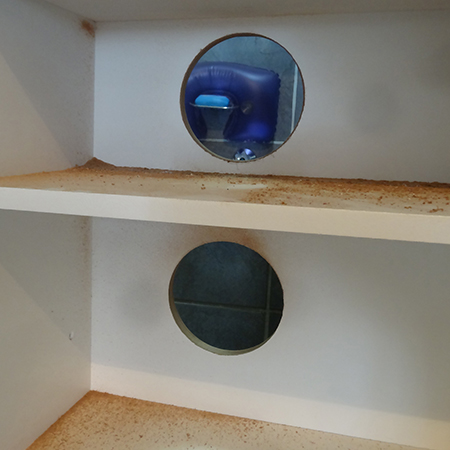
You will also need to drill holes in the top of the bathroom vanity to allow for fitting the sink drain and tap connectors at the bath.
GOOD TO KNOW
If you are mounted the sink onto granite, marble or other hard material, the installation company will need to cut these out for you.
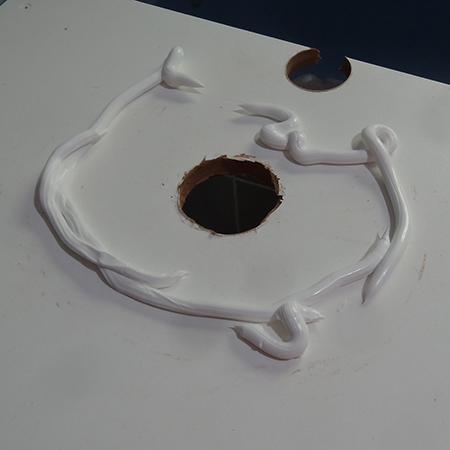
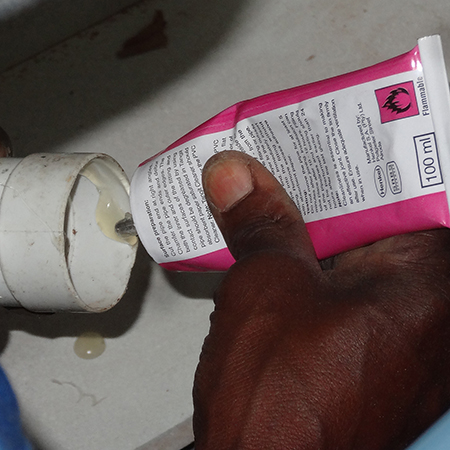
A thick bead of sanitary adhesive is applied onto the top of the cabinet, about the same size as the base of the basin. The basin was then placed over the top and a bead of sanitary silicone applied around the outside of the base.
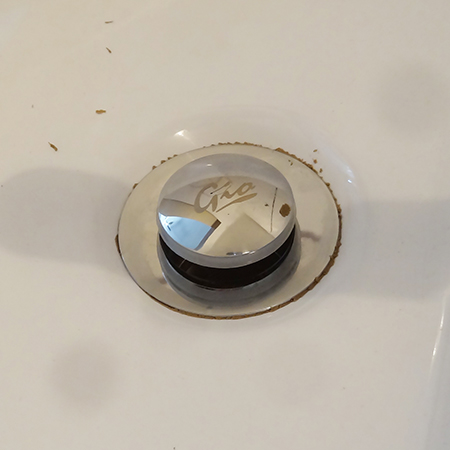
When mounting the waste pipe make sure that the screws are facing the front holes in the cabinet.
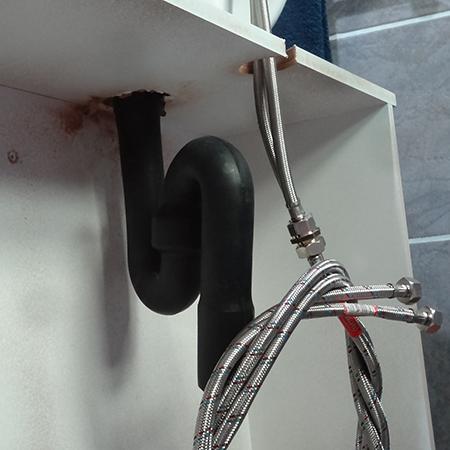
The rubber P-trap was fitted to the waste trap of both basins and the PVC pipe cut to fit and joined using Tangit PVC weld.
Once all the fittings were in place, the vanity was moved into the space to allow for the braided connectors to be attached. The vanity was pushed into position and the waste pipes mounted via the drilled holes.
GOOD TO KNOW
Have a torch handy for working behind the cabinet. Close the taps and switch on the water supply to check for any leaks.
From start to finish the project took just under 4 hours, which included the time spent cutting holes in the cabinet.
The bathroom vanity cost approximately R1200 to make, and the vanity basins R350 each from Tile Africa. The most expensive item included in the project were the valve taps, which cost a staggering R1250 each at Builders Warehouse.