DIY Kids make a Bug Box
This weekend the DIY Divas, sponsored by Bosch power tools, hosted a DIY Kids workshop for kids with special needs. At the workshop these children used a variety of hand and power tools to craft their own bug box and tool caddy!
27/11/2017
DIY Divas have hosted many workshops for DIY Kids, but none quite like the recent workshop at the venue in Randpark Ridge. A couple of parents approached DIY Divas about the possibility of hosting a DIY Kids workshop for children with special needs.
These children, aged between 8 and 10, have autism and find it difficult to communicate and interact. The challenge was for DIY Divas to present a workshop where the children could express their love of working with tools and wood to create unique projects. Two projects were designed for this special workshop; a pine Bug Box and a Tool Caddy. You will find step-by-step instructions below for making the Bug Box.
The materials for making the Bug Box were prepared in advance, but certain aspects of the assembly were left for the children to do themselves. Thanks to sponsorship from Bosch power tools, the children learned how to use a Drill/Driver, a Jigsaw and a Bosch Tacker.
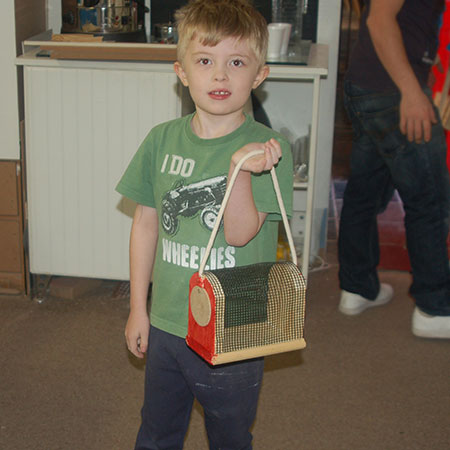
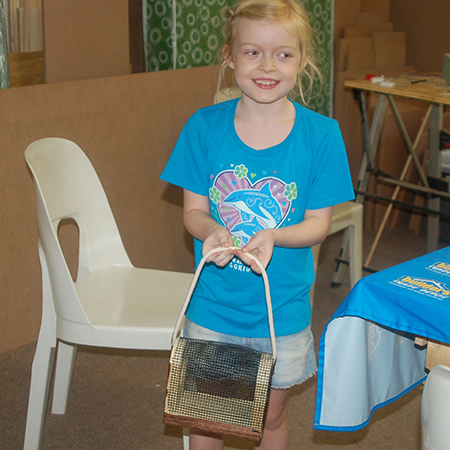
Thom, Stephen and Angela quickly discovered how to use tools to make their own projects, and it was a great exercise in interaction and communication - for all.
YOU WILL NEED:
1 of 22 x 94 x 1800mm pine, cut to:
- 2 of 130mm - sides
- 1 of 220mm - base
Scrap of 3mm SupaWood, Masonite or hardboard
Piece of rubber or steel mesh netting
Wood glue
3 x 40mm screws [4]
3 x 25mm screws [1]
Rope, 300mm in length
TOOLS:
Drill/Driver plus assorted bits
Countersink bit
Hole saw, 50 and 70mm
Bosch Tacker or heavy-duty staple gun
Tape measure and pencil
Buy everything you need for this project at Builders.
HERE'S HOW:

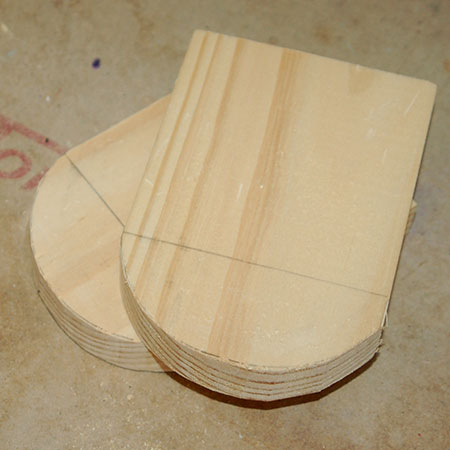
1. Measure and mark for the sides of the bug box. For ours the height is 94mm plus the curved top. Use a template to draw the curve.
2. Use a jigsaw and clean-cut blade to cut the curve at the top of the side sections.
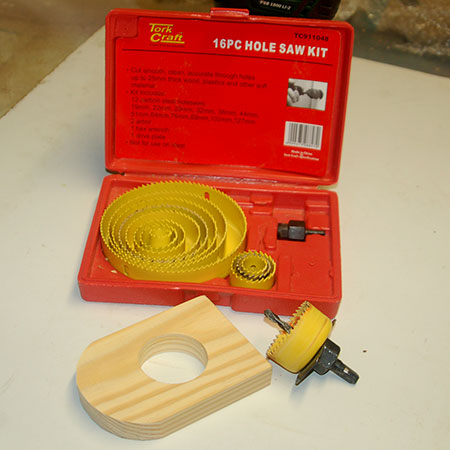
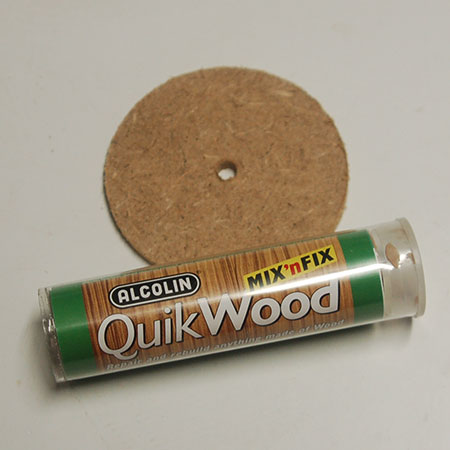
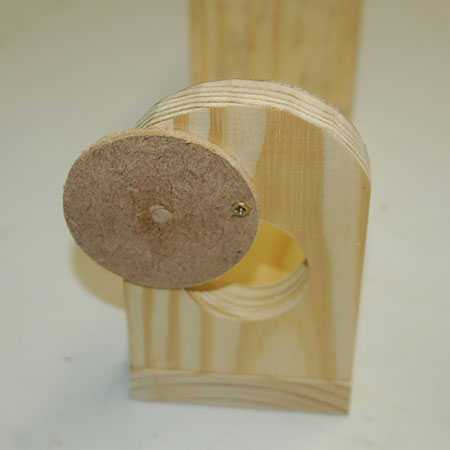
3. In one side section you need to make an opening. We used a 50mm hole saw to cut out the opening and a 70mm hole saw to cut the circular flap out of a scrap of 3mm SupaWood
GOOD TO KNOW
When using a hole saw, only drill the hole to about three-quarters the way through - and then flip to continue on the other side. This reduces chipping around the edges and gives you a neat hole on both sides.
4. The drill bit makes a hole in the cover flap, but you can easily fill this in with Alcolin QuickWood epoxy putty.
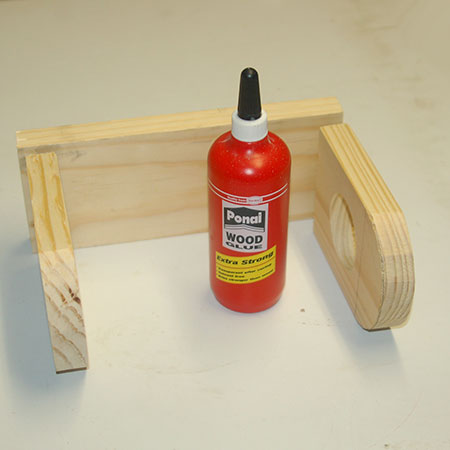
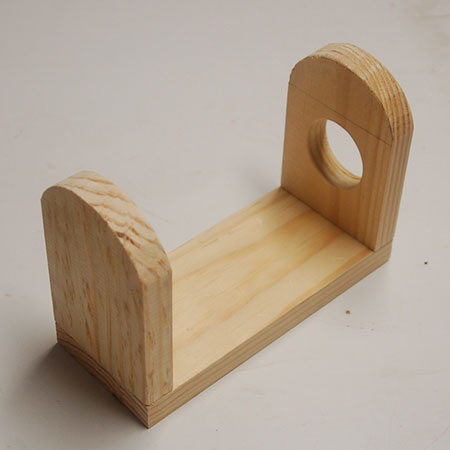
5. To assemble the bug box, begin by applying wood glue to the bottom of each side and pressing this onto the base. Put aside for about an hour.
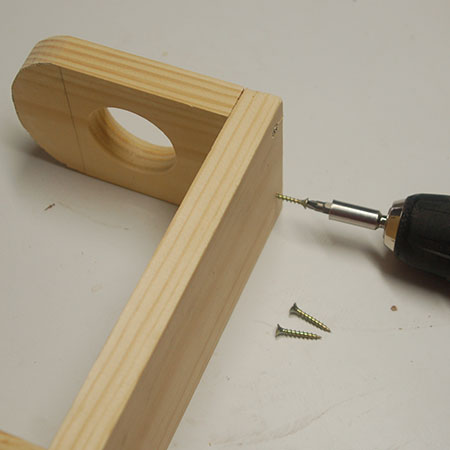
6. Drill countersunk pilot holes (2 each side) through the base and secure with 3 x 40mm screws. The countersink holes ensure the screw heads are below the surface and won't scratch surfaces.
7. Secure the flap over the drilled hole with a 25mm screw. Drill a pilot hole through the flap and into the side to make it easier.
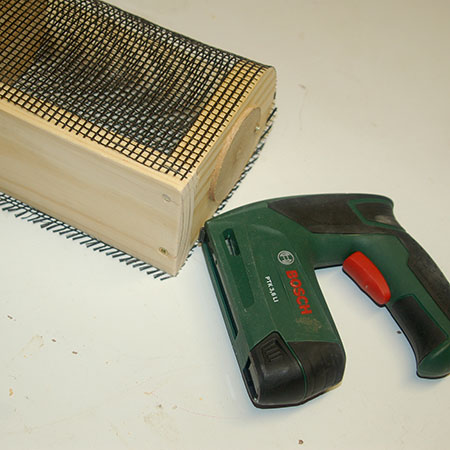
8. Attach the netting with a Bosch Tacker, stapling around all the edges.
9. Finally, secure the rope onto the side of the box with the Bosch Tacker. Press down hard and tap with a hammer, if necessary. Make sure to place the rope so that the flap can open up.